Air Sleeve Maintenece
Required Parts
- 803-00-142 Kit: Rebuild, FLOAT Line Air Sleeve, Special Q-Ring
- 803-01-727 Seal Kit: 2022 Float X/Bomber Air, Air Sleeve
- 803-01-993 Seal Kit: 2024 Float Air Sleeve Kit
WARNING: Modification, improper service, or use of aftermarket replacement parts with FOX forks and shocks may cause the product to malfunction, resulting in SERIOUS INJURY OR DEATH. DO NOT modify any part of a fork or shock, including the fork brace (lower leg cross brace), crown, steerer, upper and lower leg tubes, or internal parts, except as instructed herein. Any unauthorized modification may void the warranty, and may cause failure or the fork or shock, resulting in SERIOUS INJURY OR DEATH.
WARNING: Always wear safety glasses and protective gloves during service to prevent potential injury. Failure to wear protective equipment during service may lead to SERIOUS INJURY OR DEATH.
WARNING: FOX products should be serviced by a qualified bicycle service technician, in accordance with FOX specifications. If you have any doubt whether or not you can properly service your FOX product, then DO NOT attempt it. Improperly serviced products can fail, causing the rider to lose control resulting in SERIOUS INJURY OR DEATH.
WARNING: FOX suspension products contain pressurized nitrogen, air, oil, or all 3. Suspension misuse can cause property damage, SERIOUS INJURY OR DEATH. DO NOT puncture, incinerate or crush any portion of a FOX suspension product. DO NOT attempt to disassemble any portion of a FOX suspension product, unless expressly instructed to do so by the applicable FOX technical documentation, and then ONLY while strictly adhering to all FOX insturctions and warnings in that instance.
WARNING: Never attempt to pull apart, open, disassemble, or service a FOX shock that is in a "stuck down" condition. A "stuck down" condition results from a failure of the dynamic air seal (located between the positive and negative air chambers within the shock air sleeve), resulting with the negative chamber retaining a higher pressure than the positive chamber. To test whether the shock is in fact "stuck down":
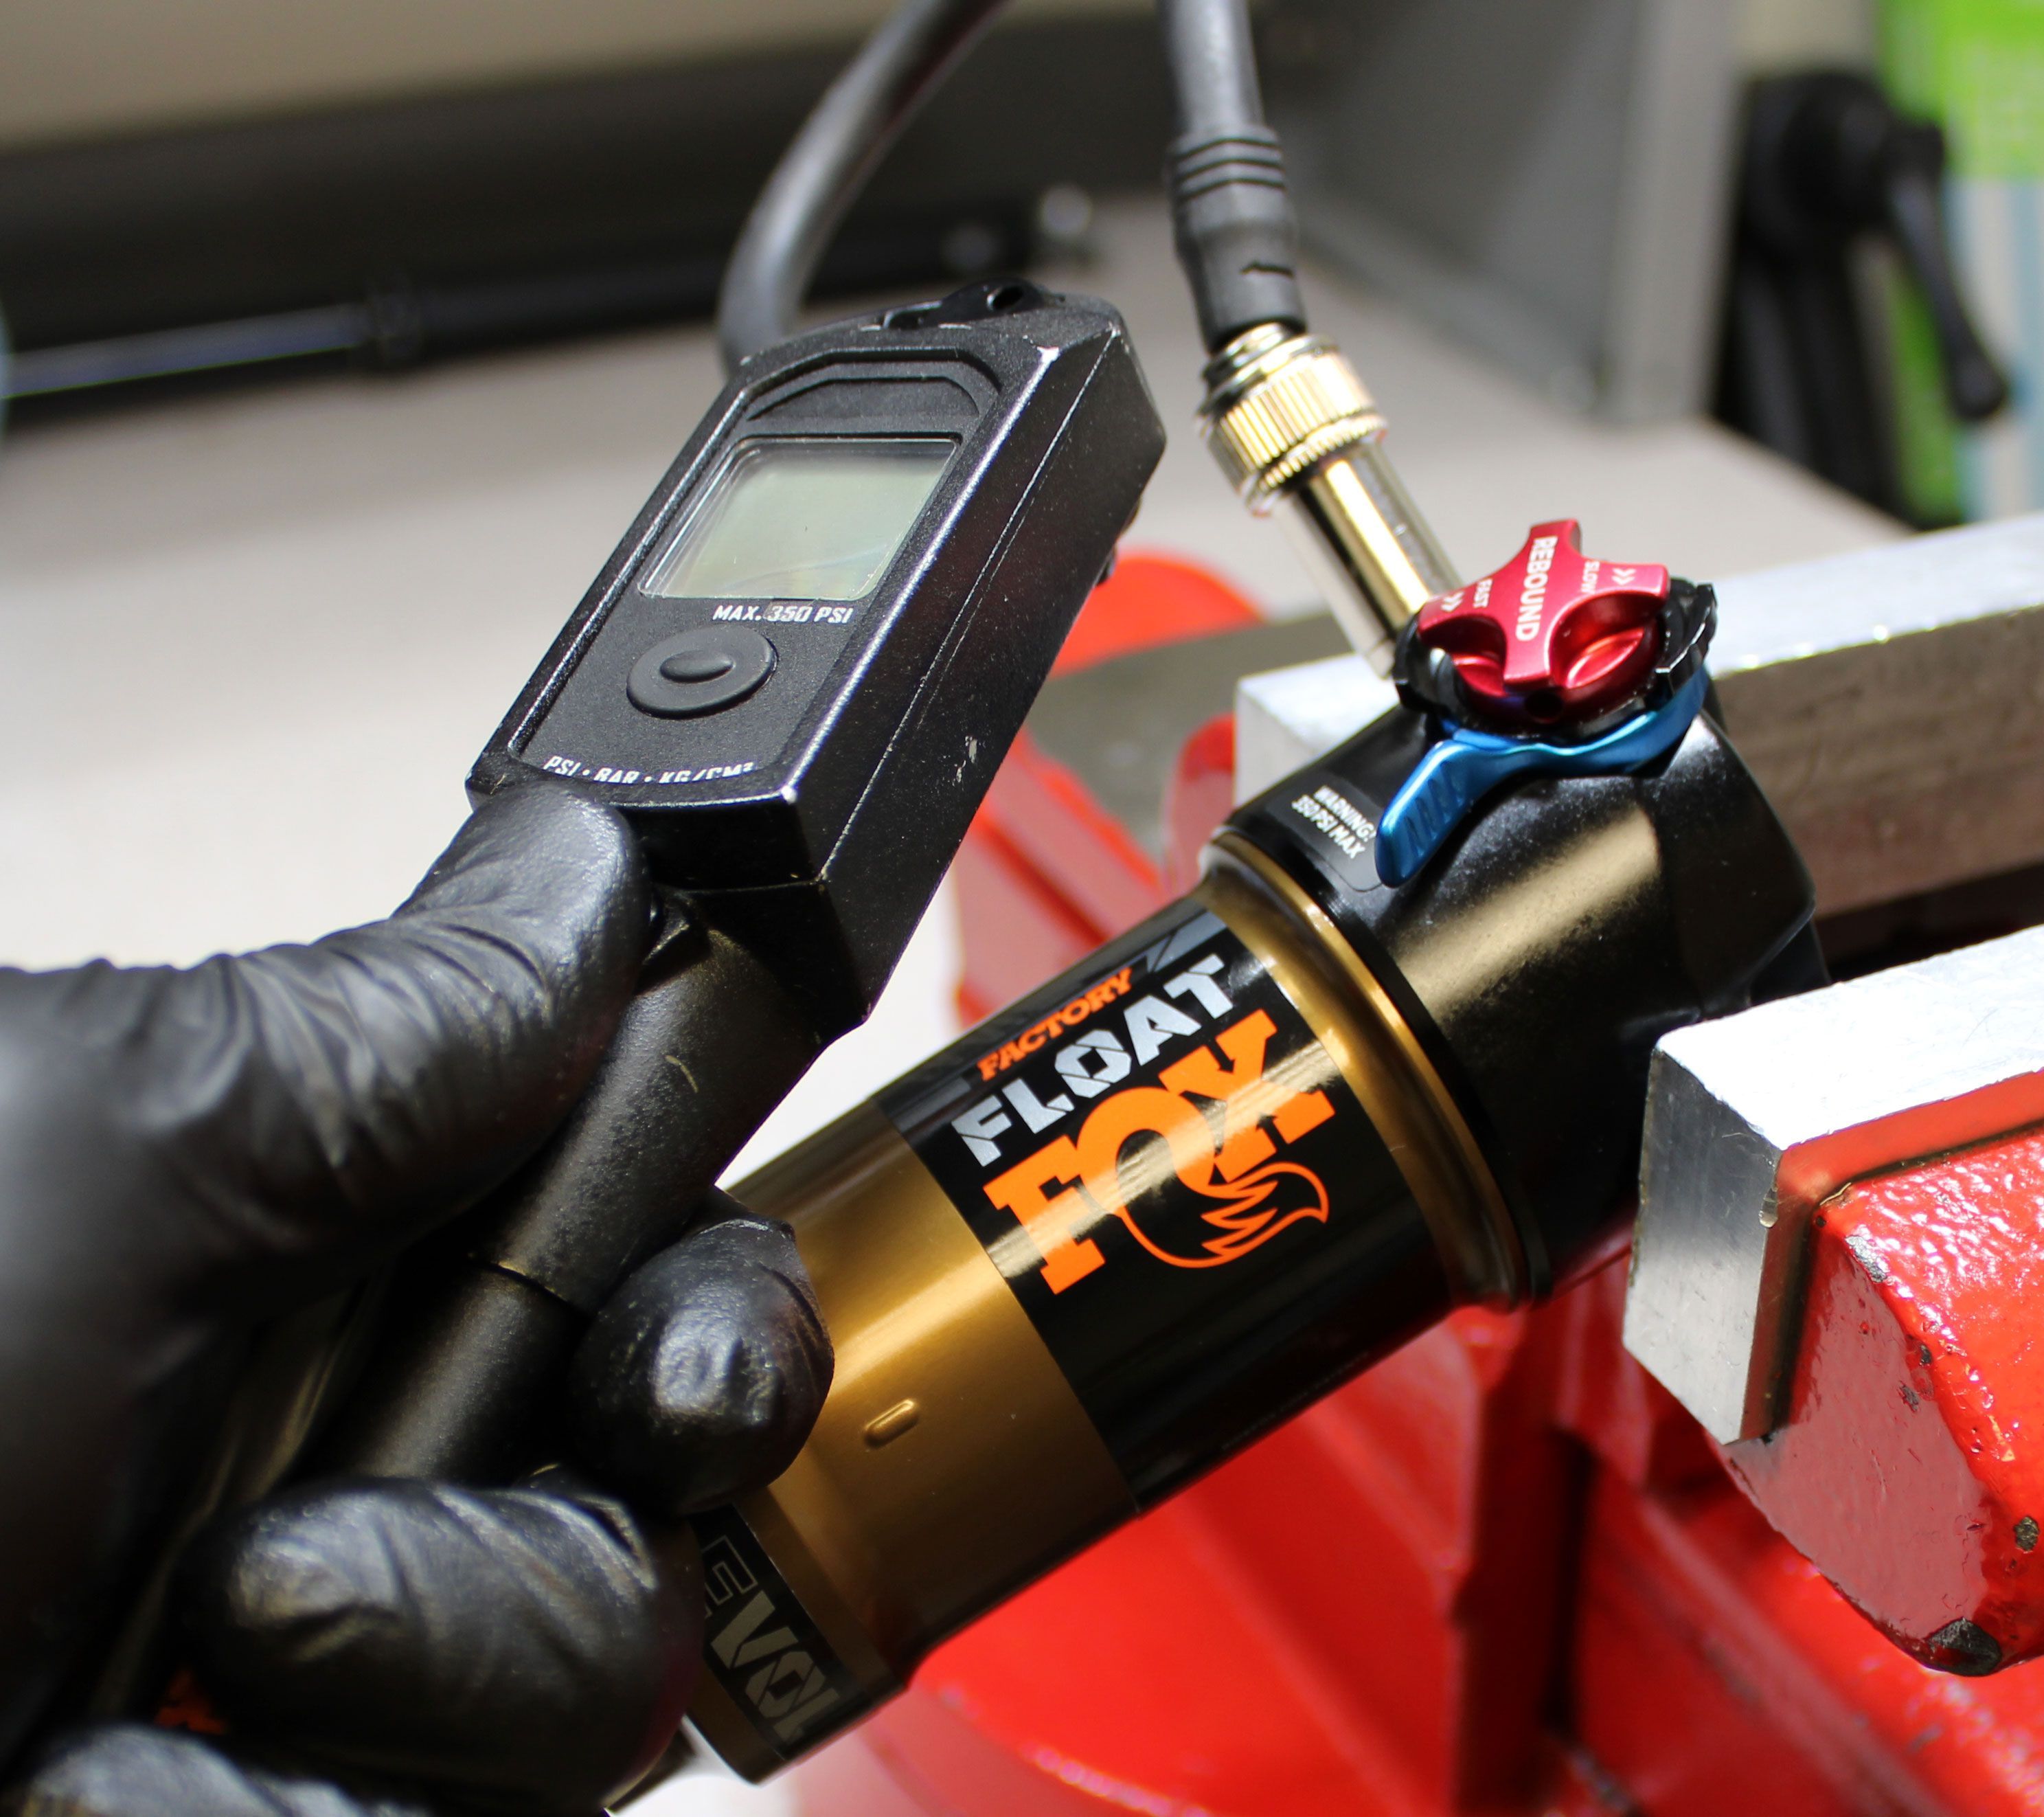
Step 1
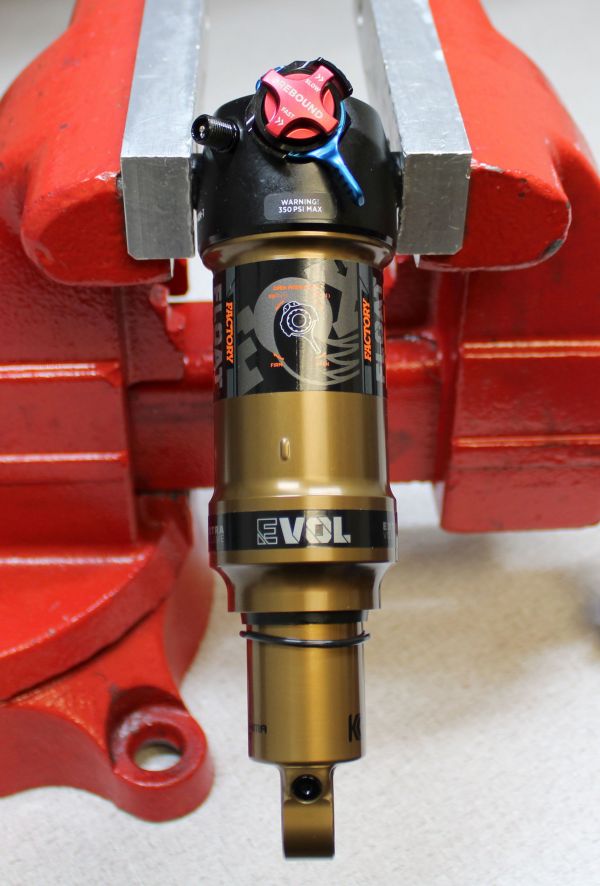
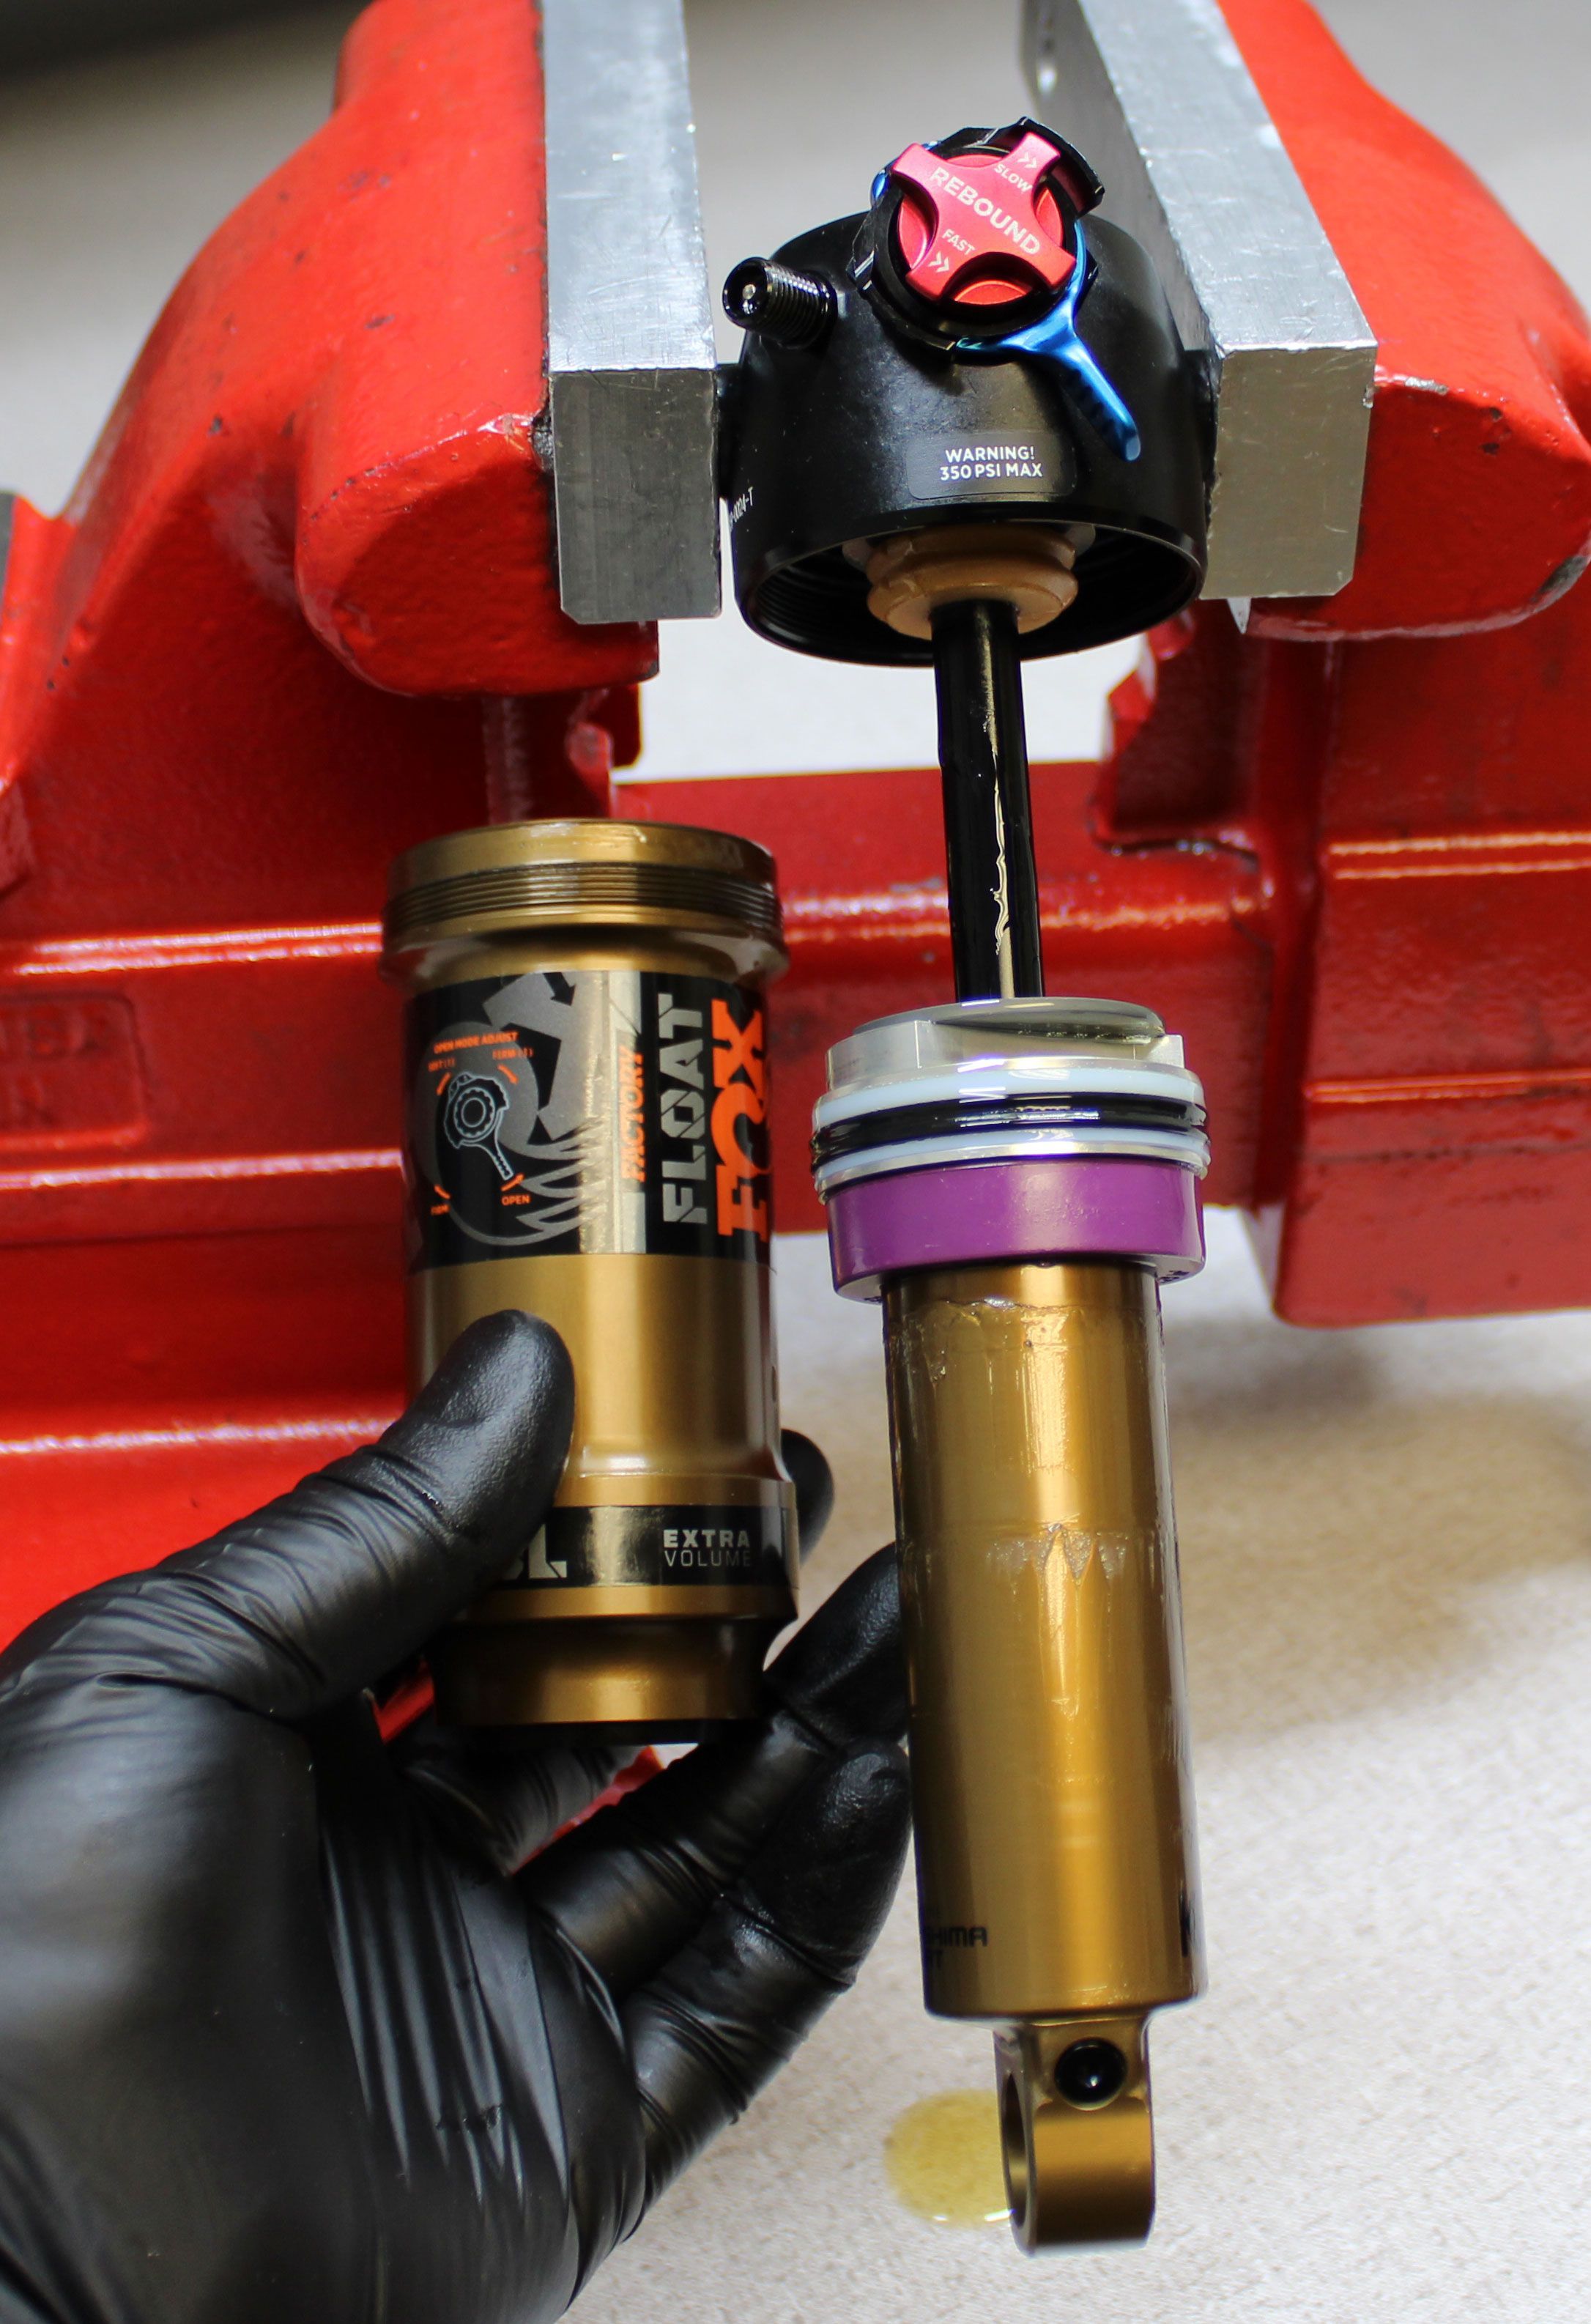
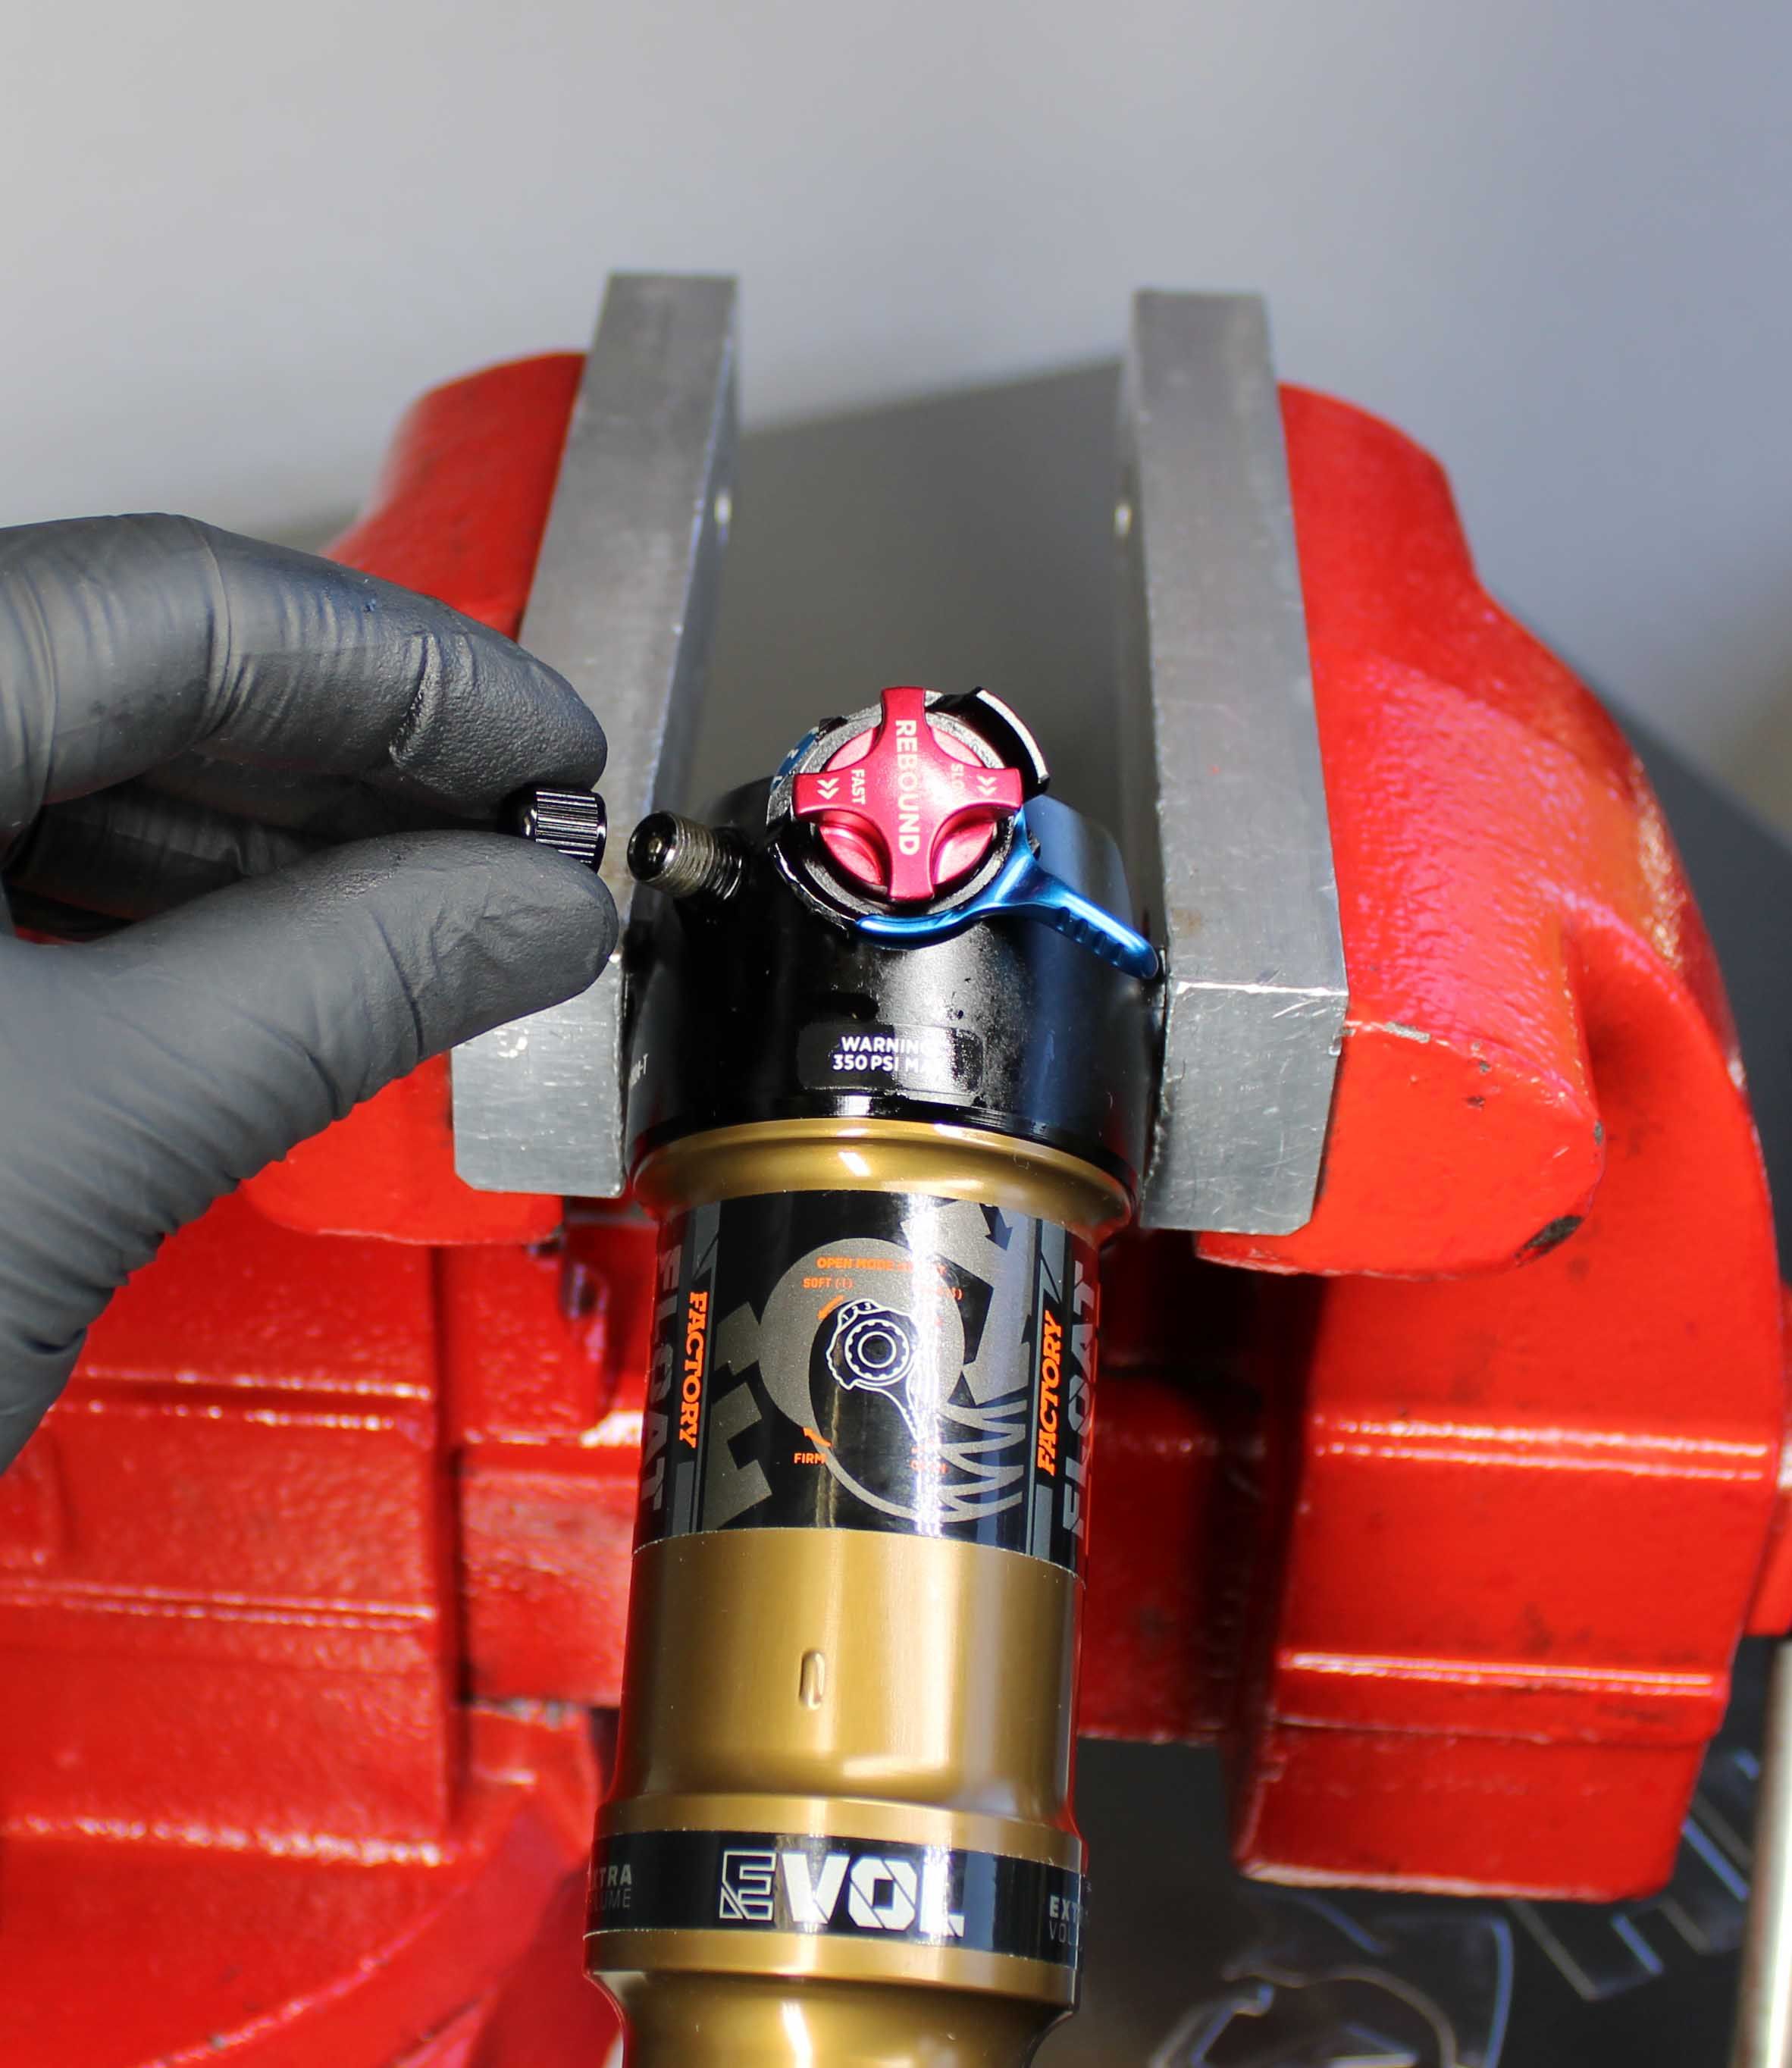
Clamp your shock in a soft-jawed vice. Remove the black air cap and thread on your FOX shock pump. Slowly release all air from the main air chamber with your pump, then remove the pump.


WARNING: Please verify that all air has been released from the air chamber by pushing down on the Schrader valve core. Failure to release all air pressure before further disassembly may cause parts to eject causing SEVERE INJURY OR DEATH.

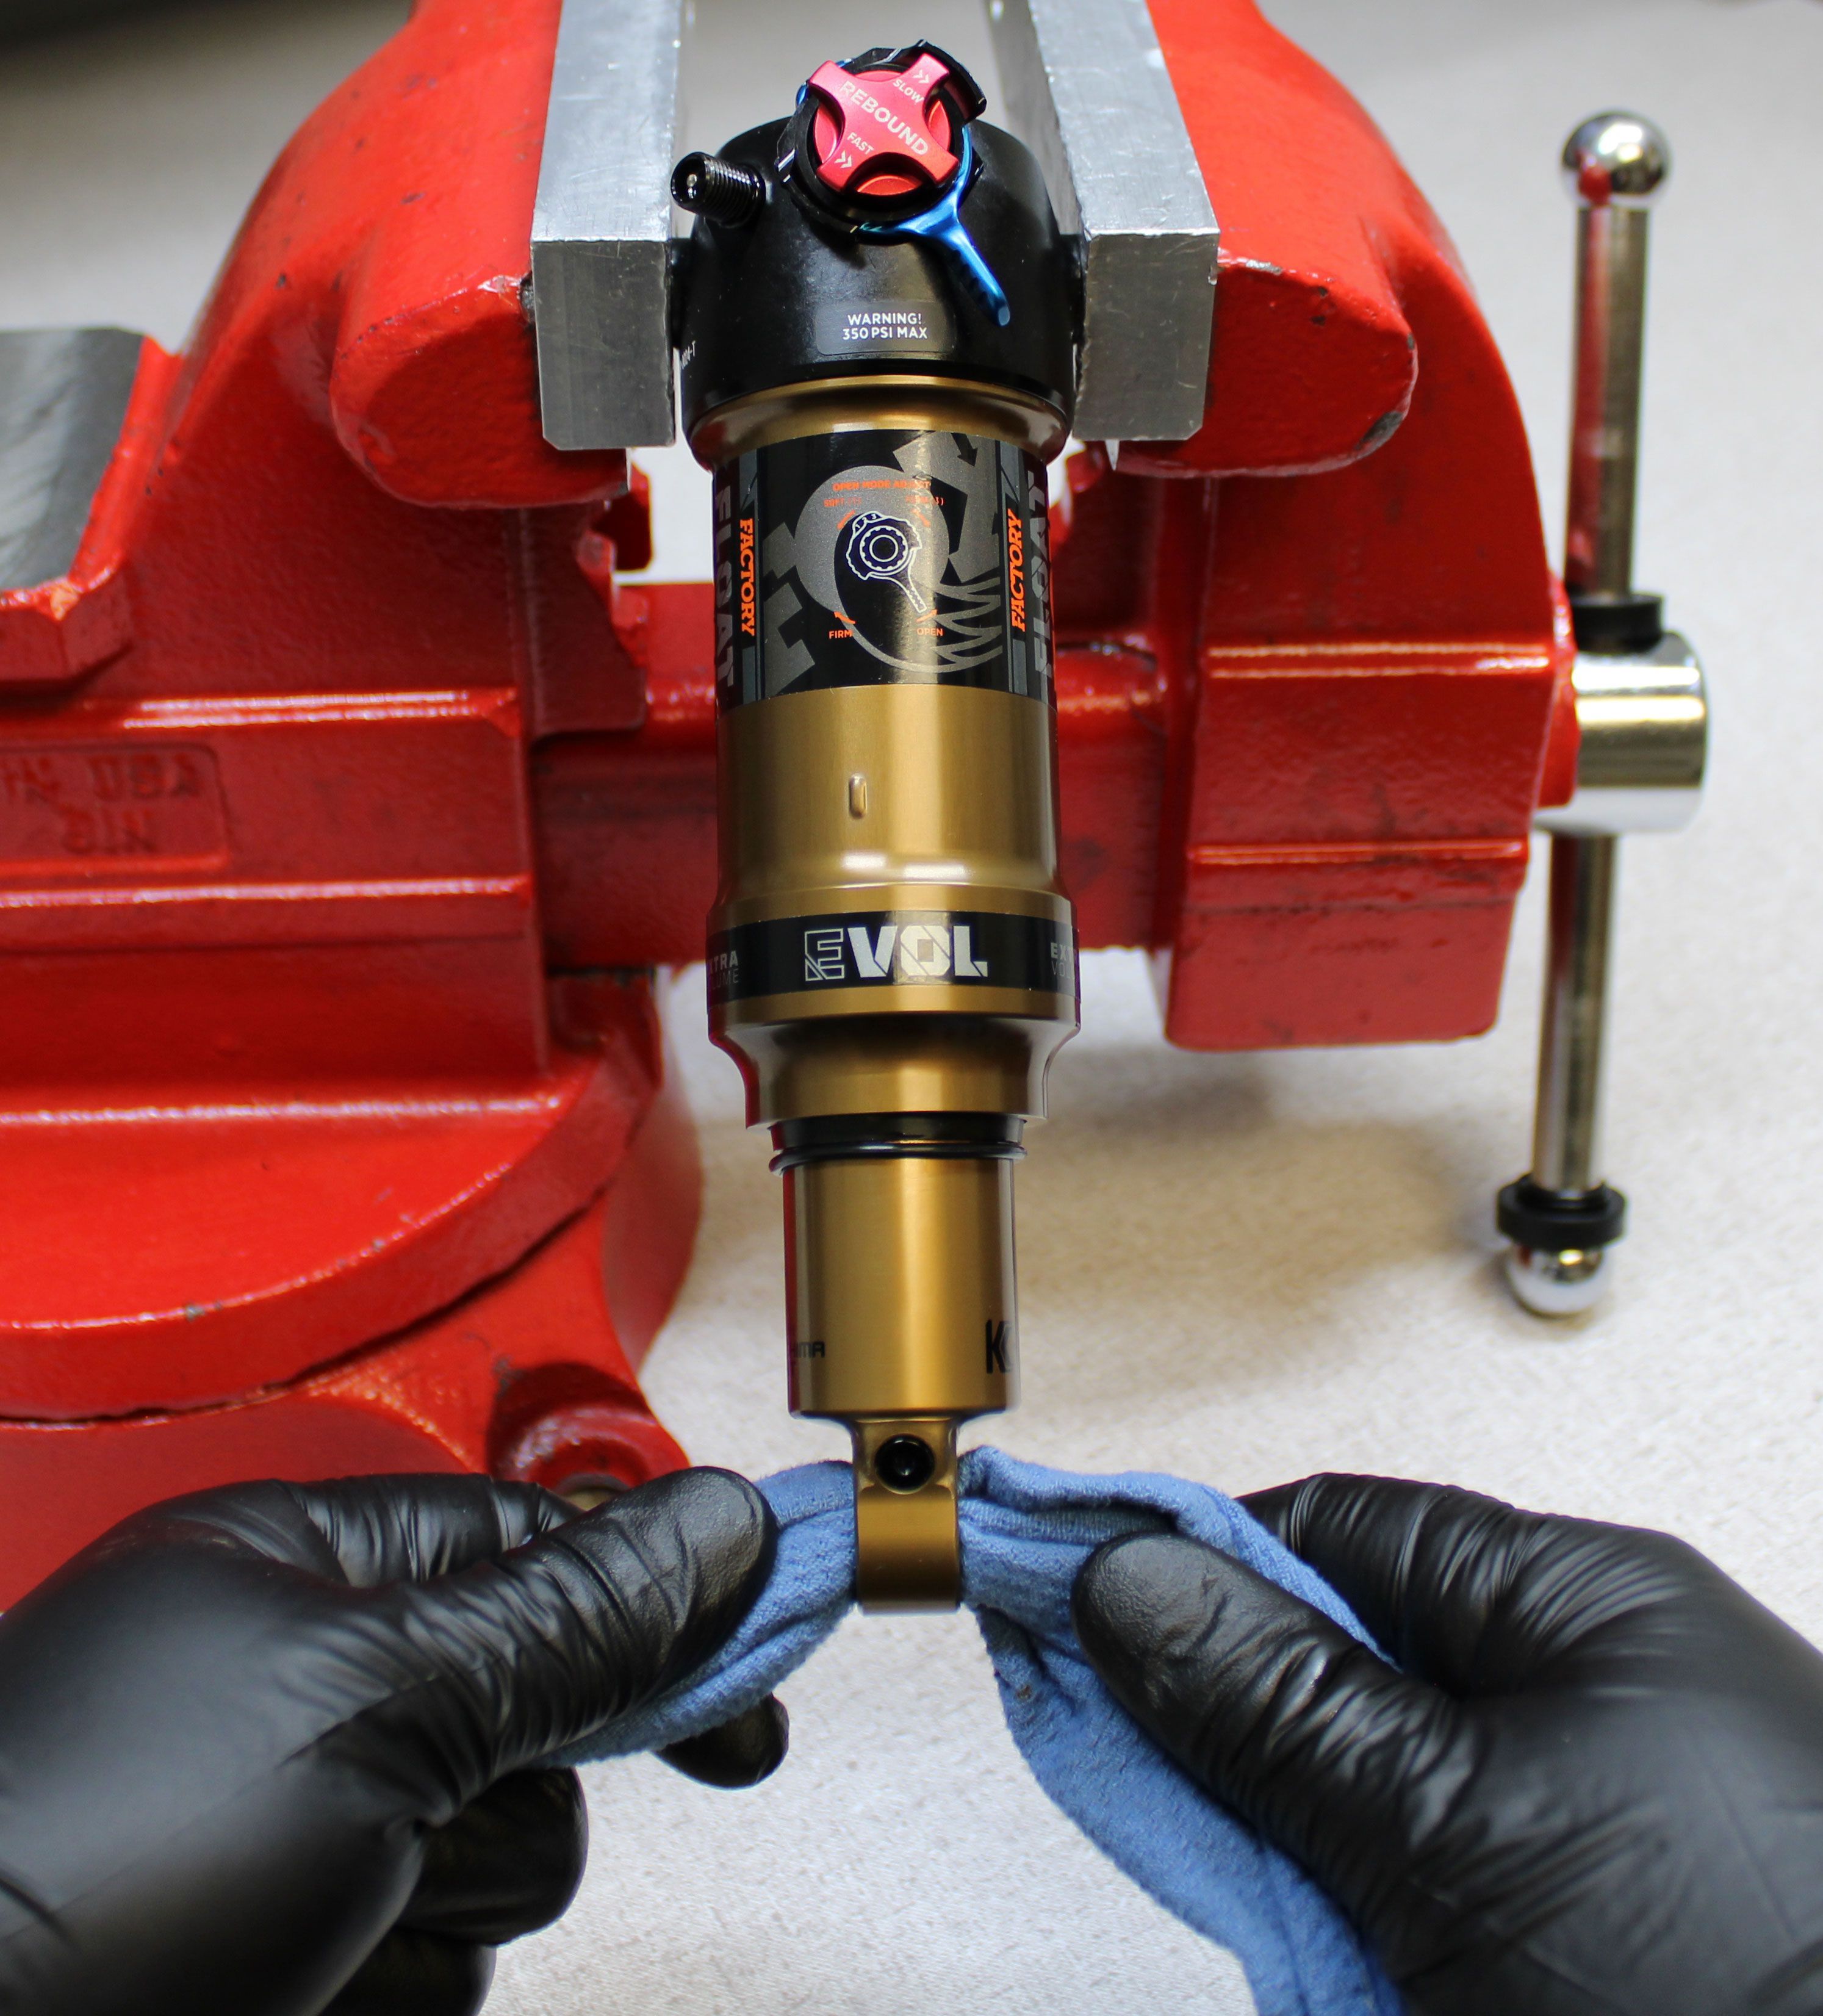
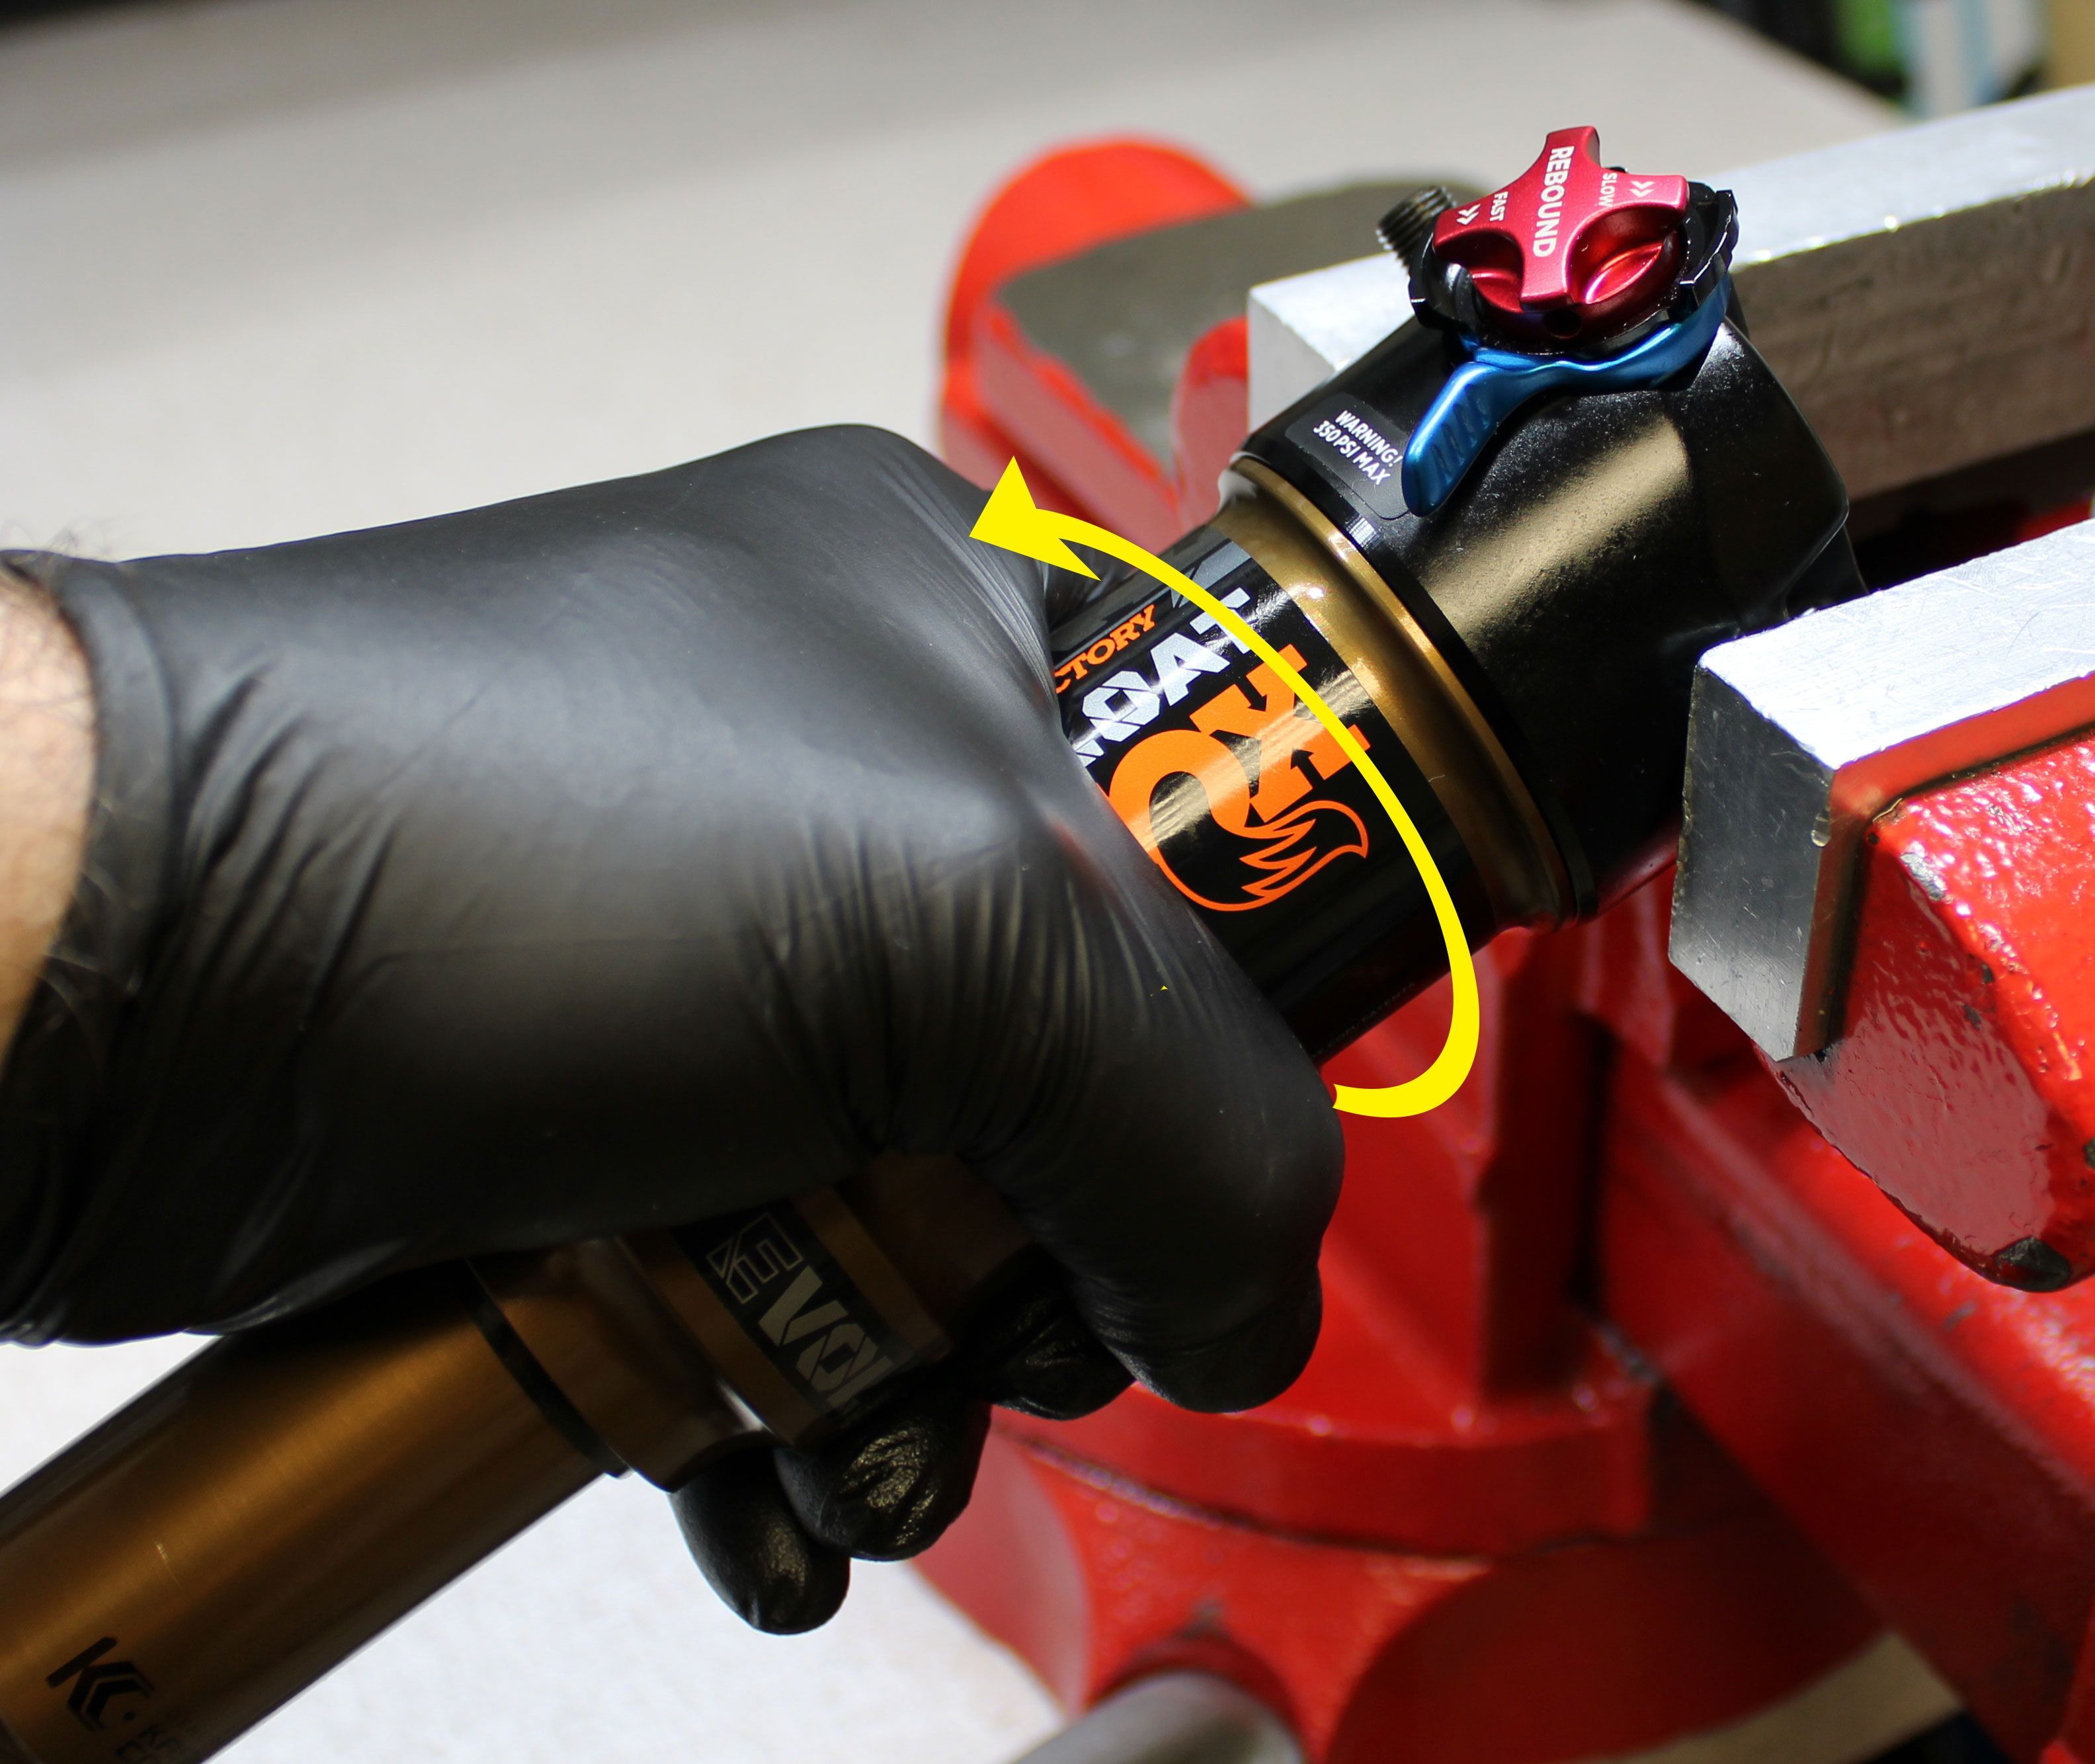
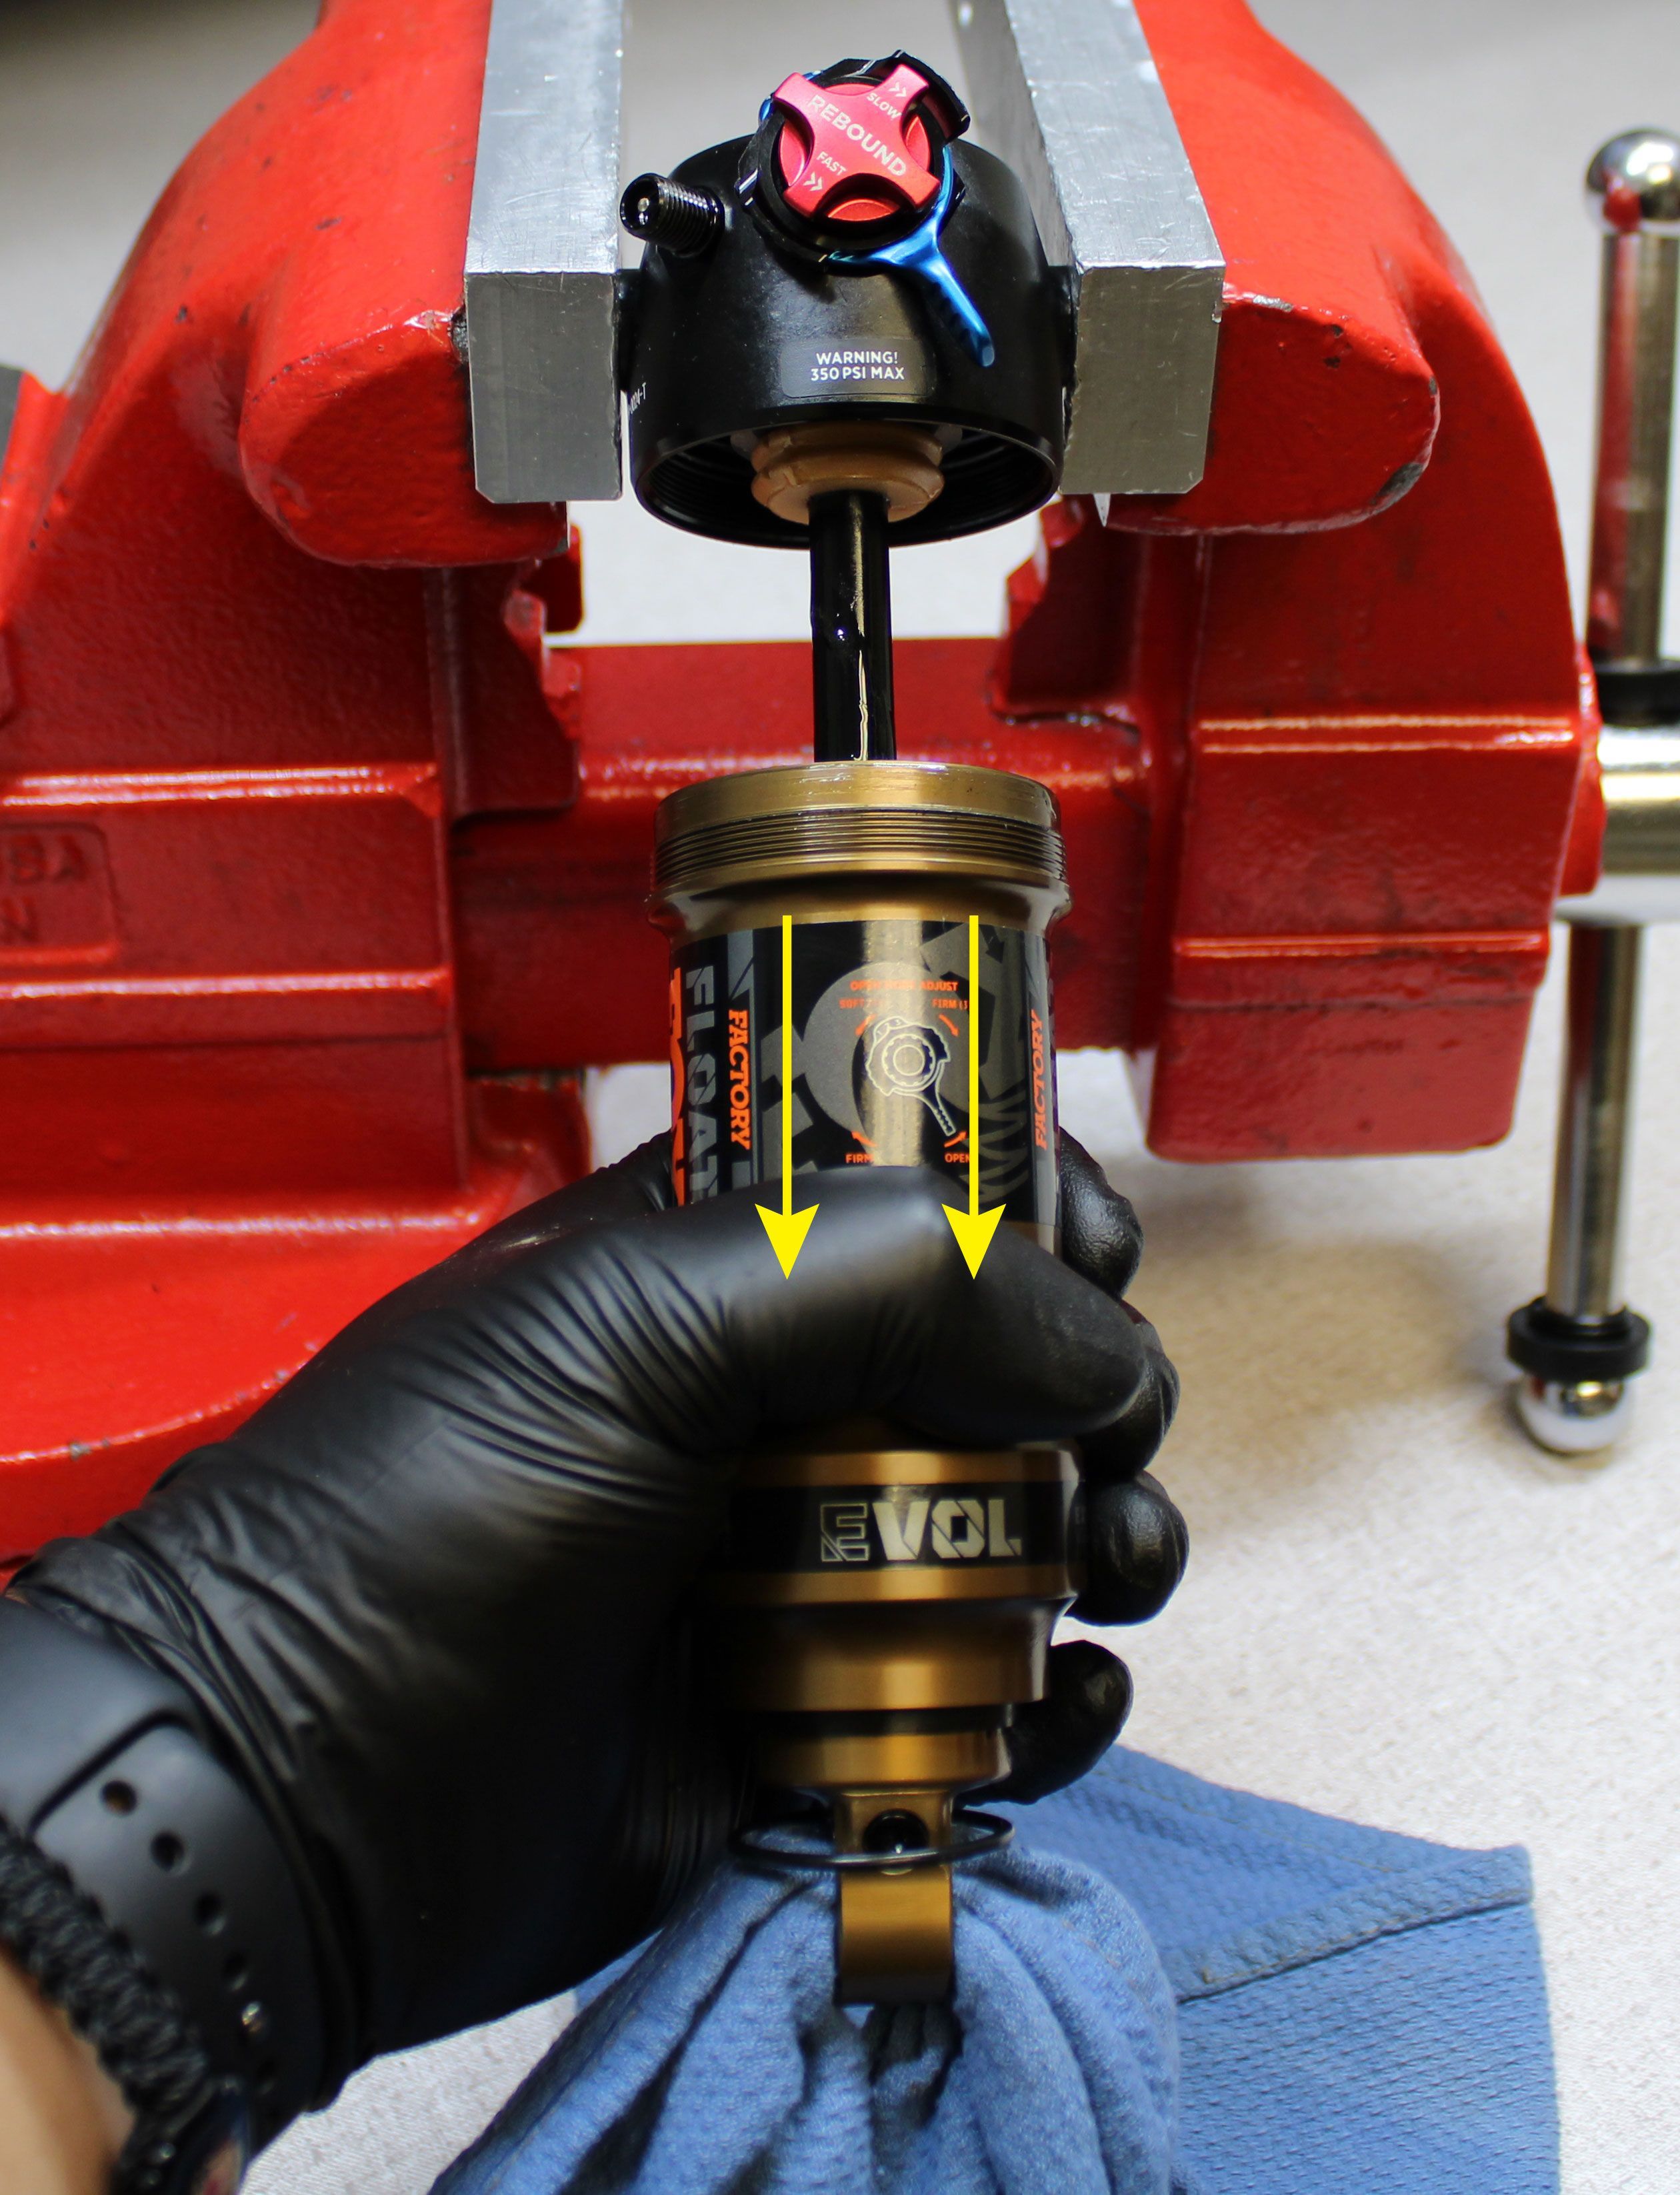
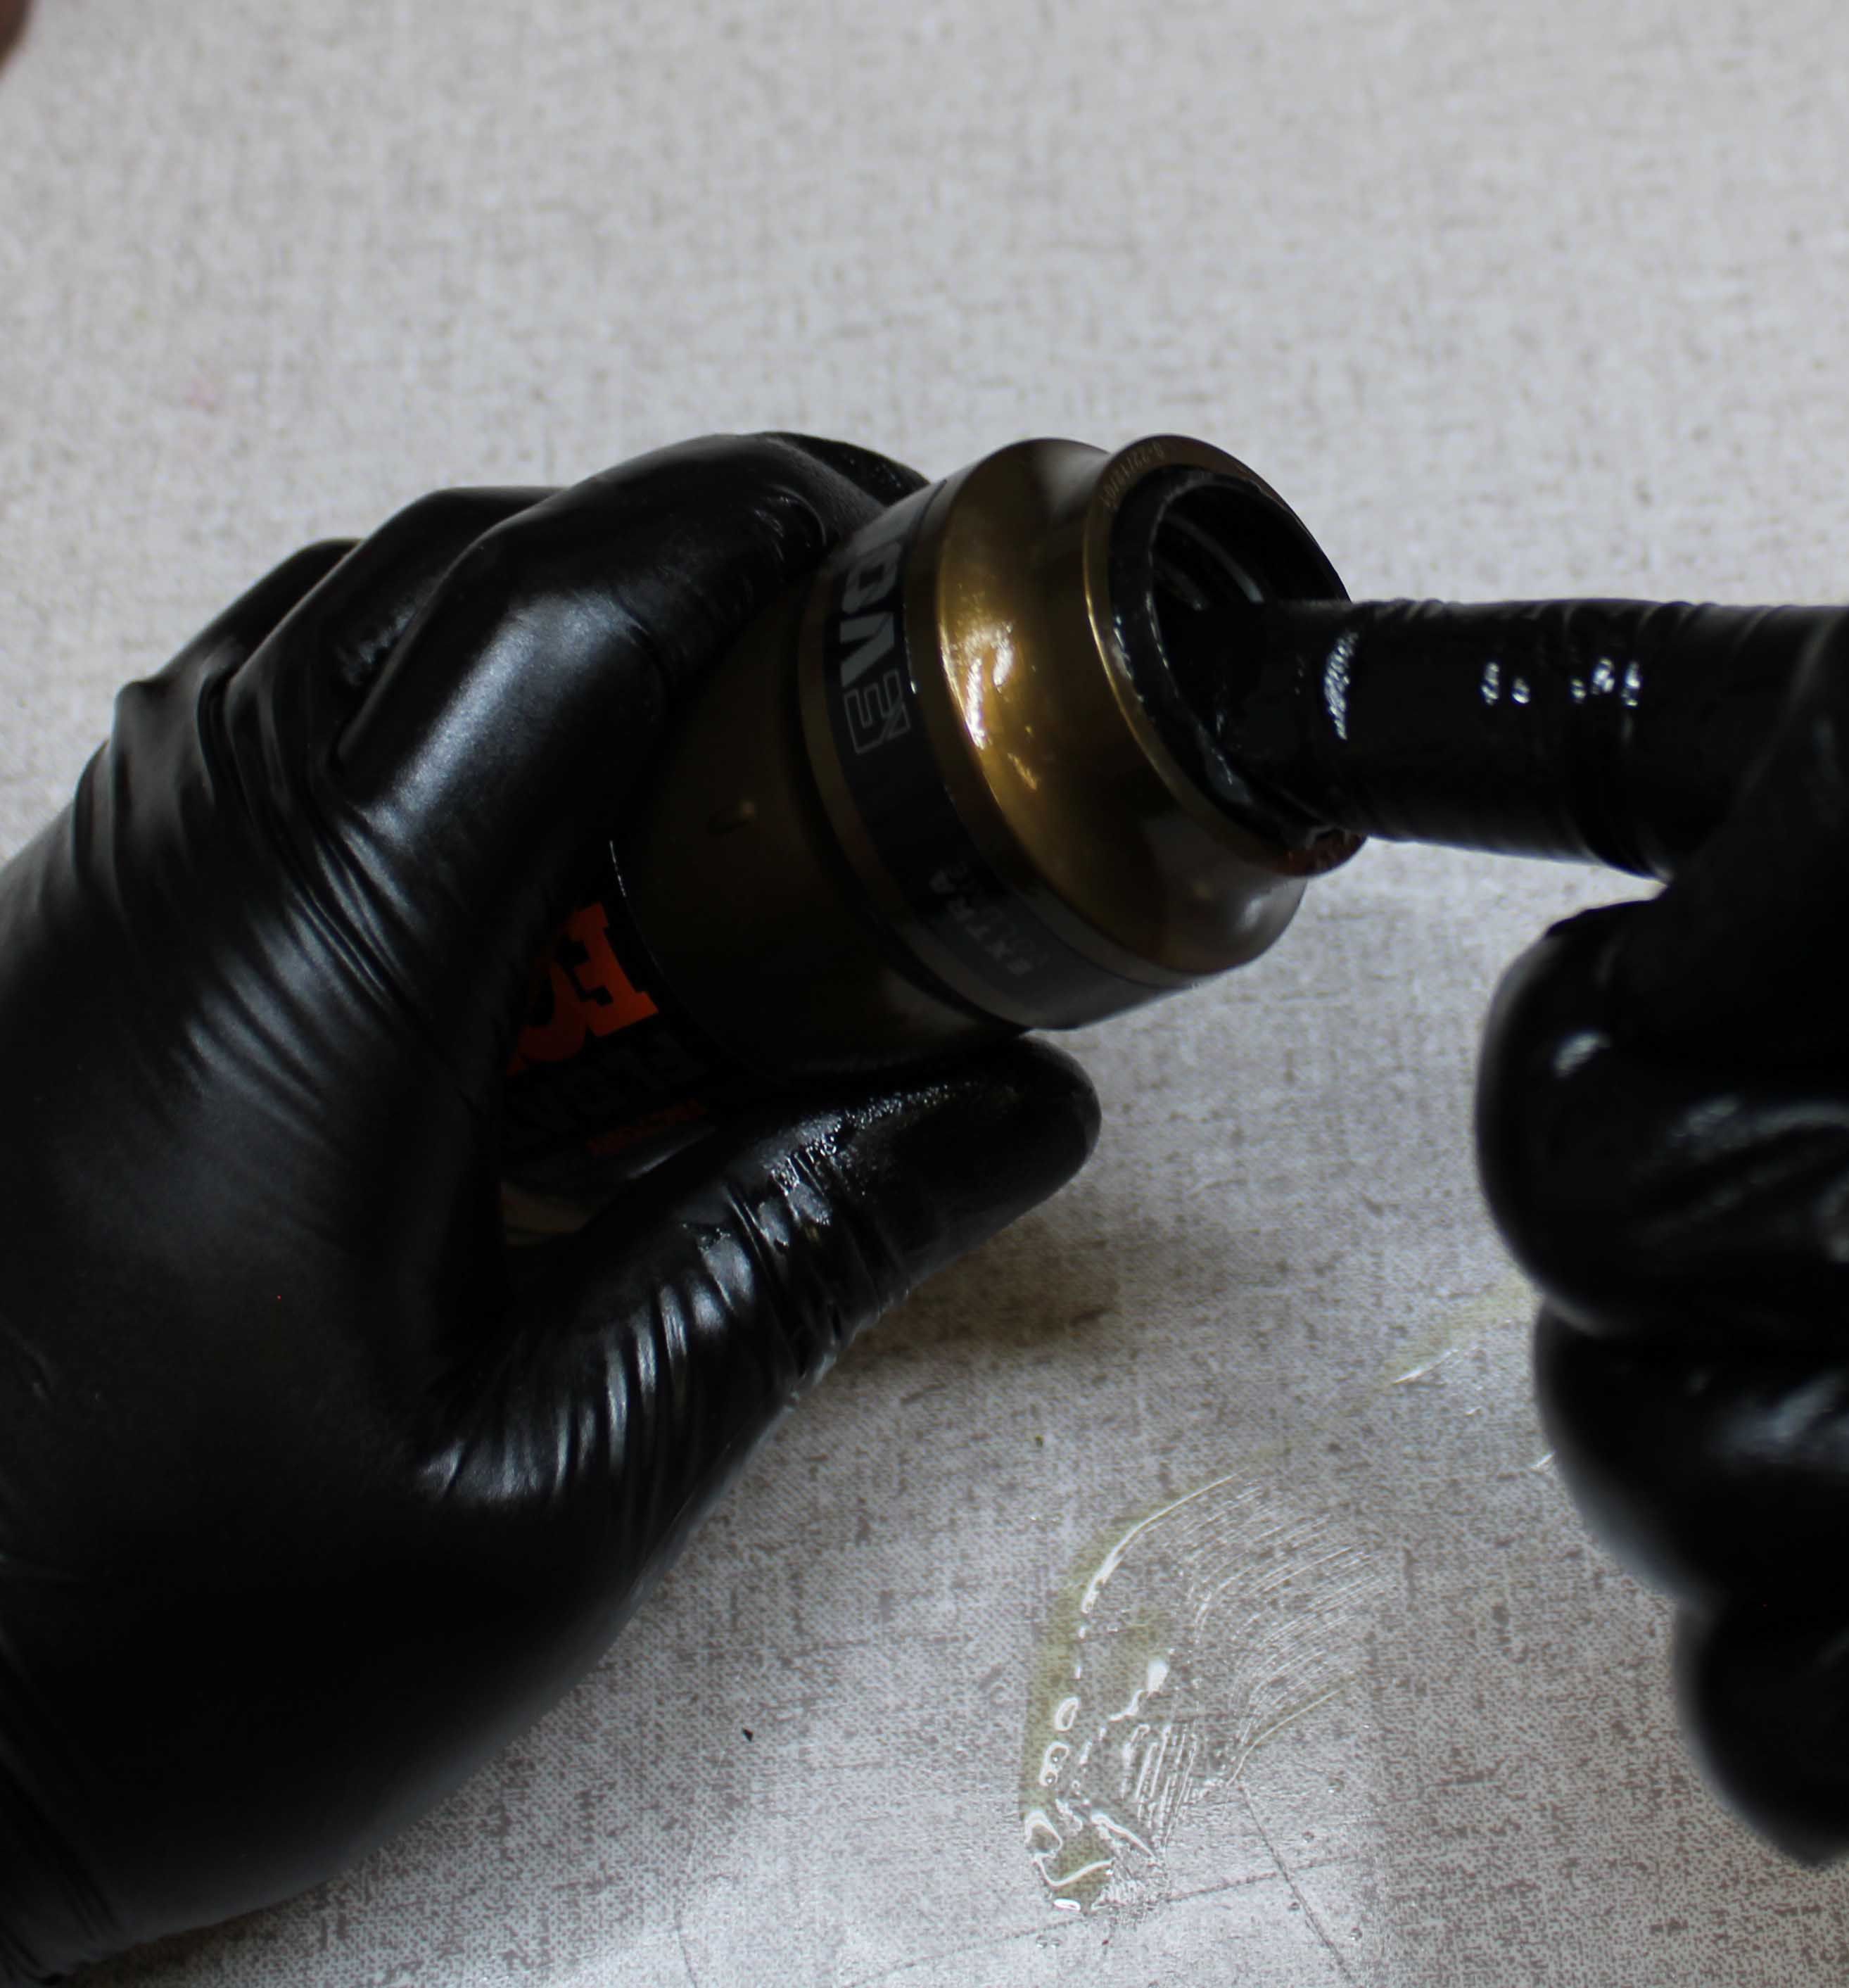
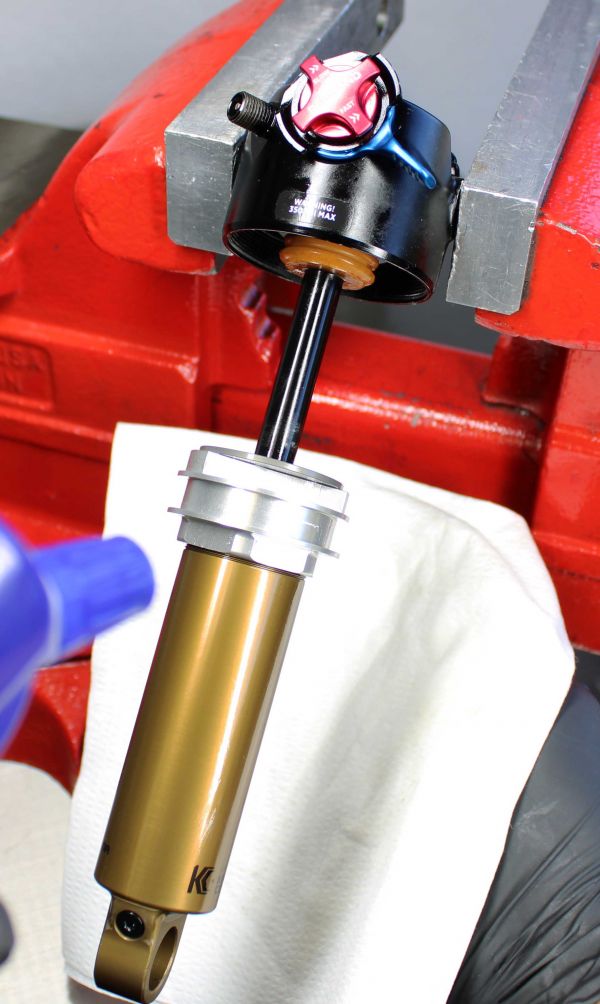
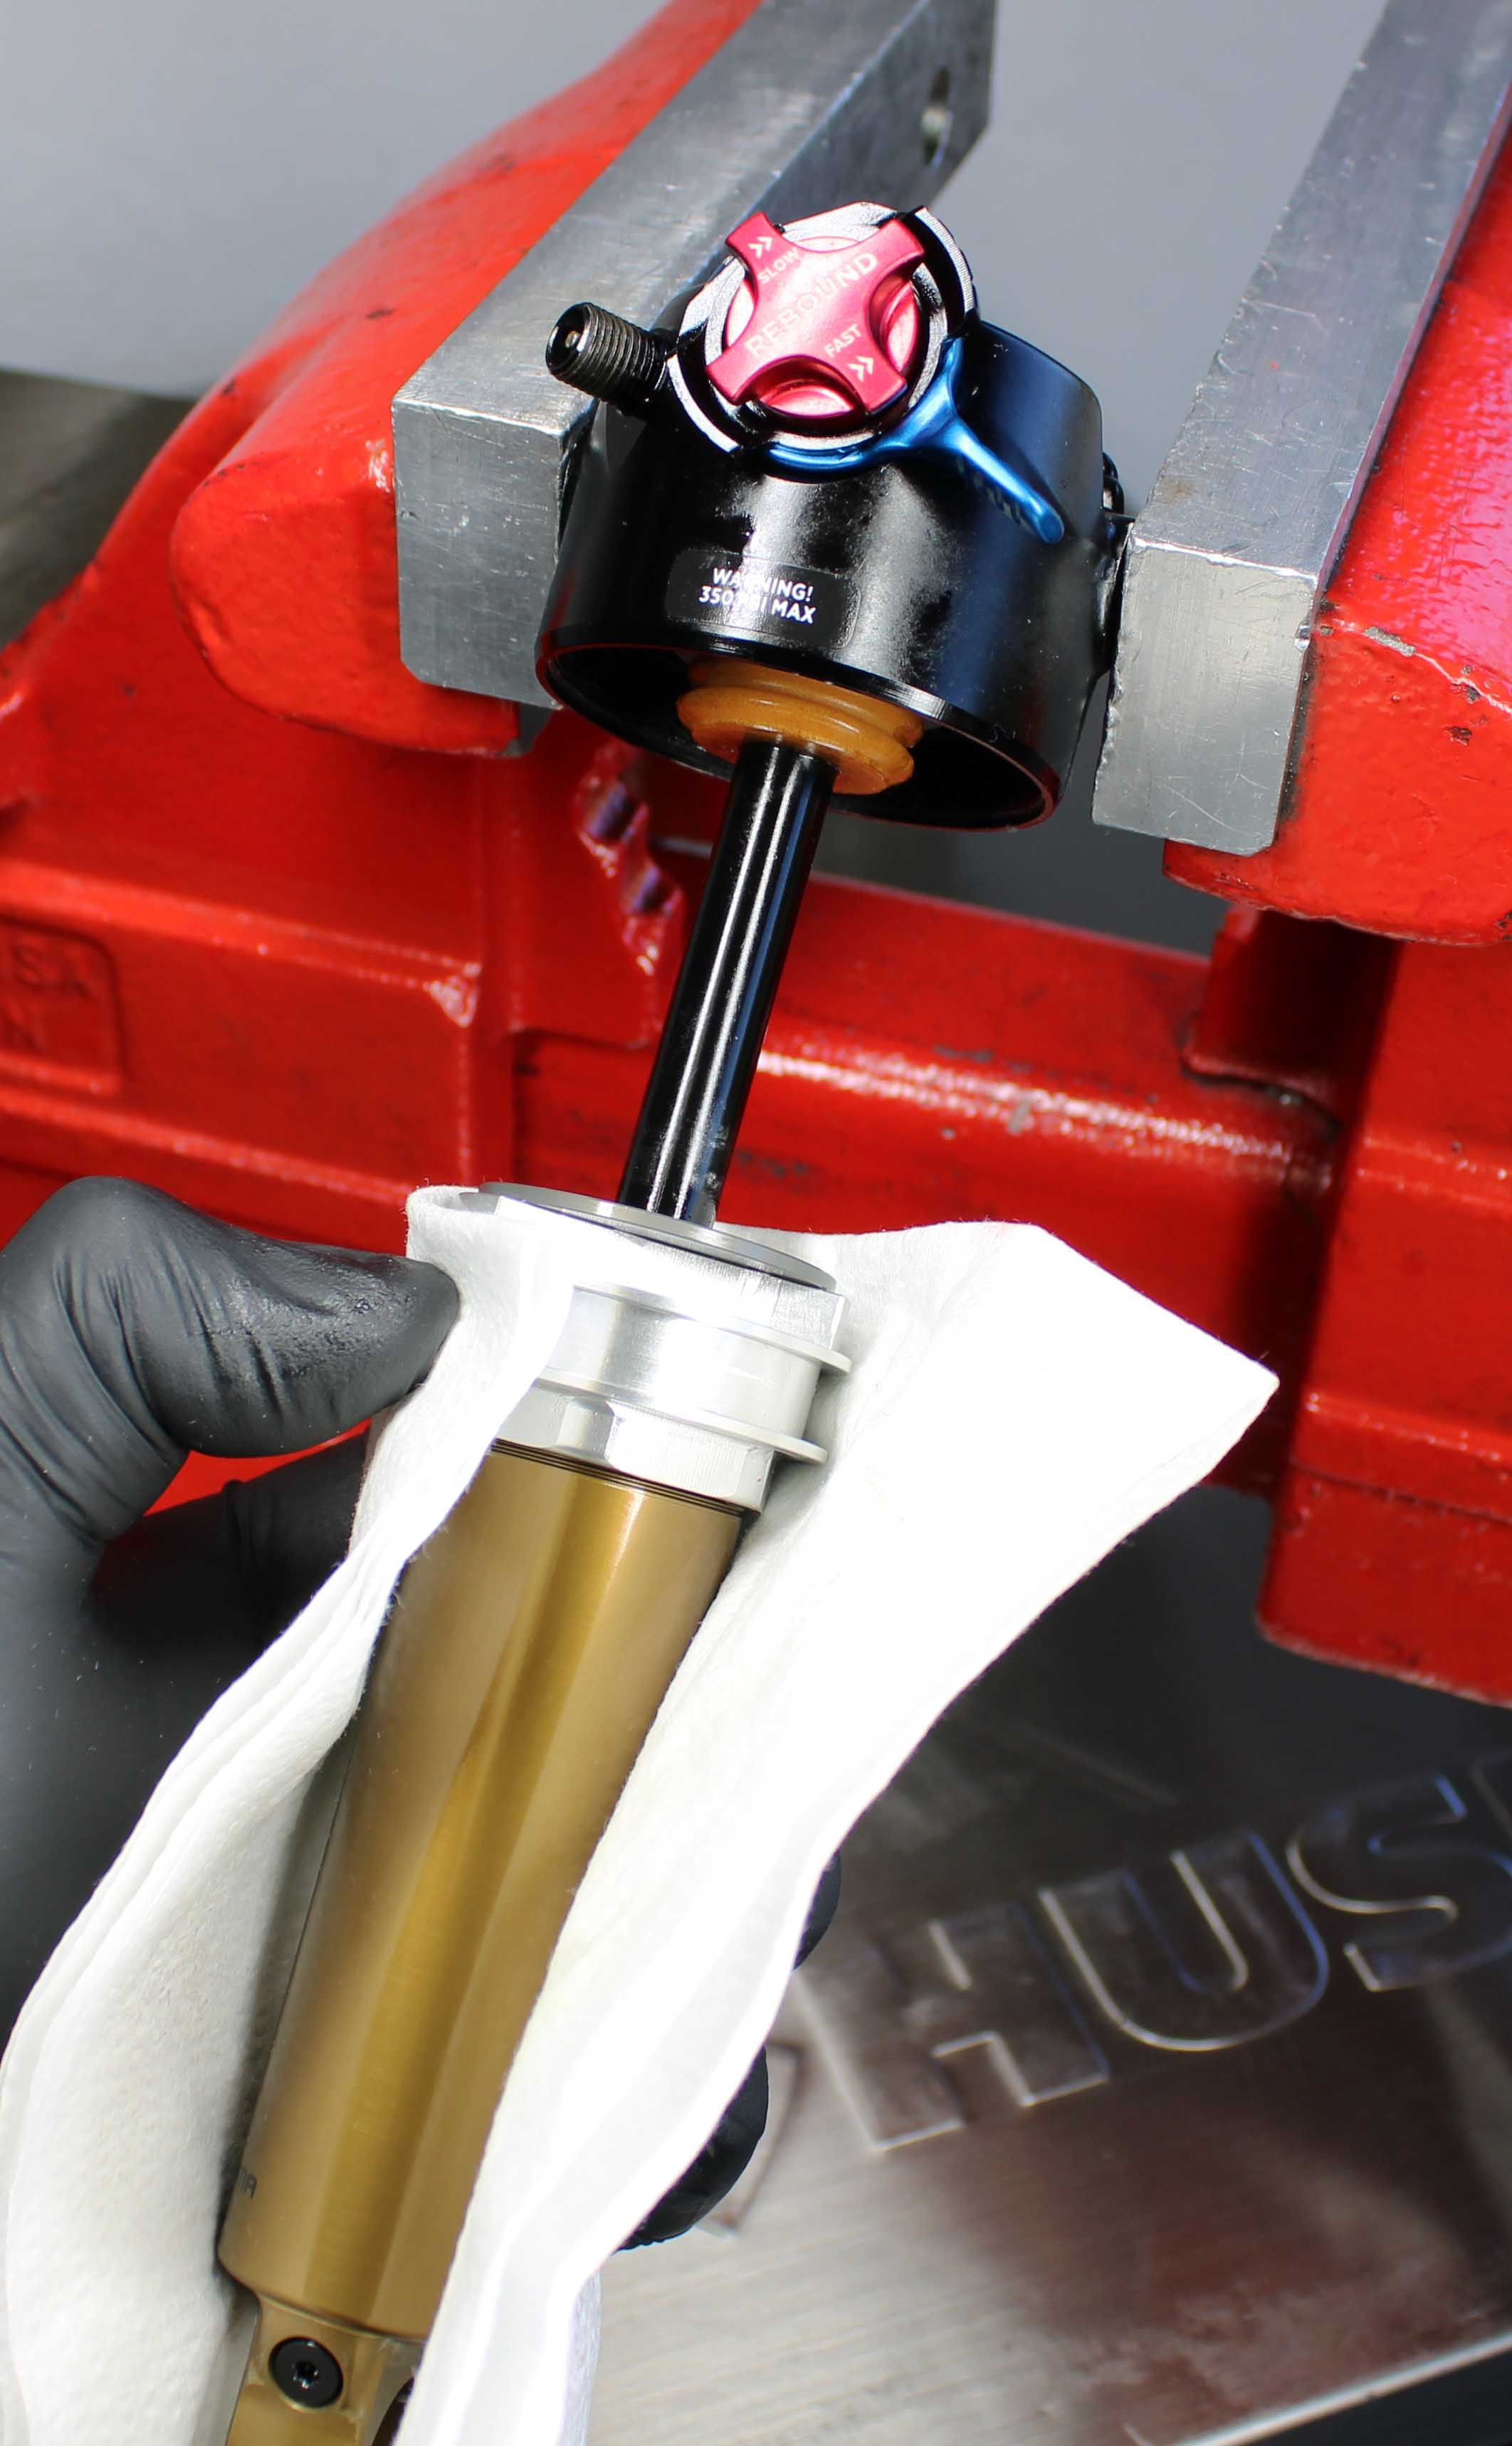
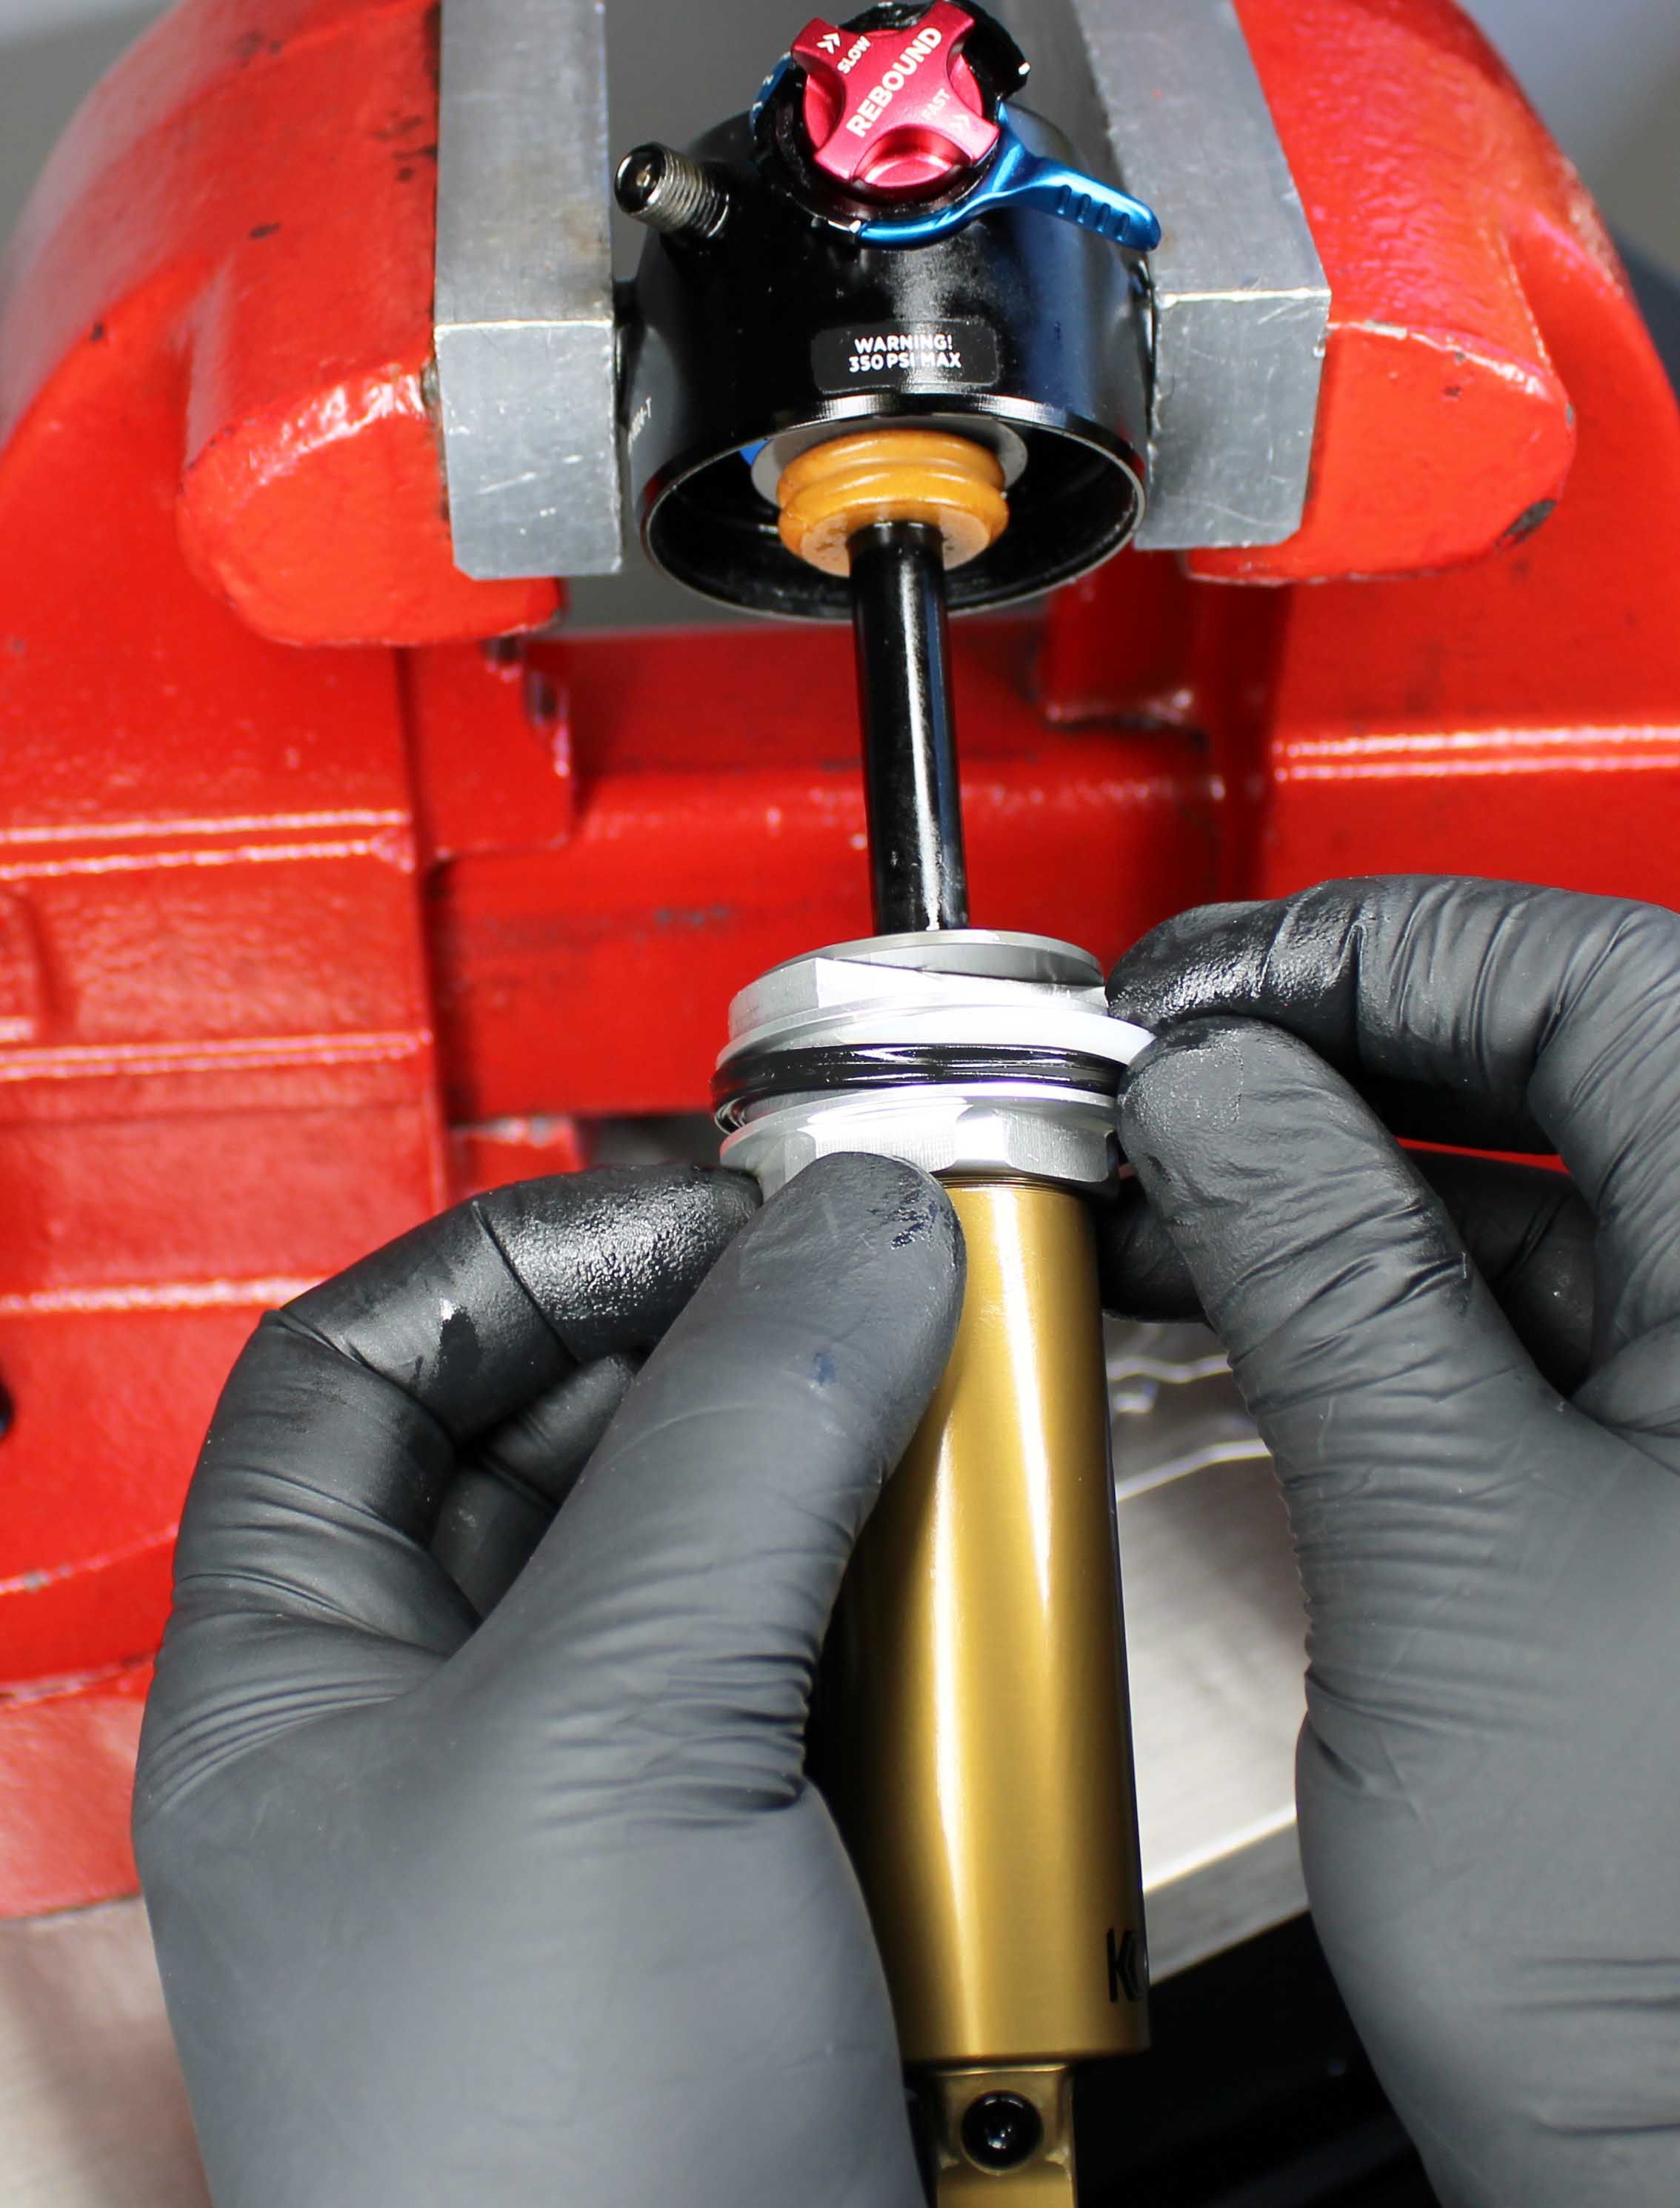
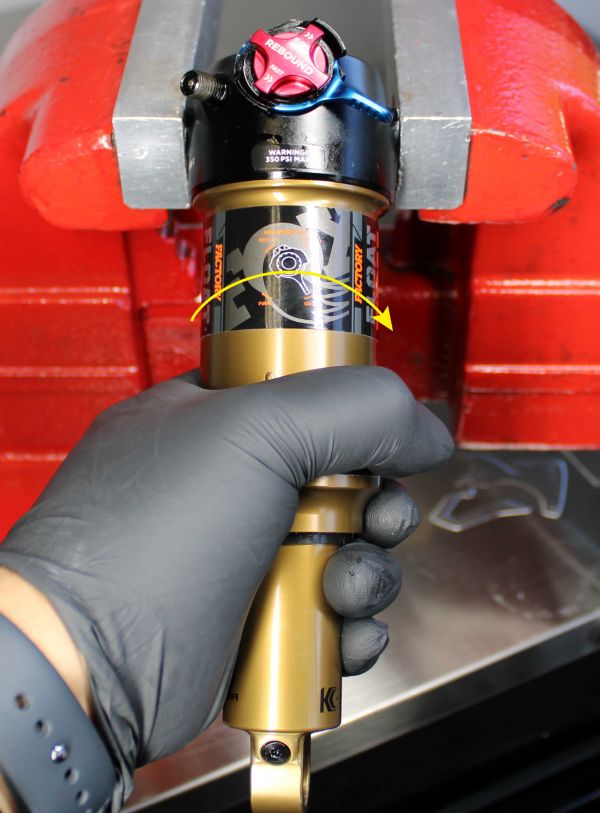
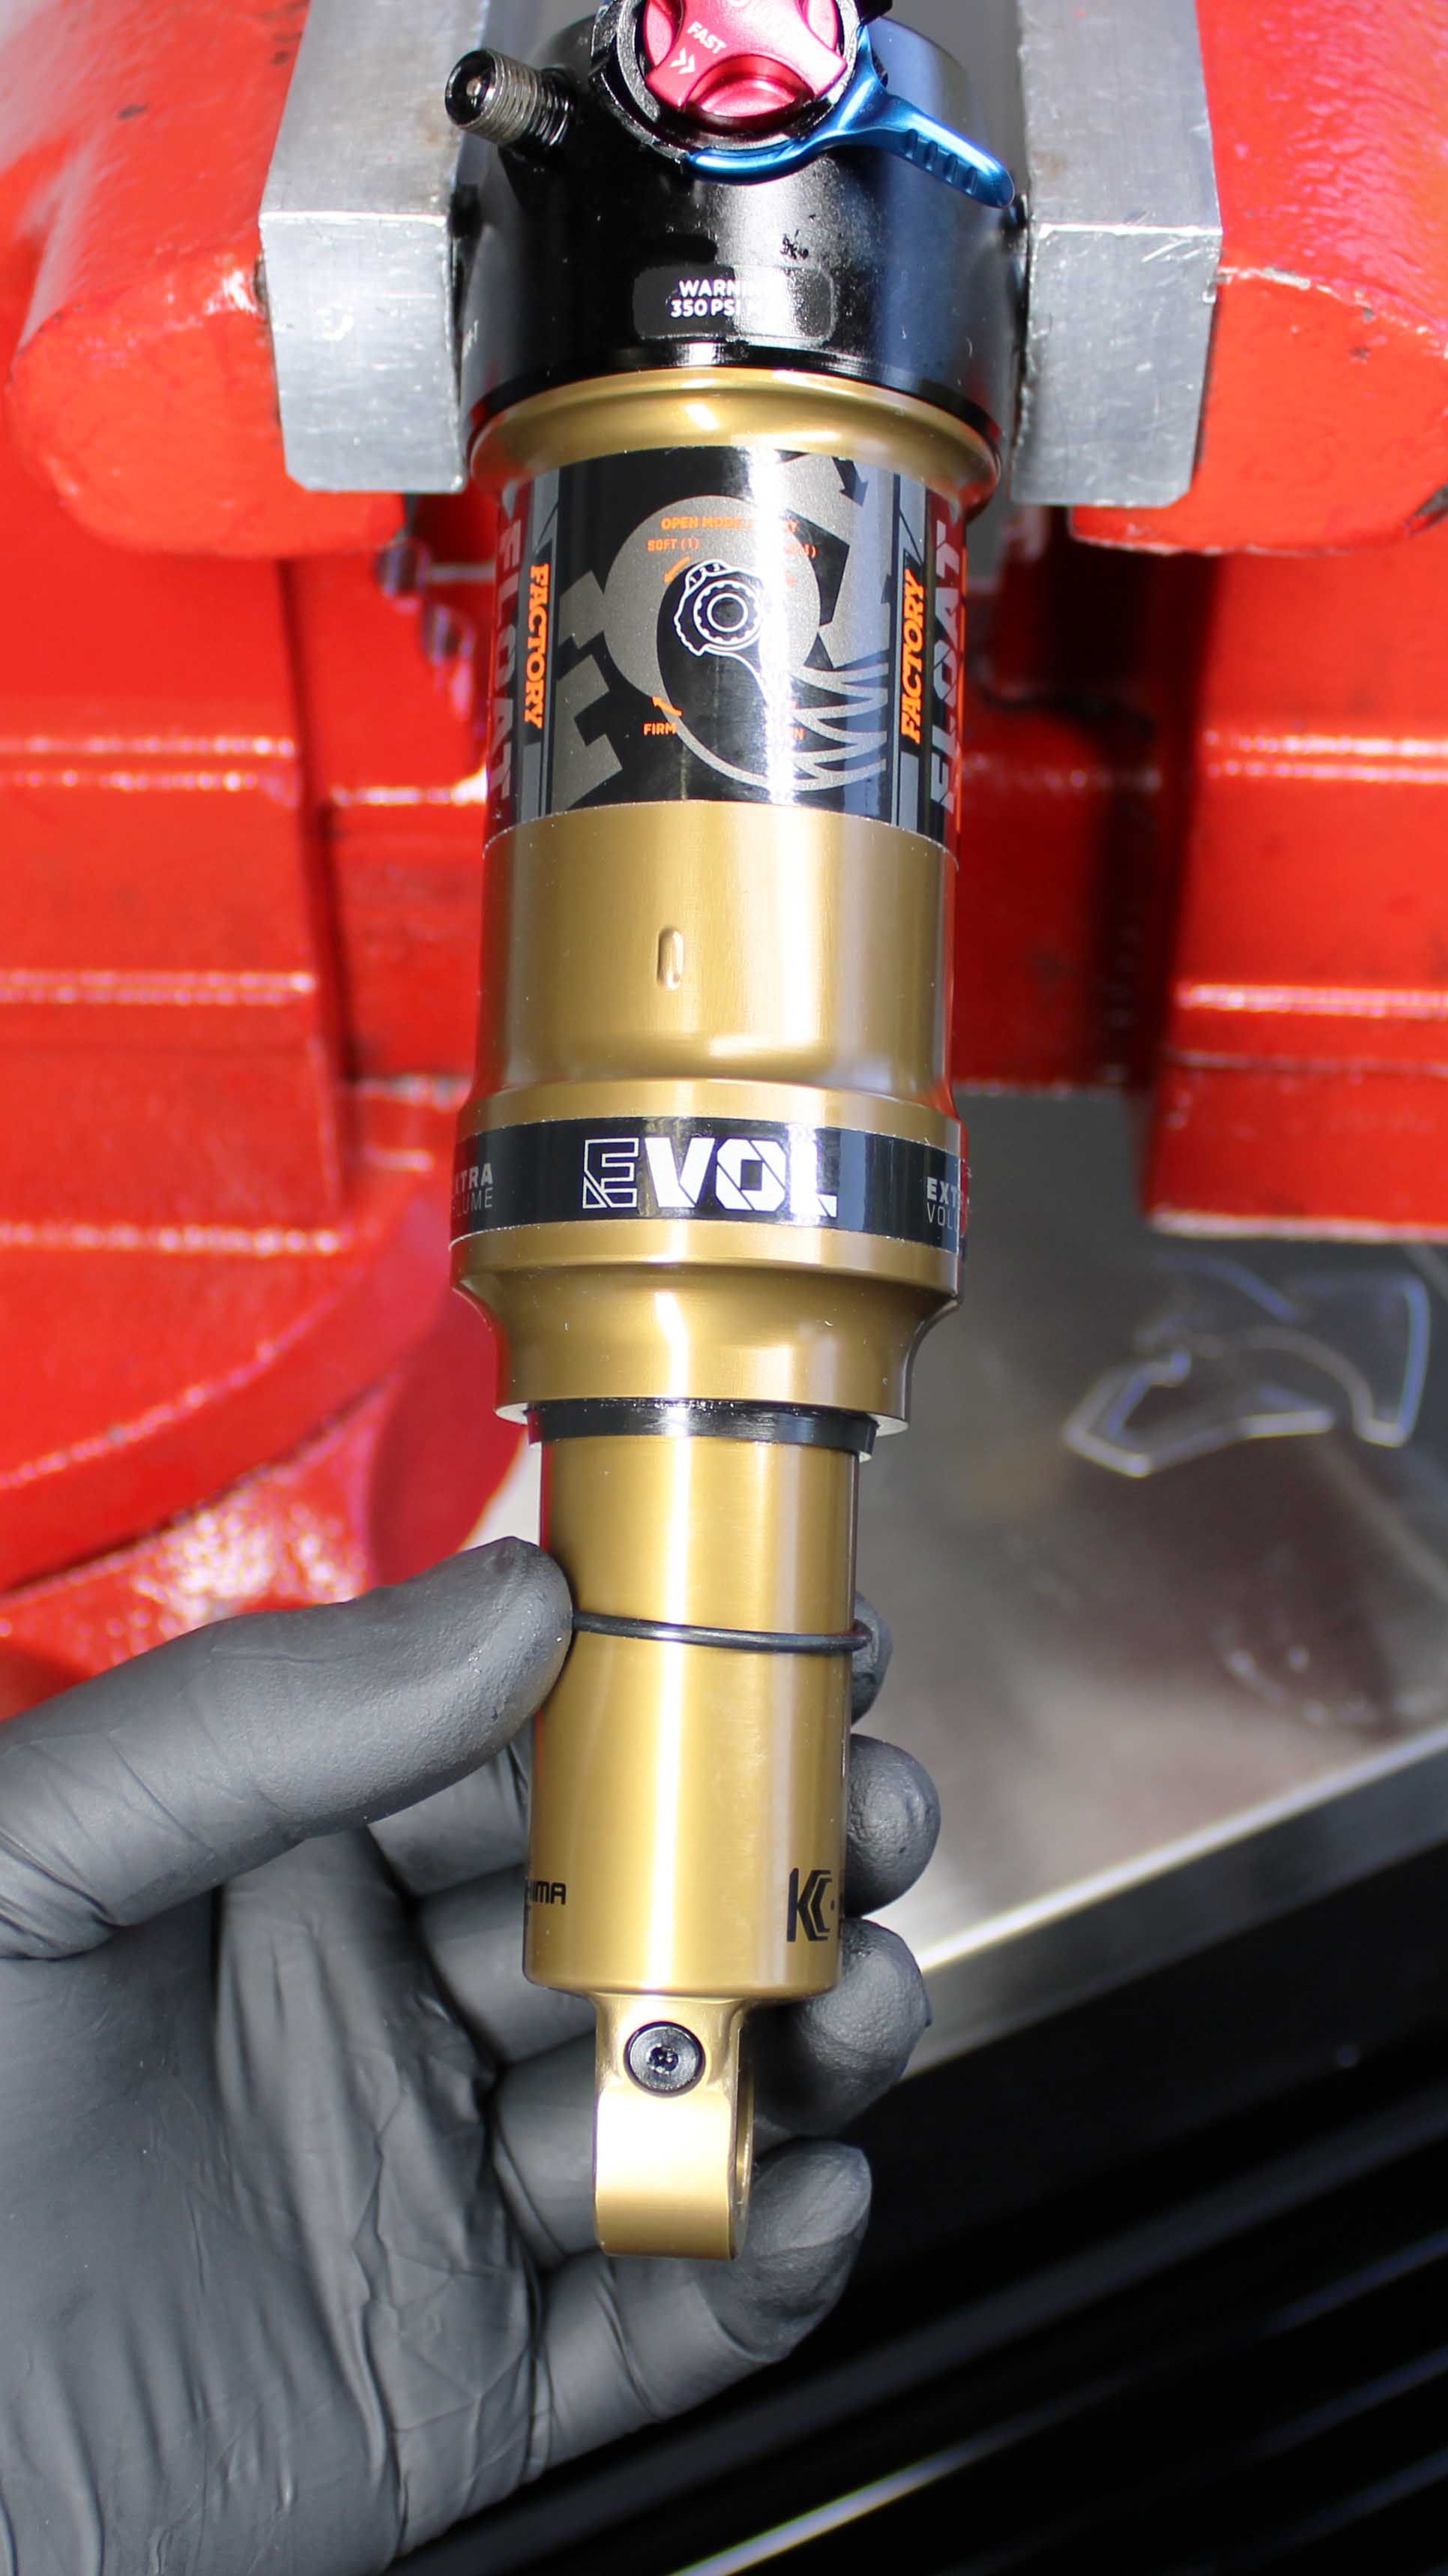
Step 2
Thread a cloth rag through the body eyelet of your shock, then unthread the air sleeve by turning it counter-clockwise. Unthread the rag and pull the air sleeve off to remove.
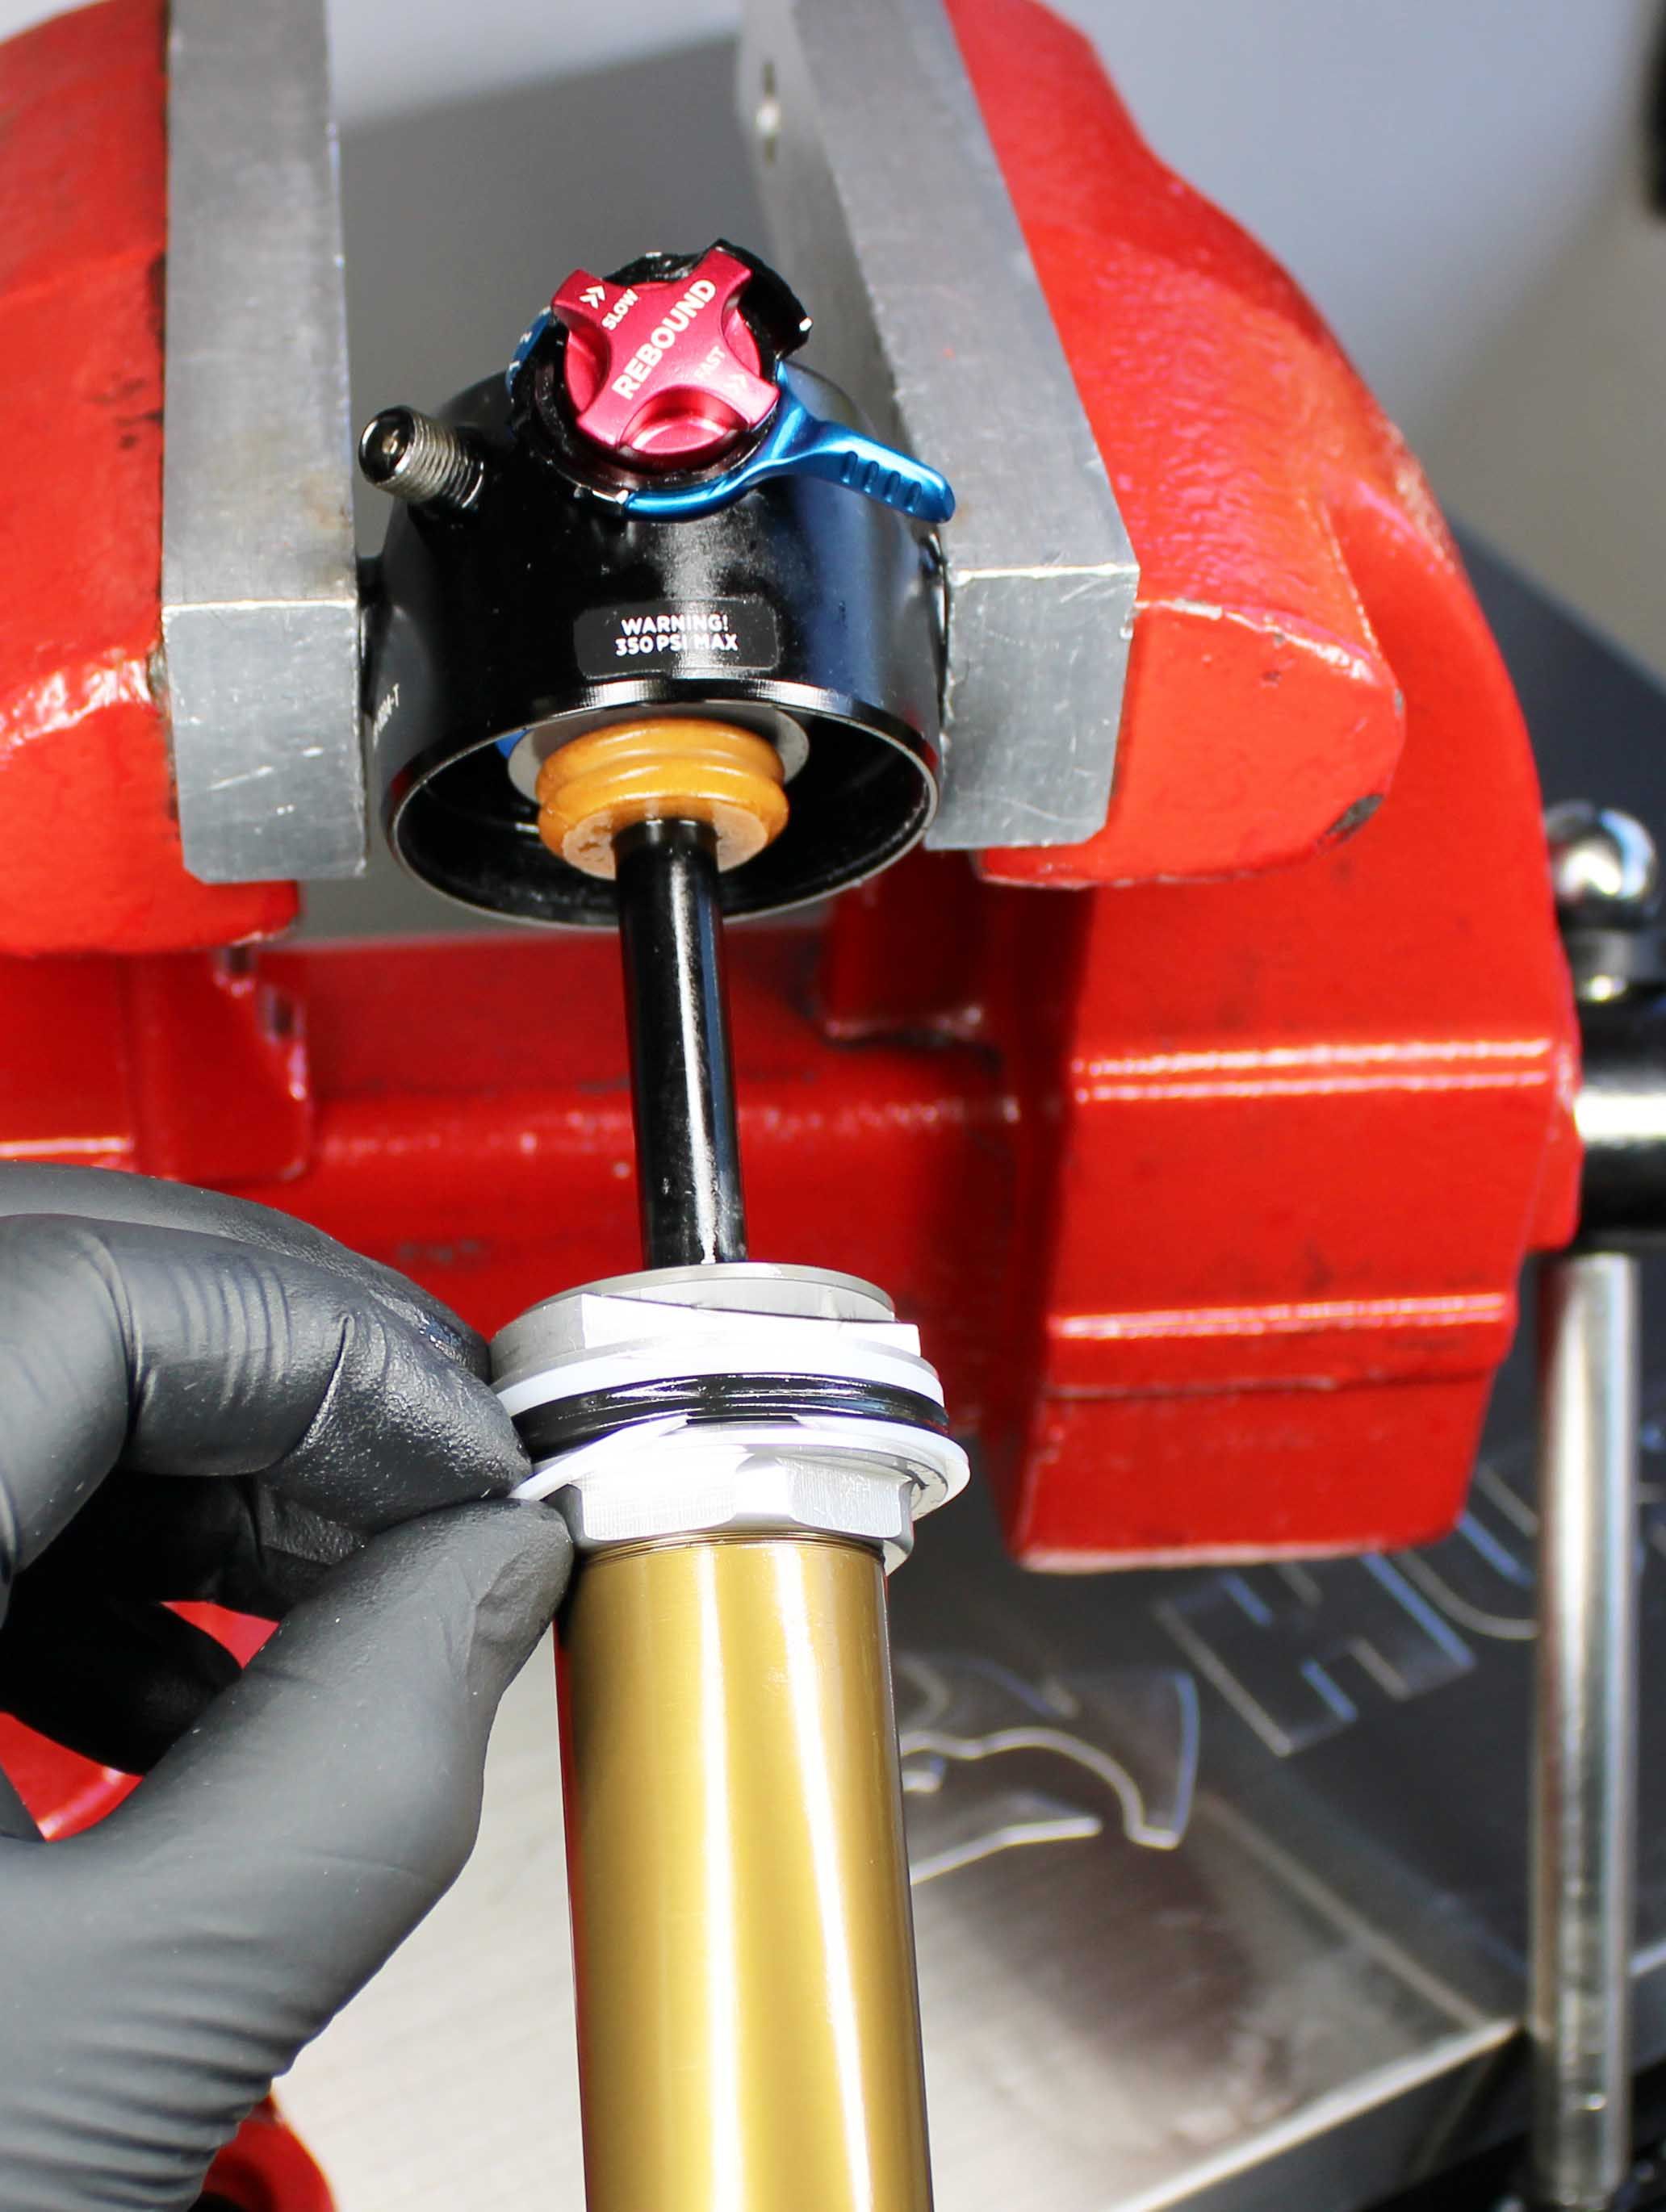
Step 3
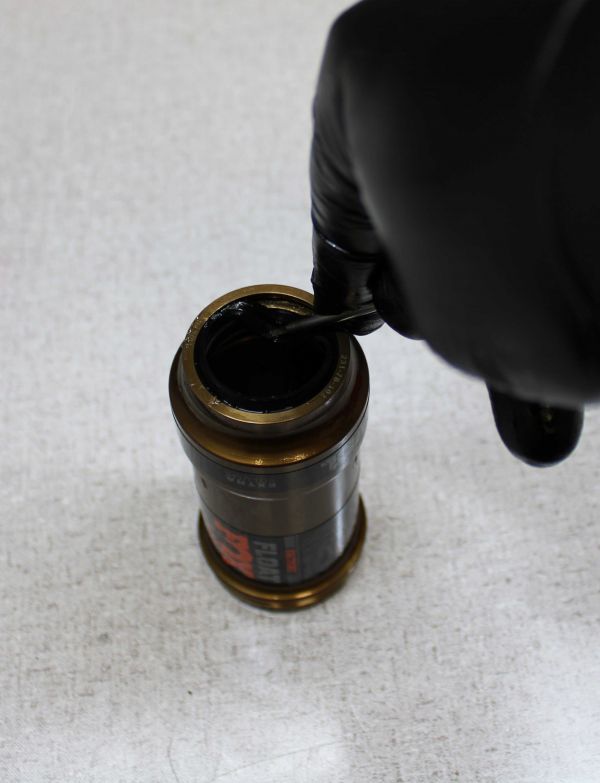
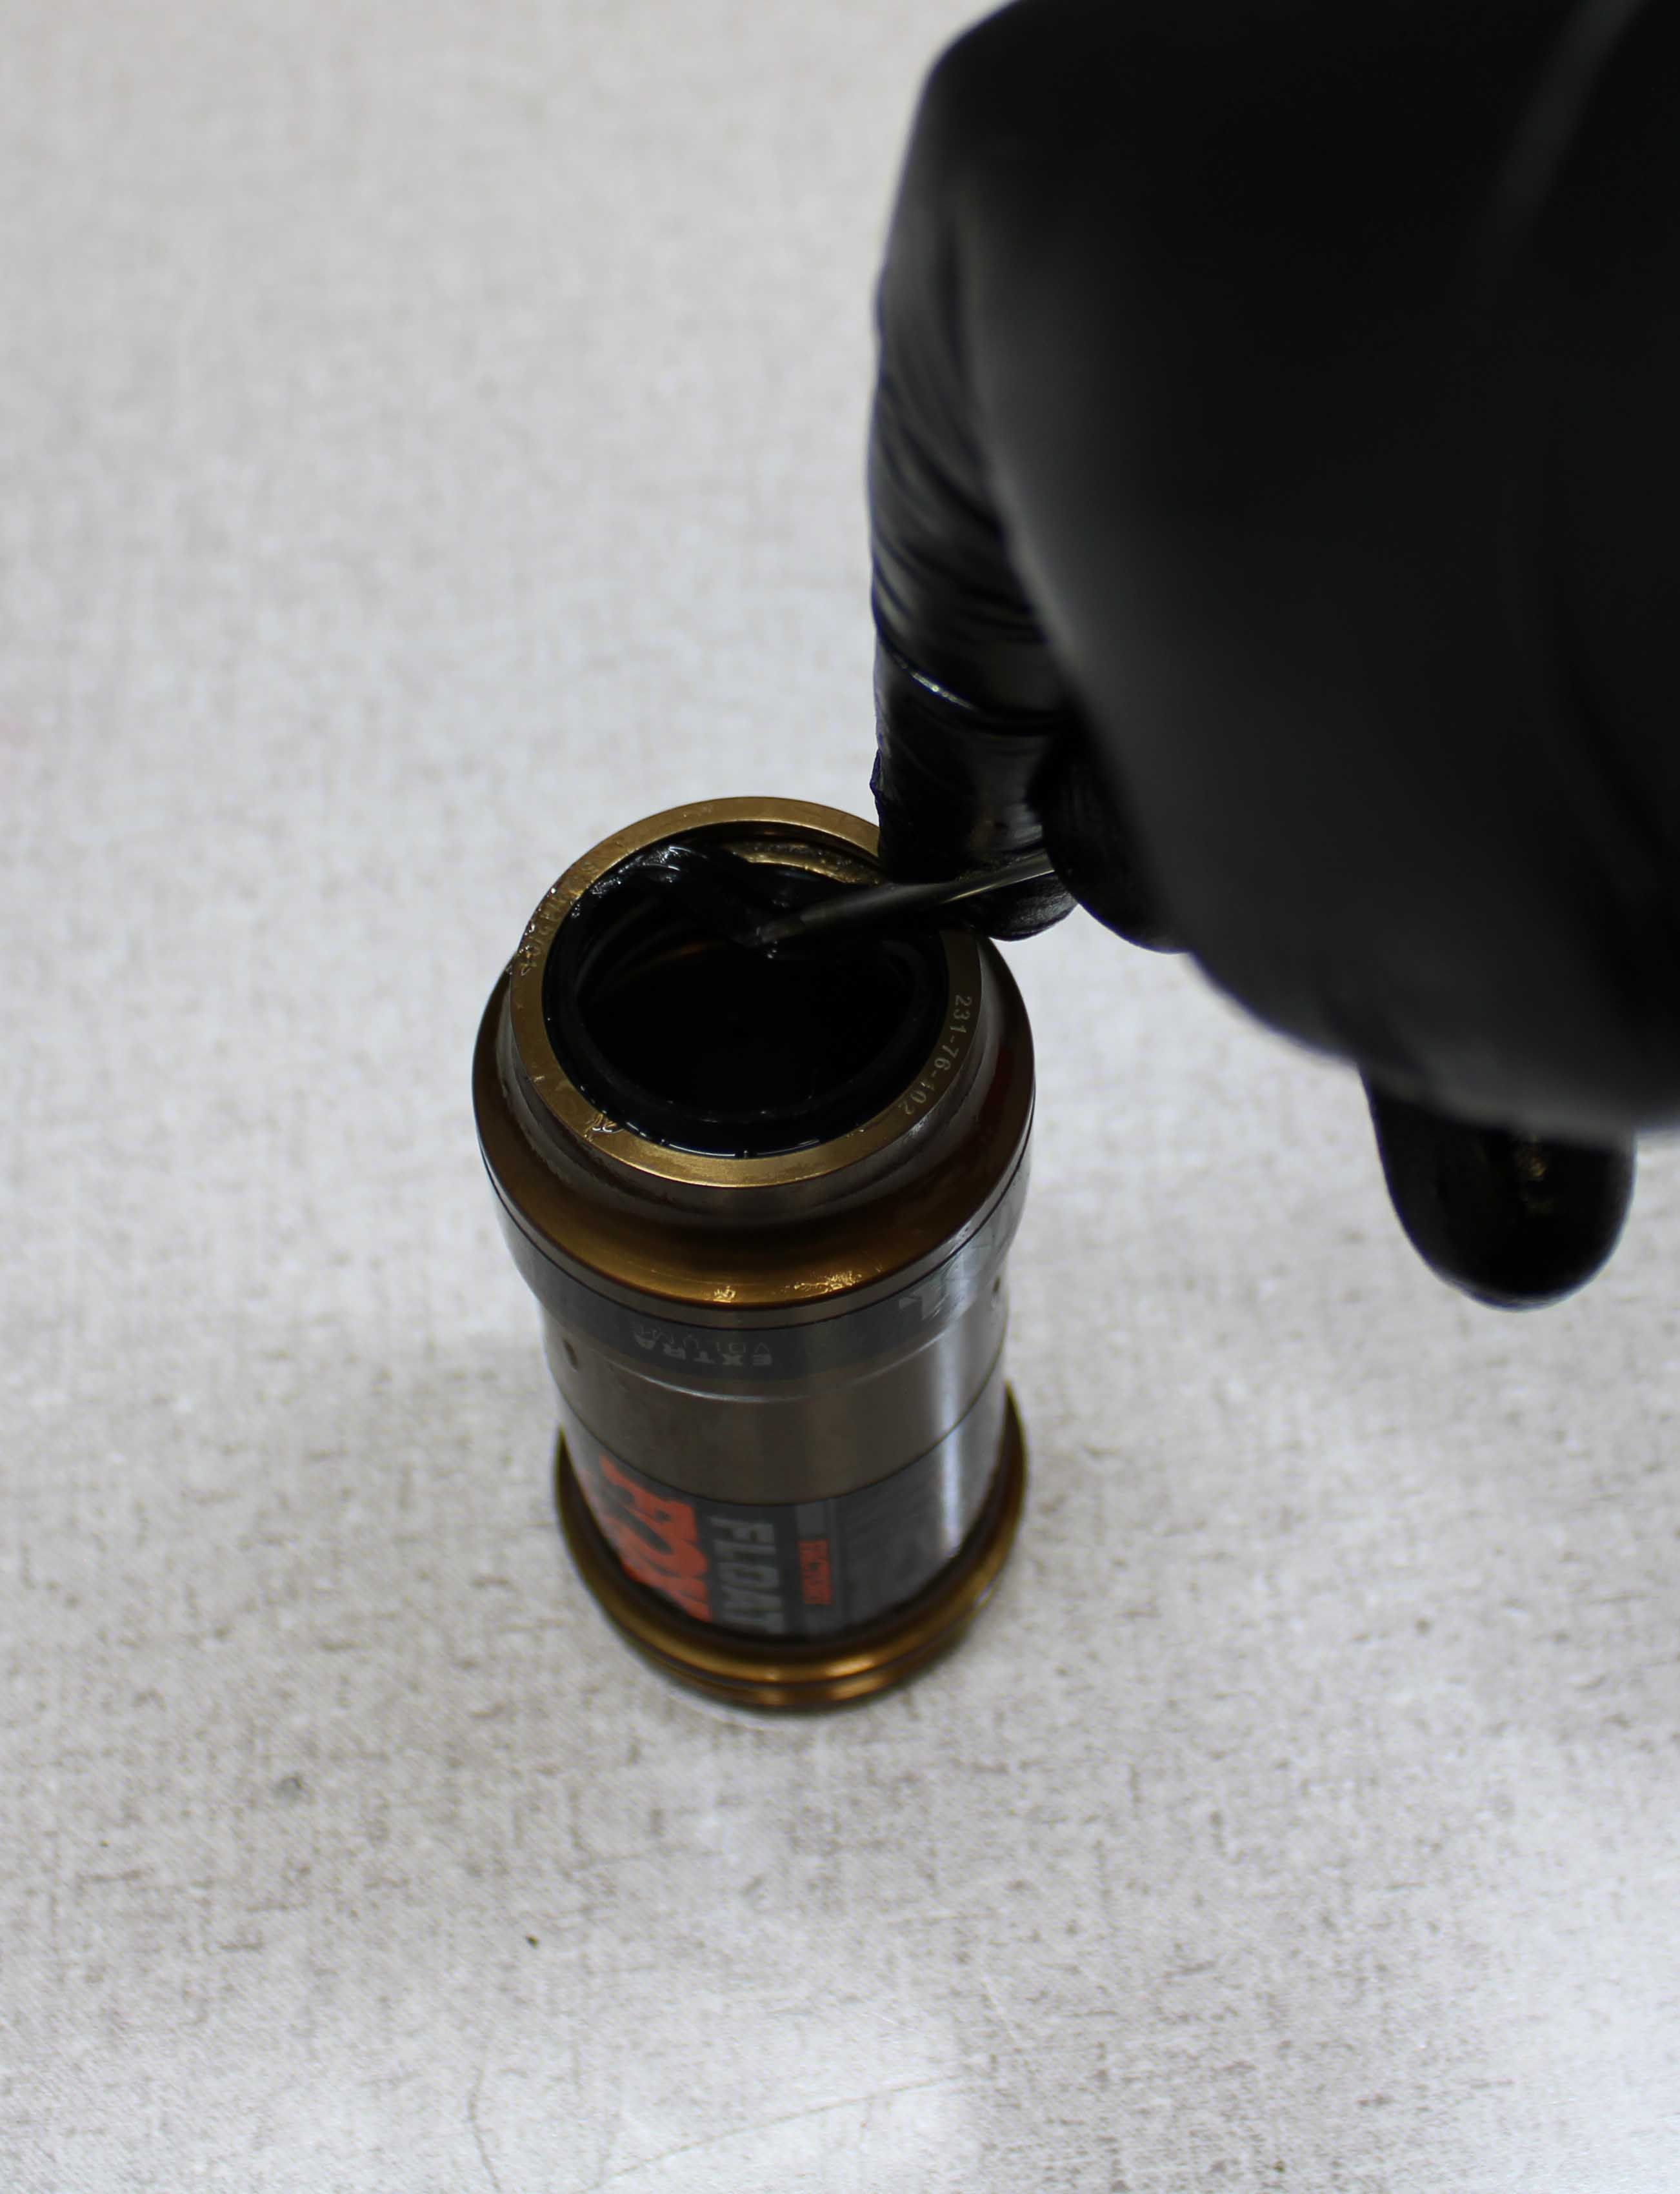
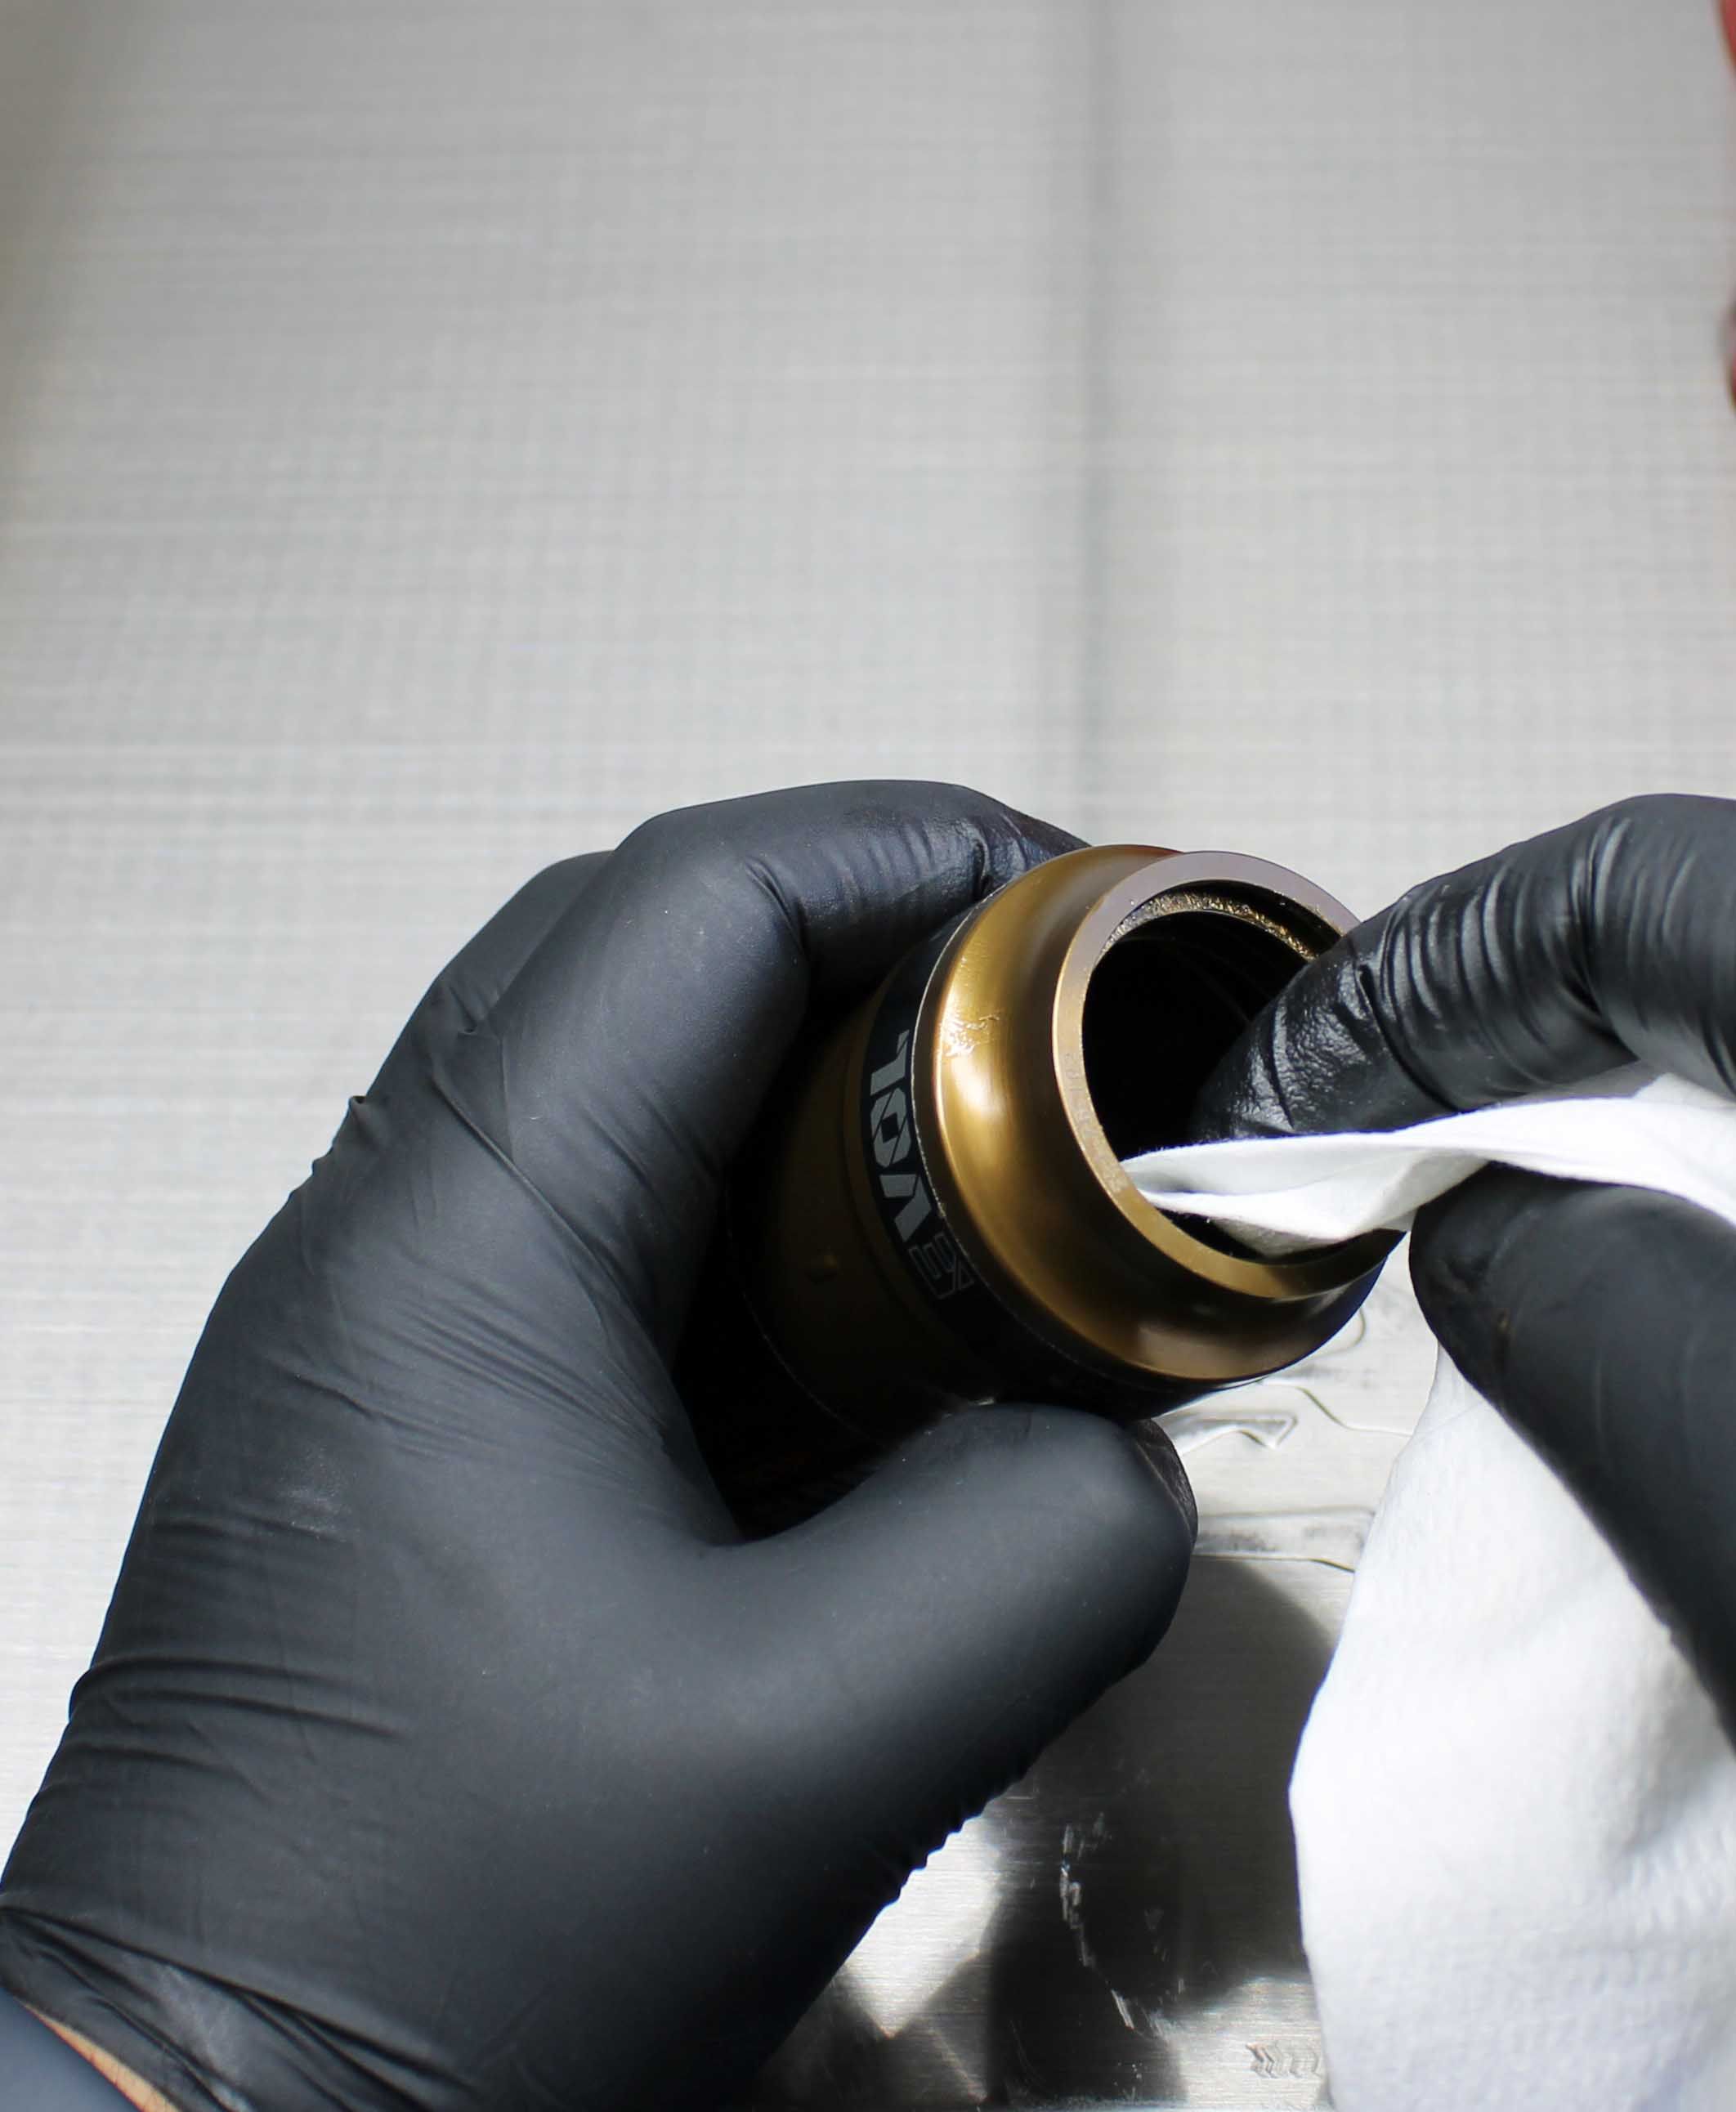
Using a pick to push the dust wiper toward the center of the air sleeve for removal.
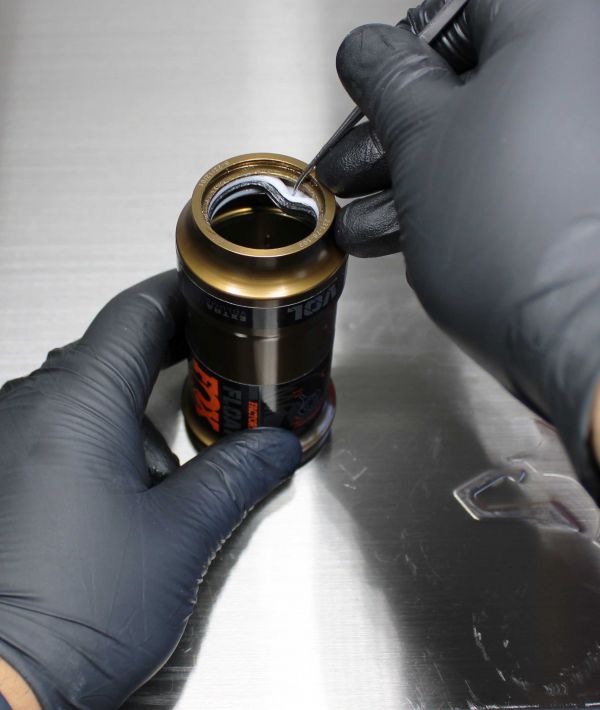
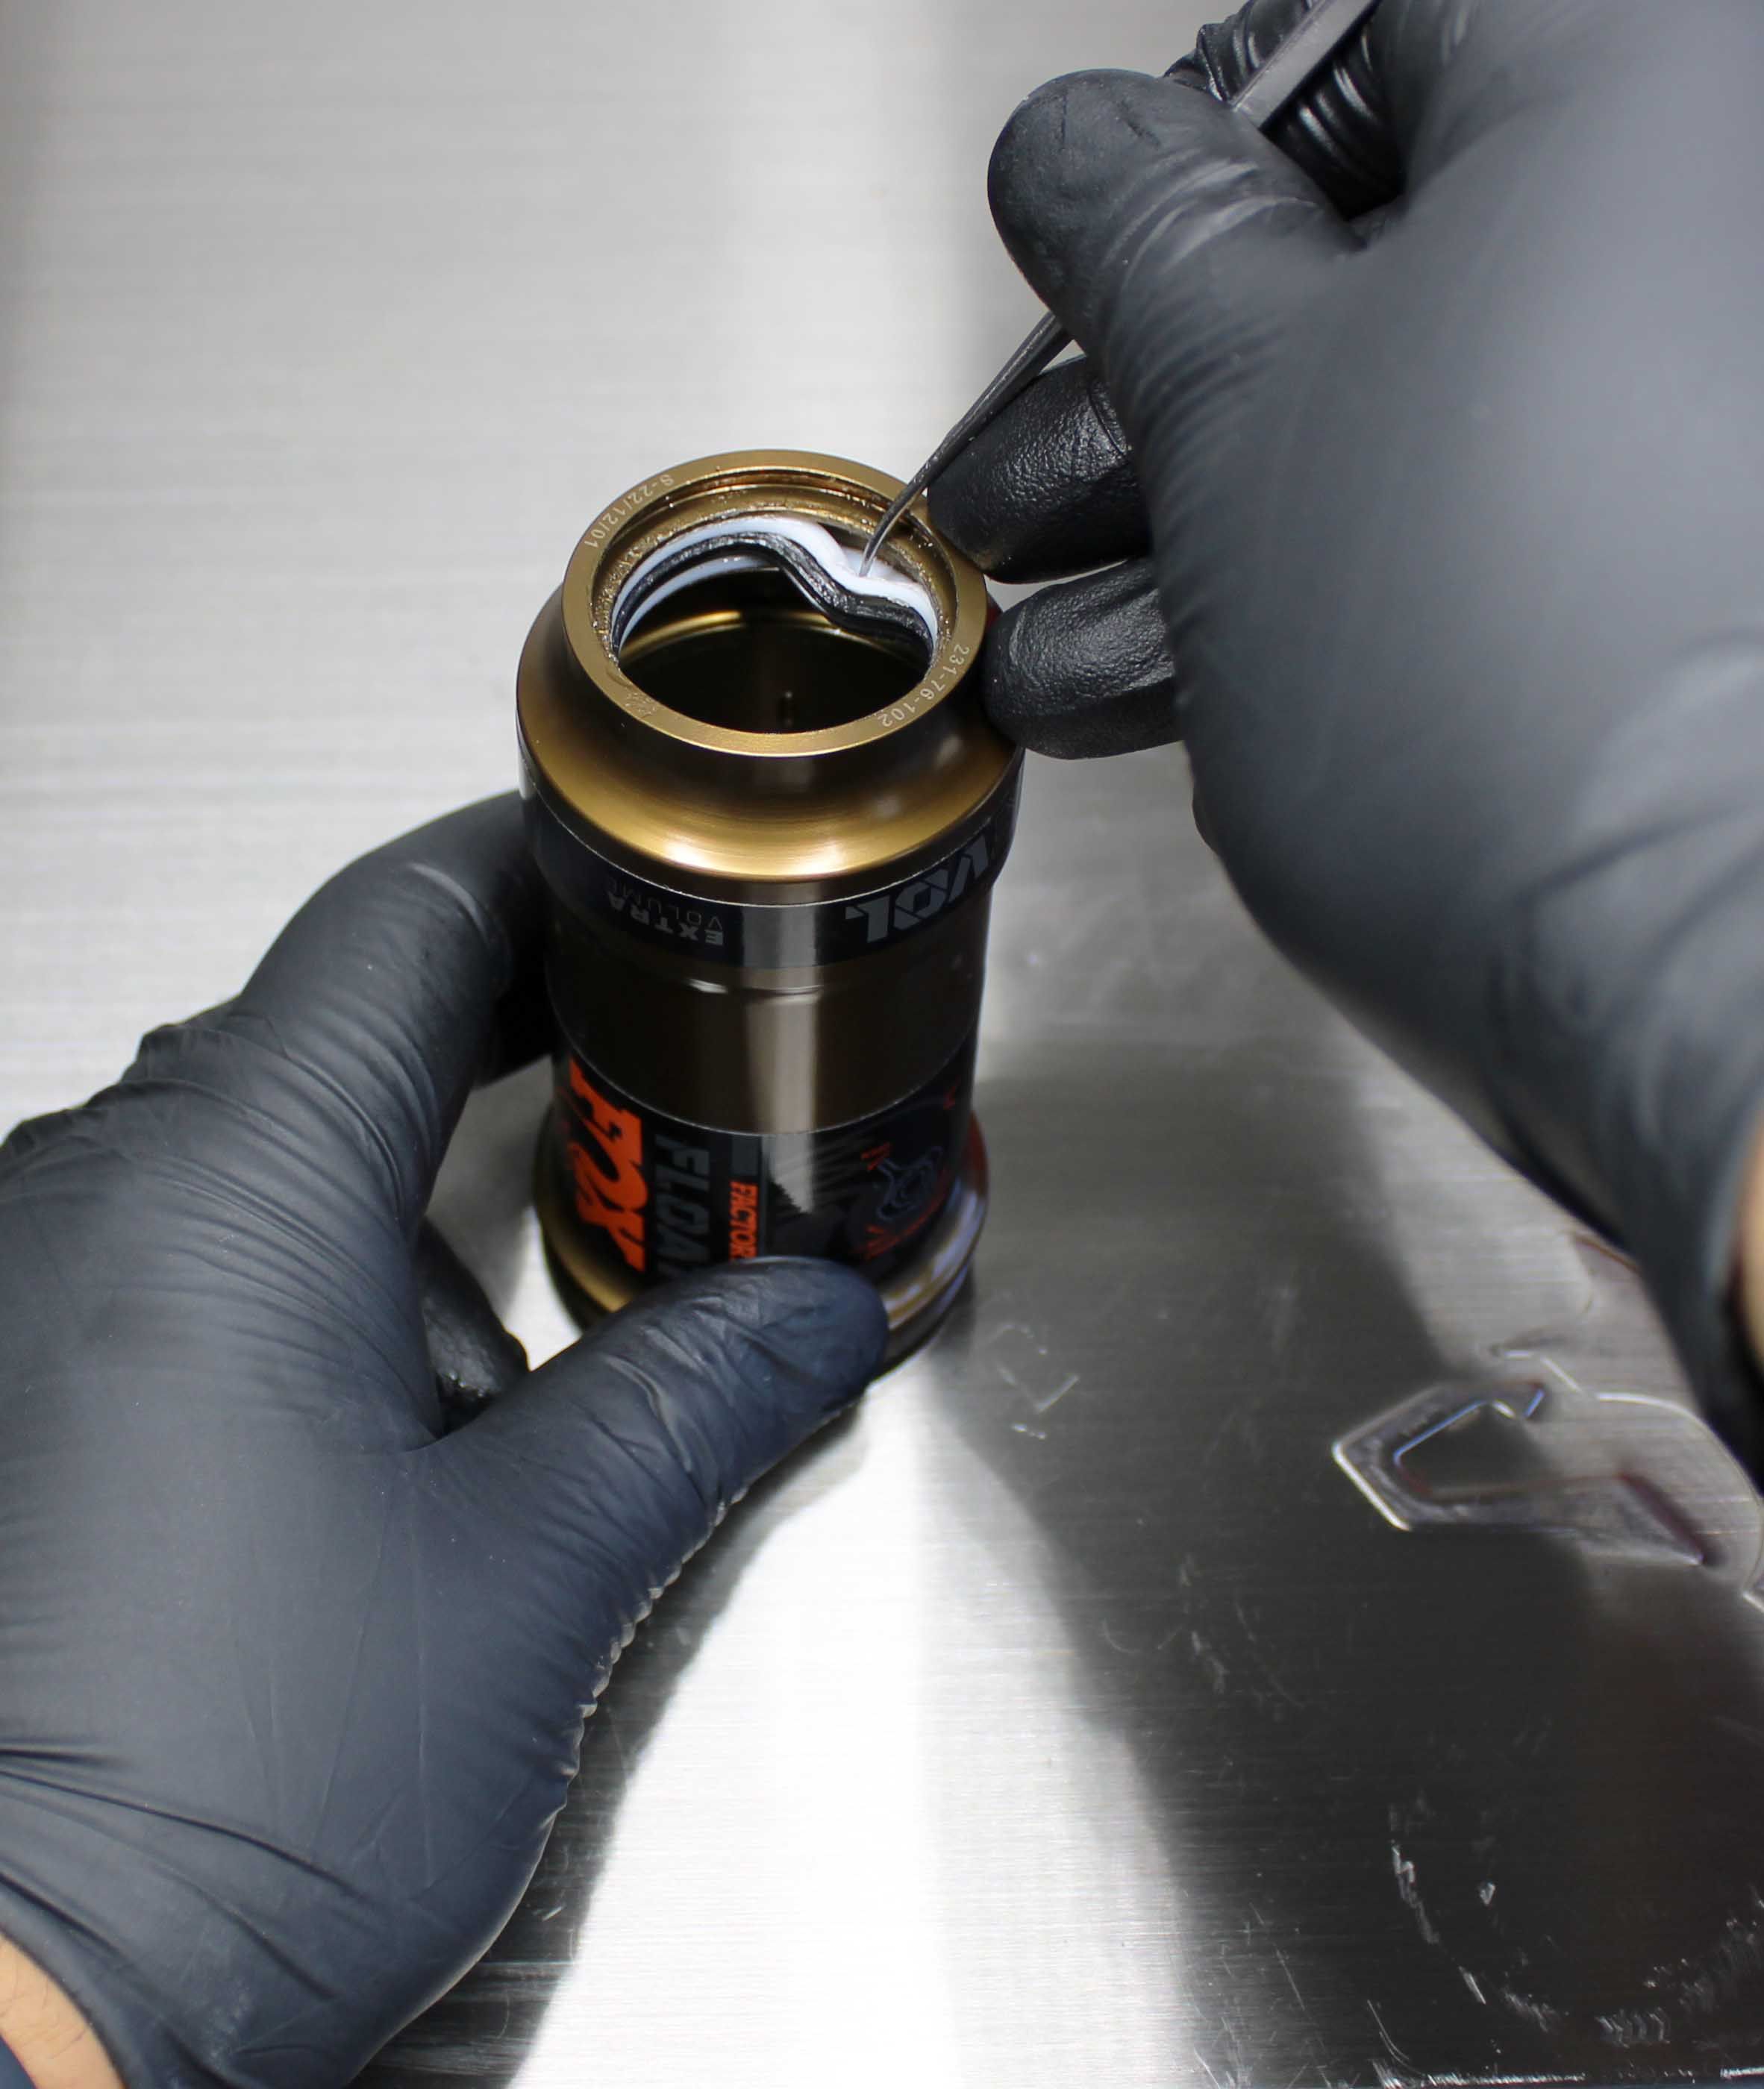
Step 4
With your tool parallel to the seals, slide the tip of your pick in above the upper white ring, but stop before contacting the inner wall of the sleeve. Turn the tip of your pick down to stab the upper white ring and the black seal, but stop before stabbing through lower white ring. Then pull toward the center to remove.
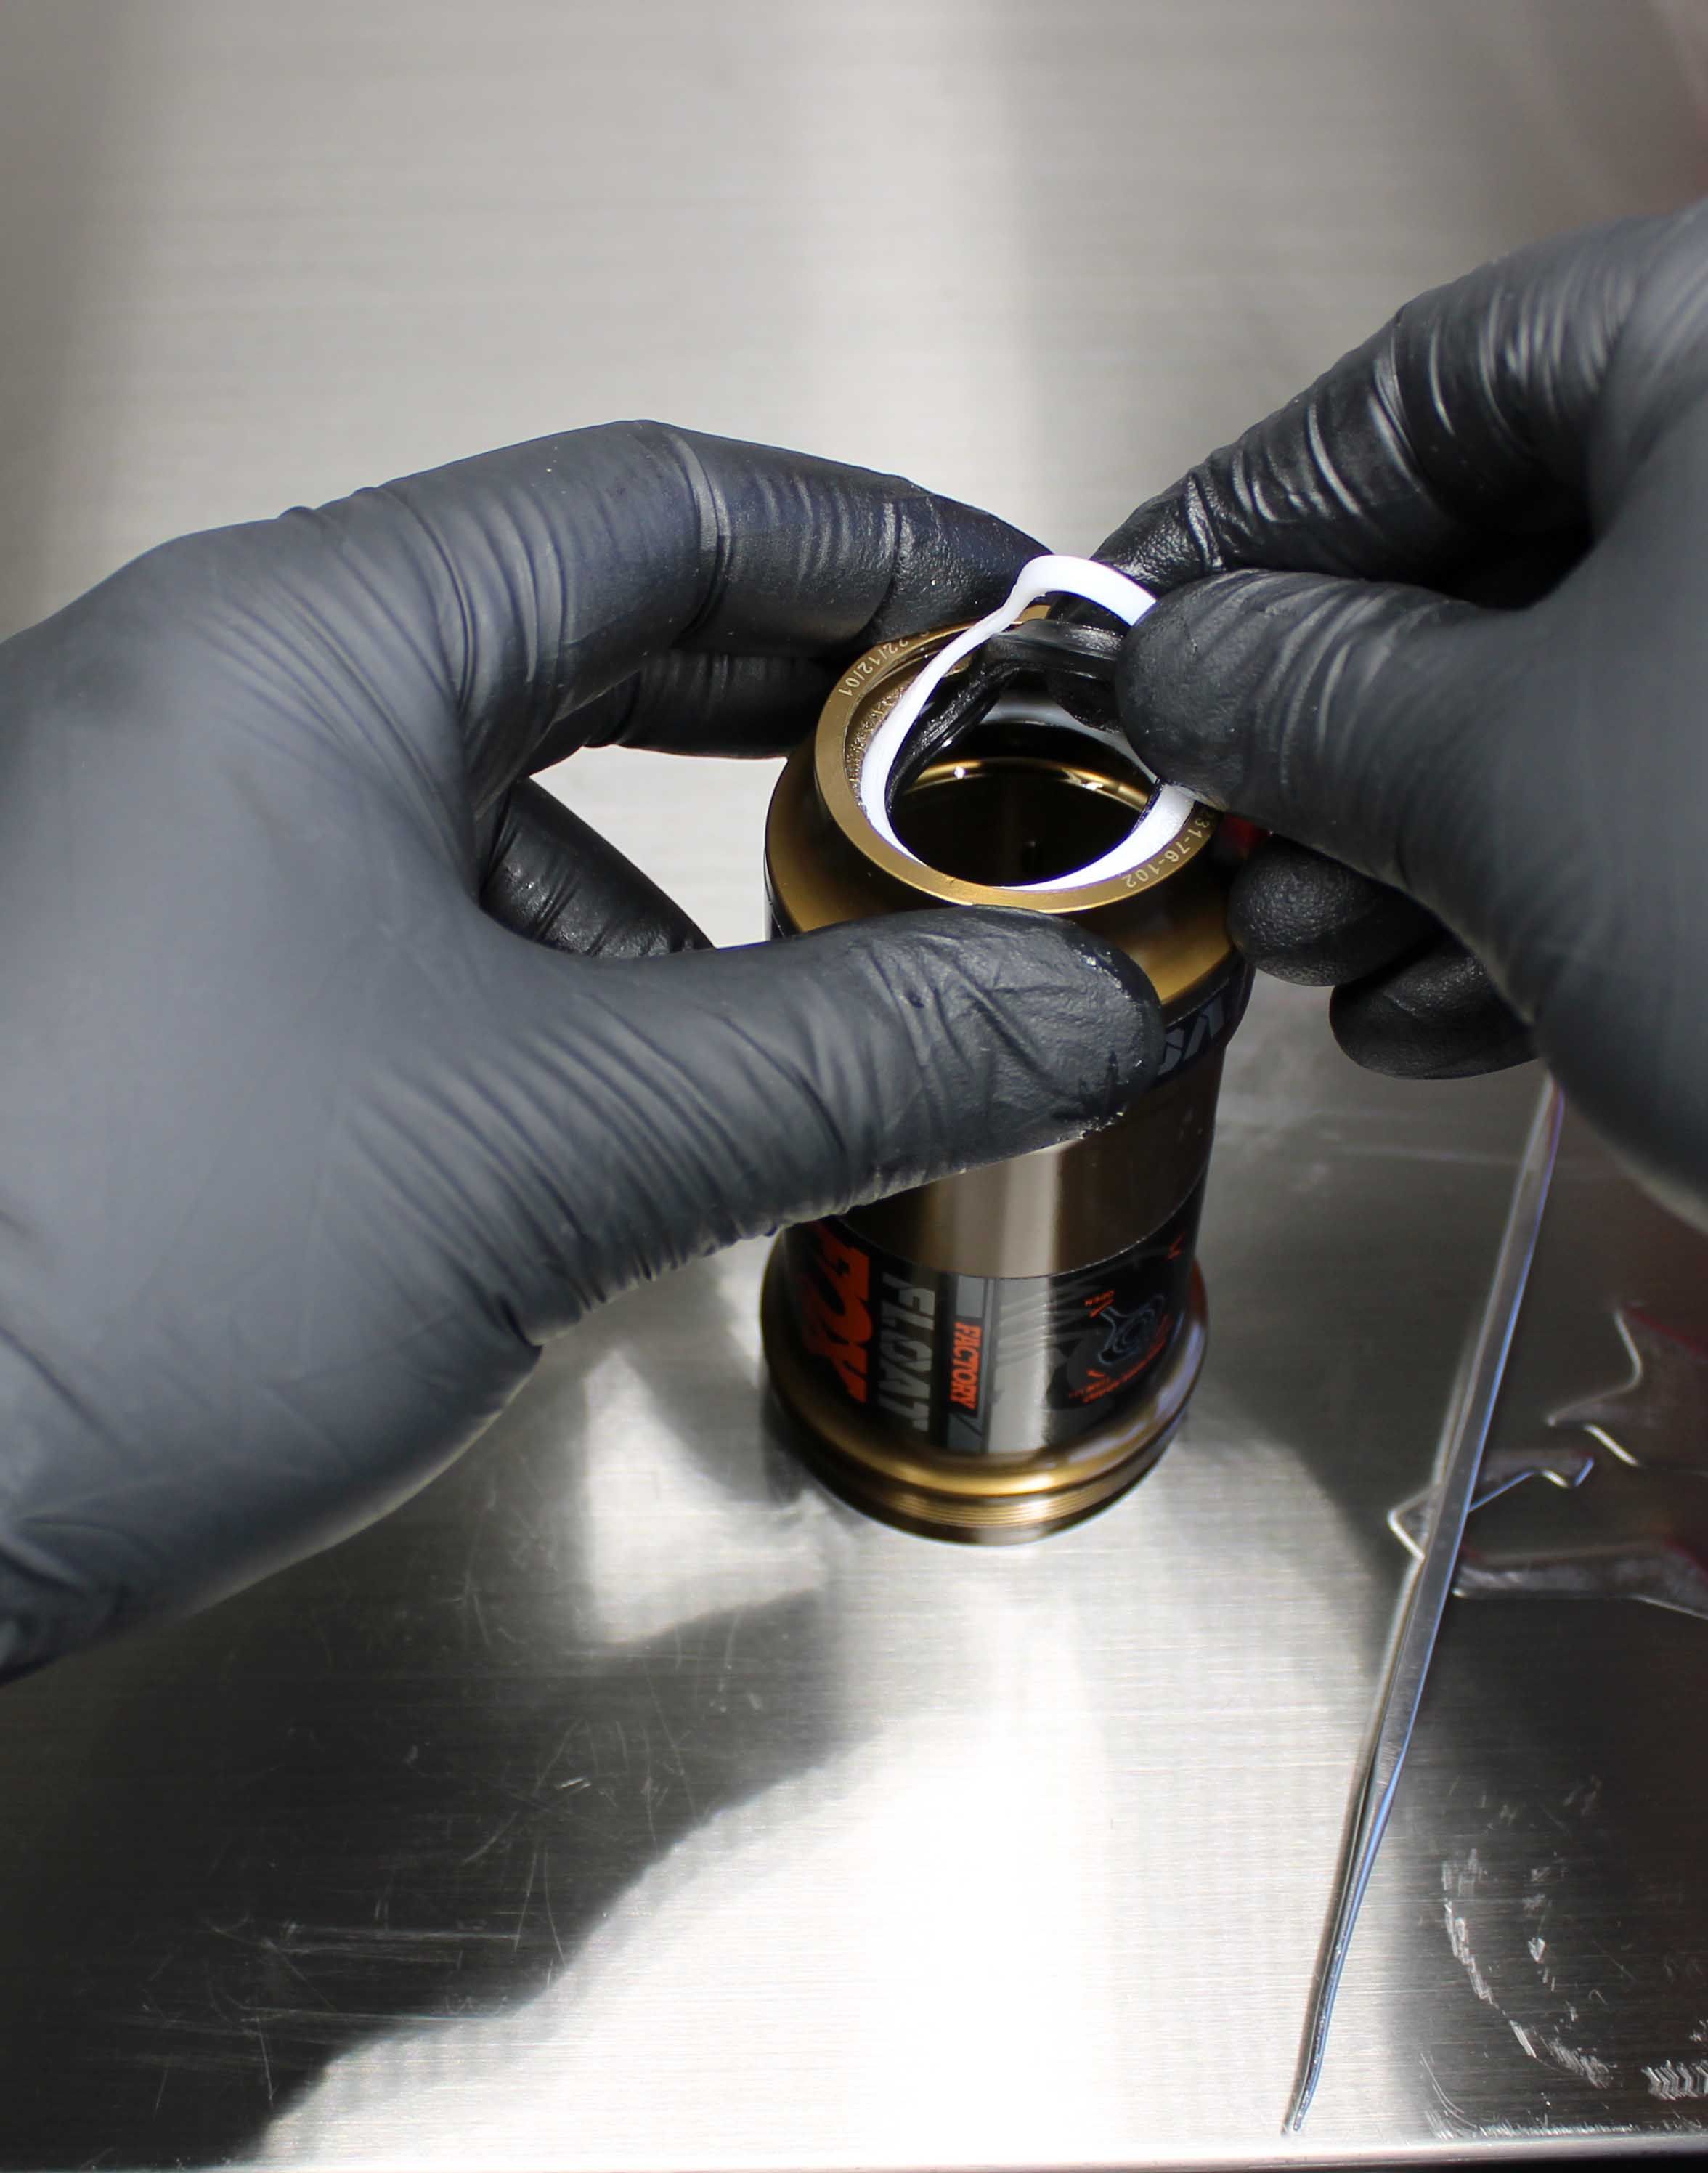
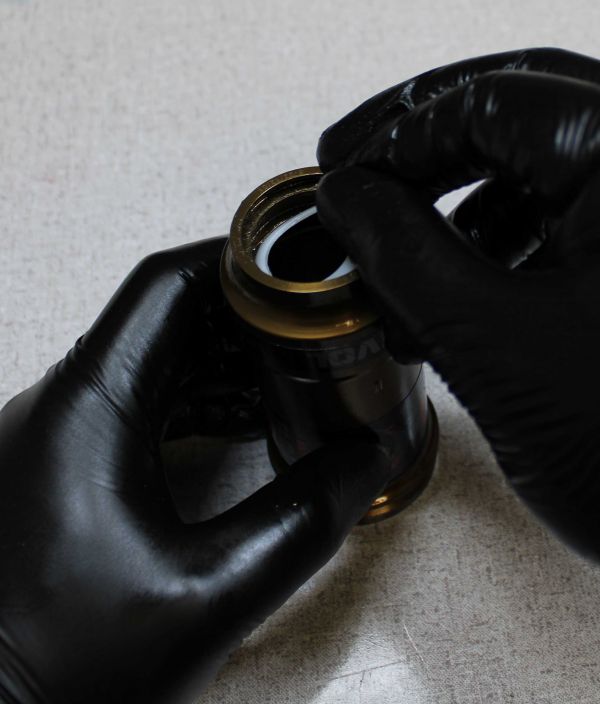
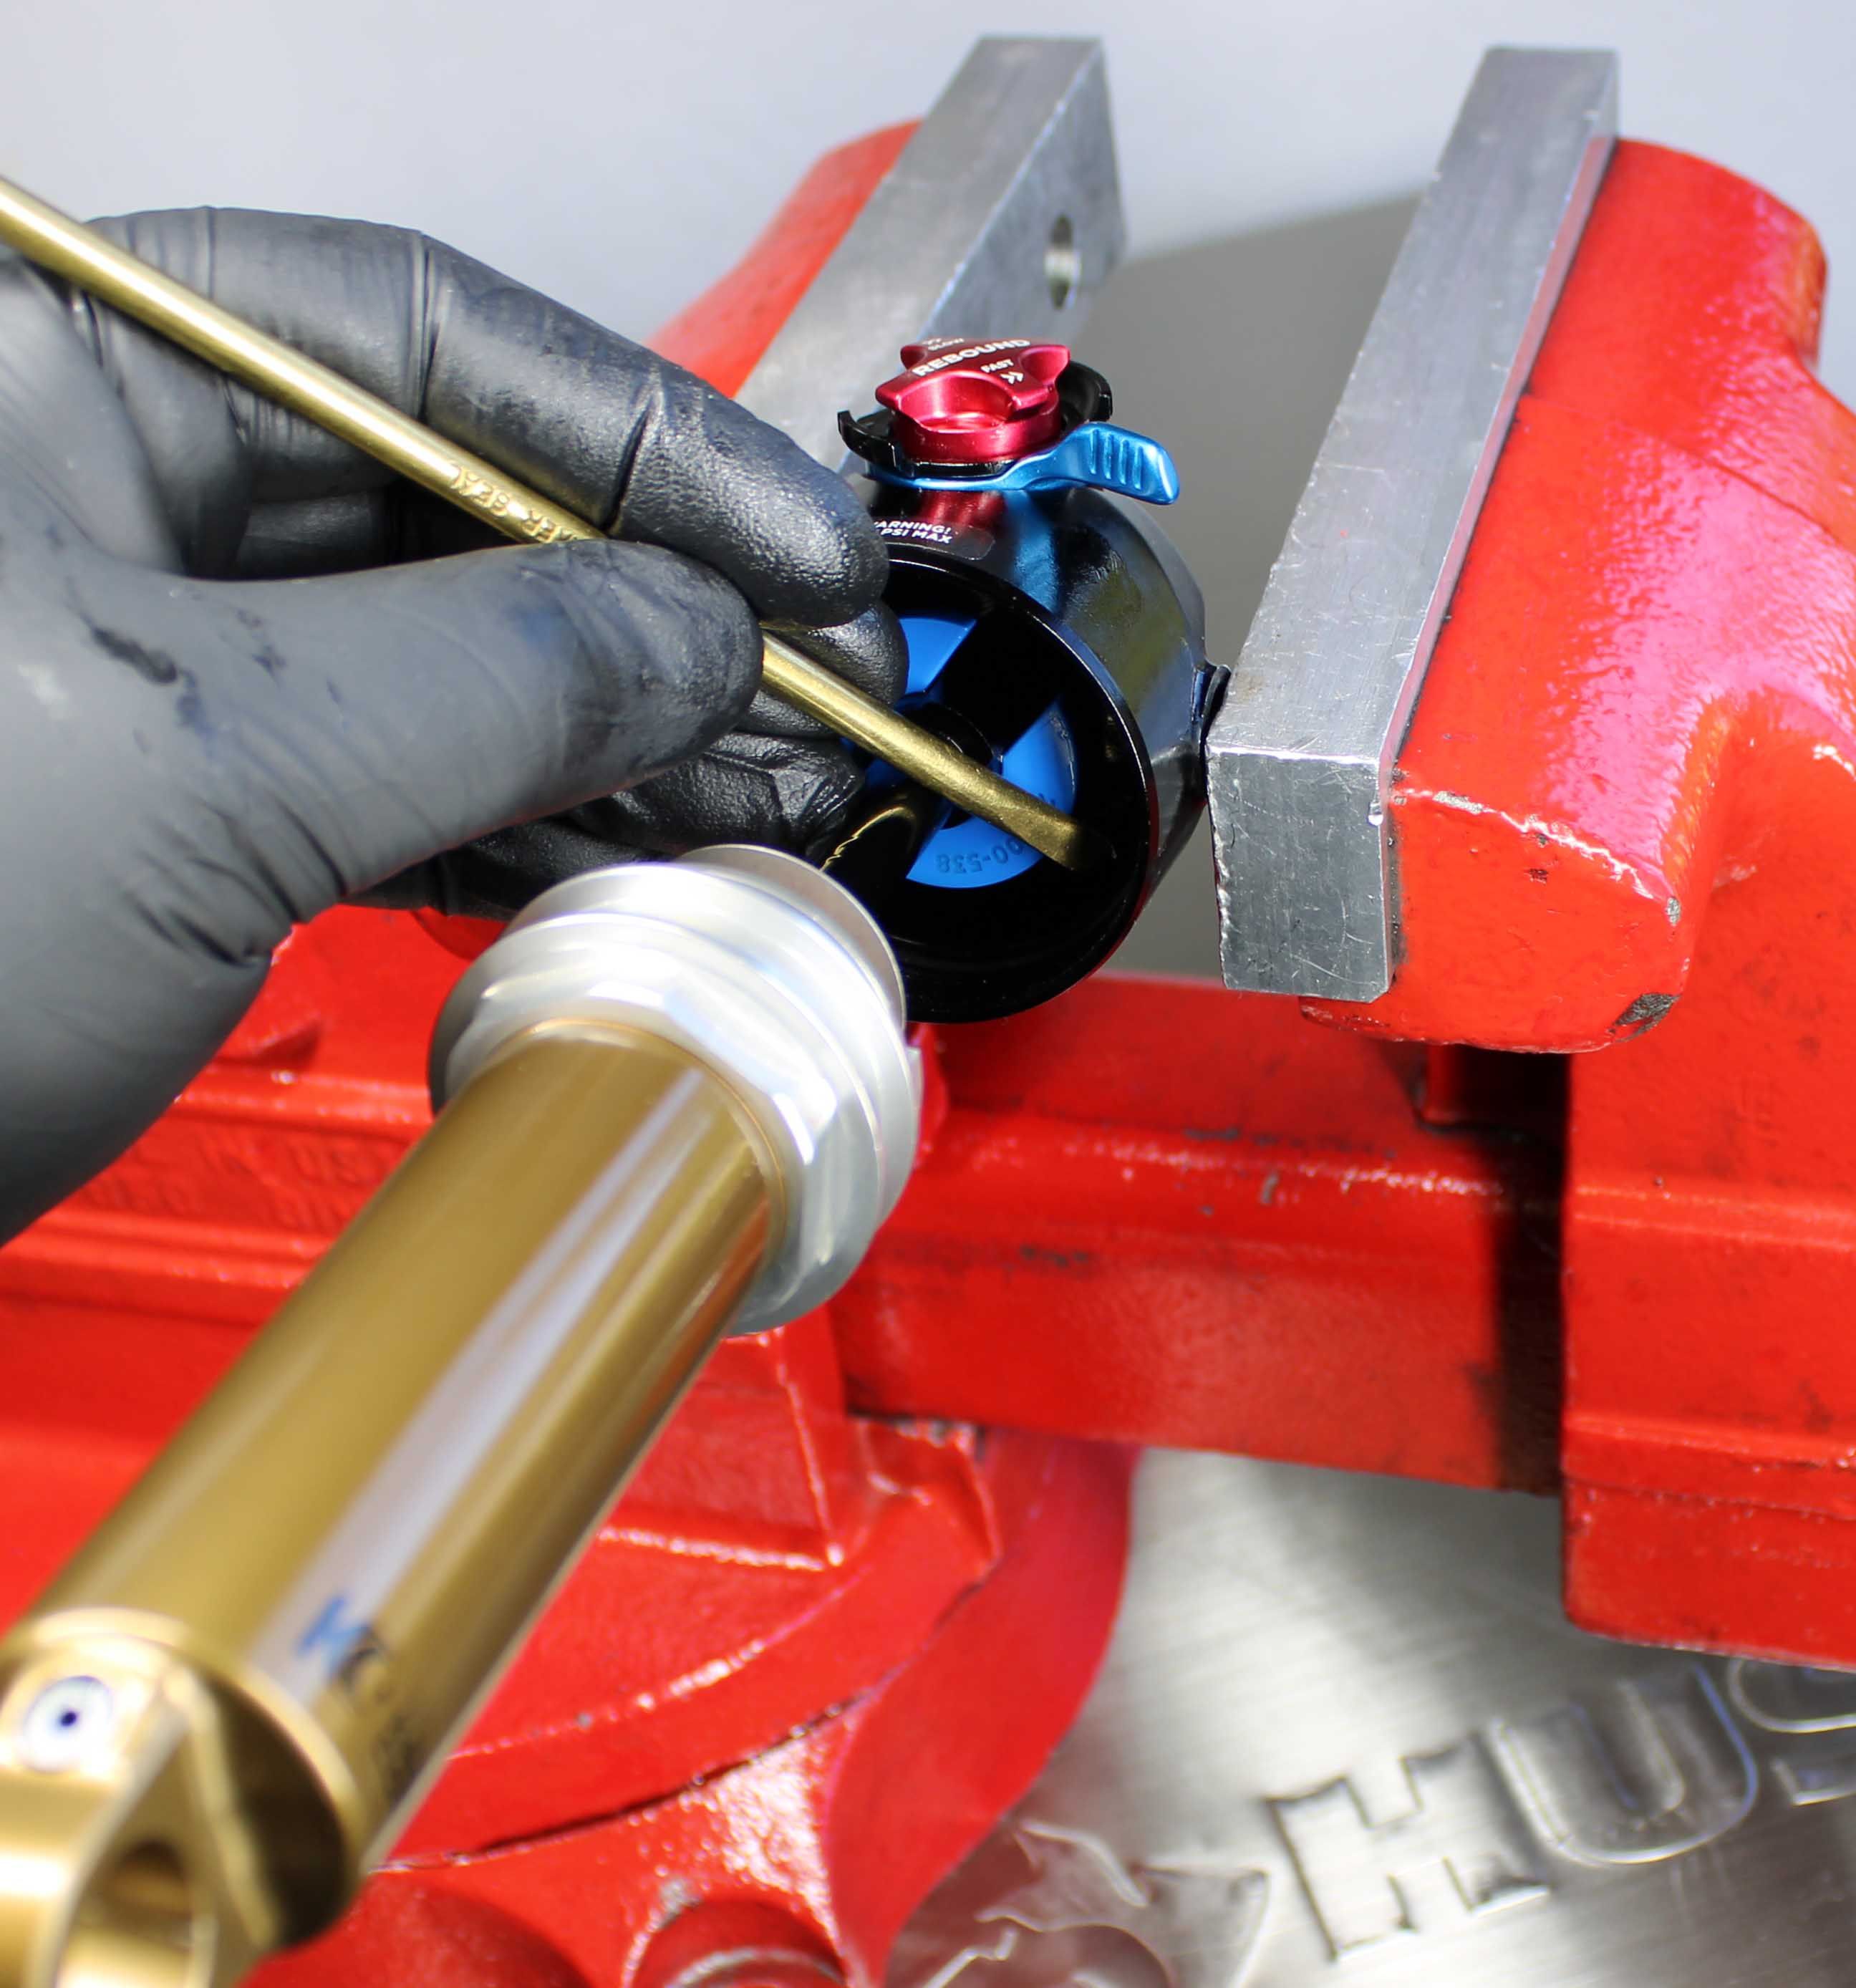
Step 5
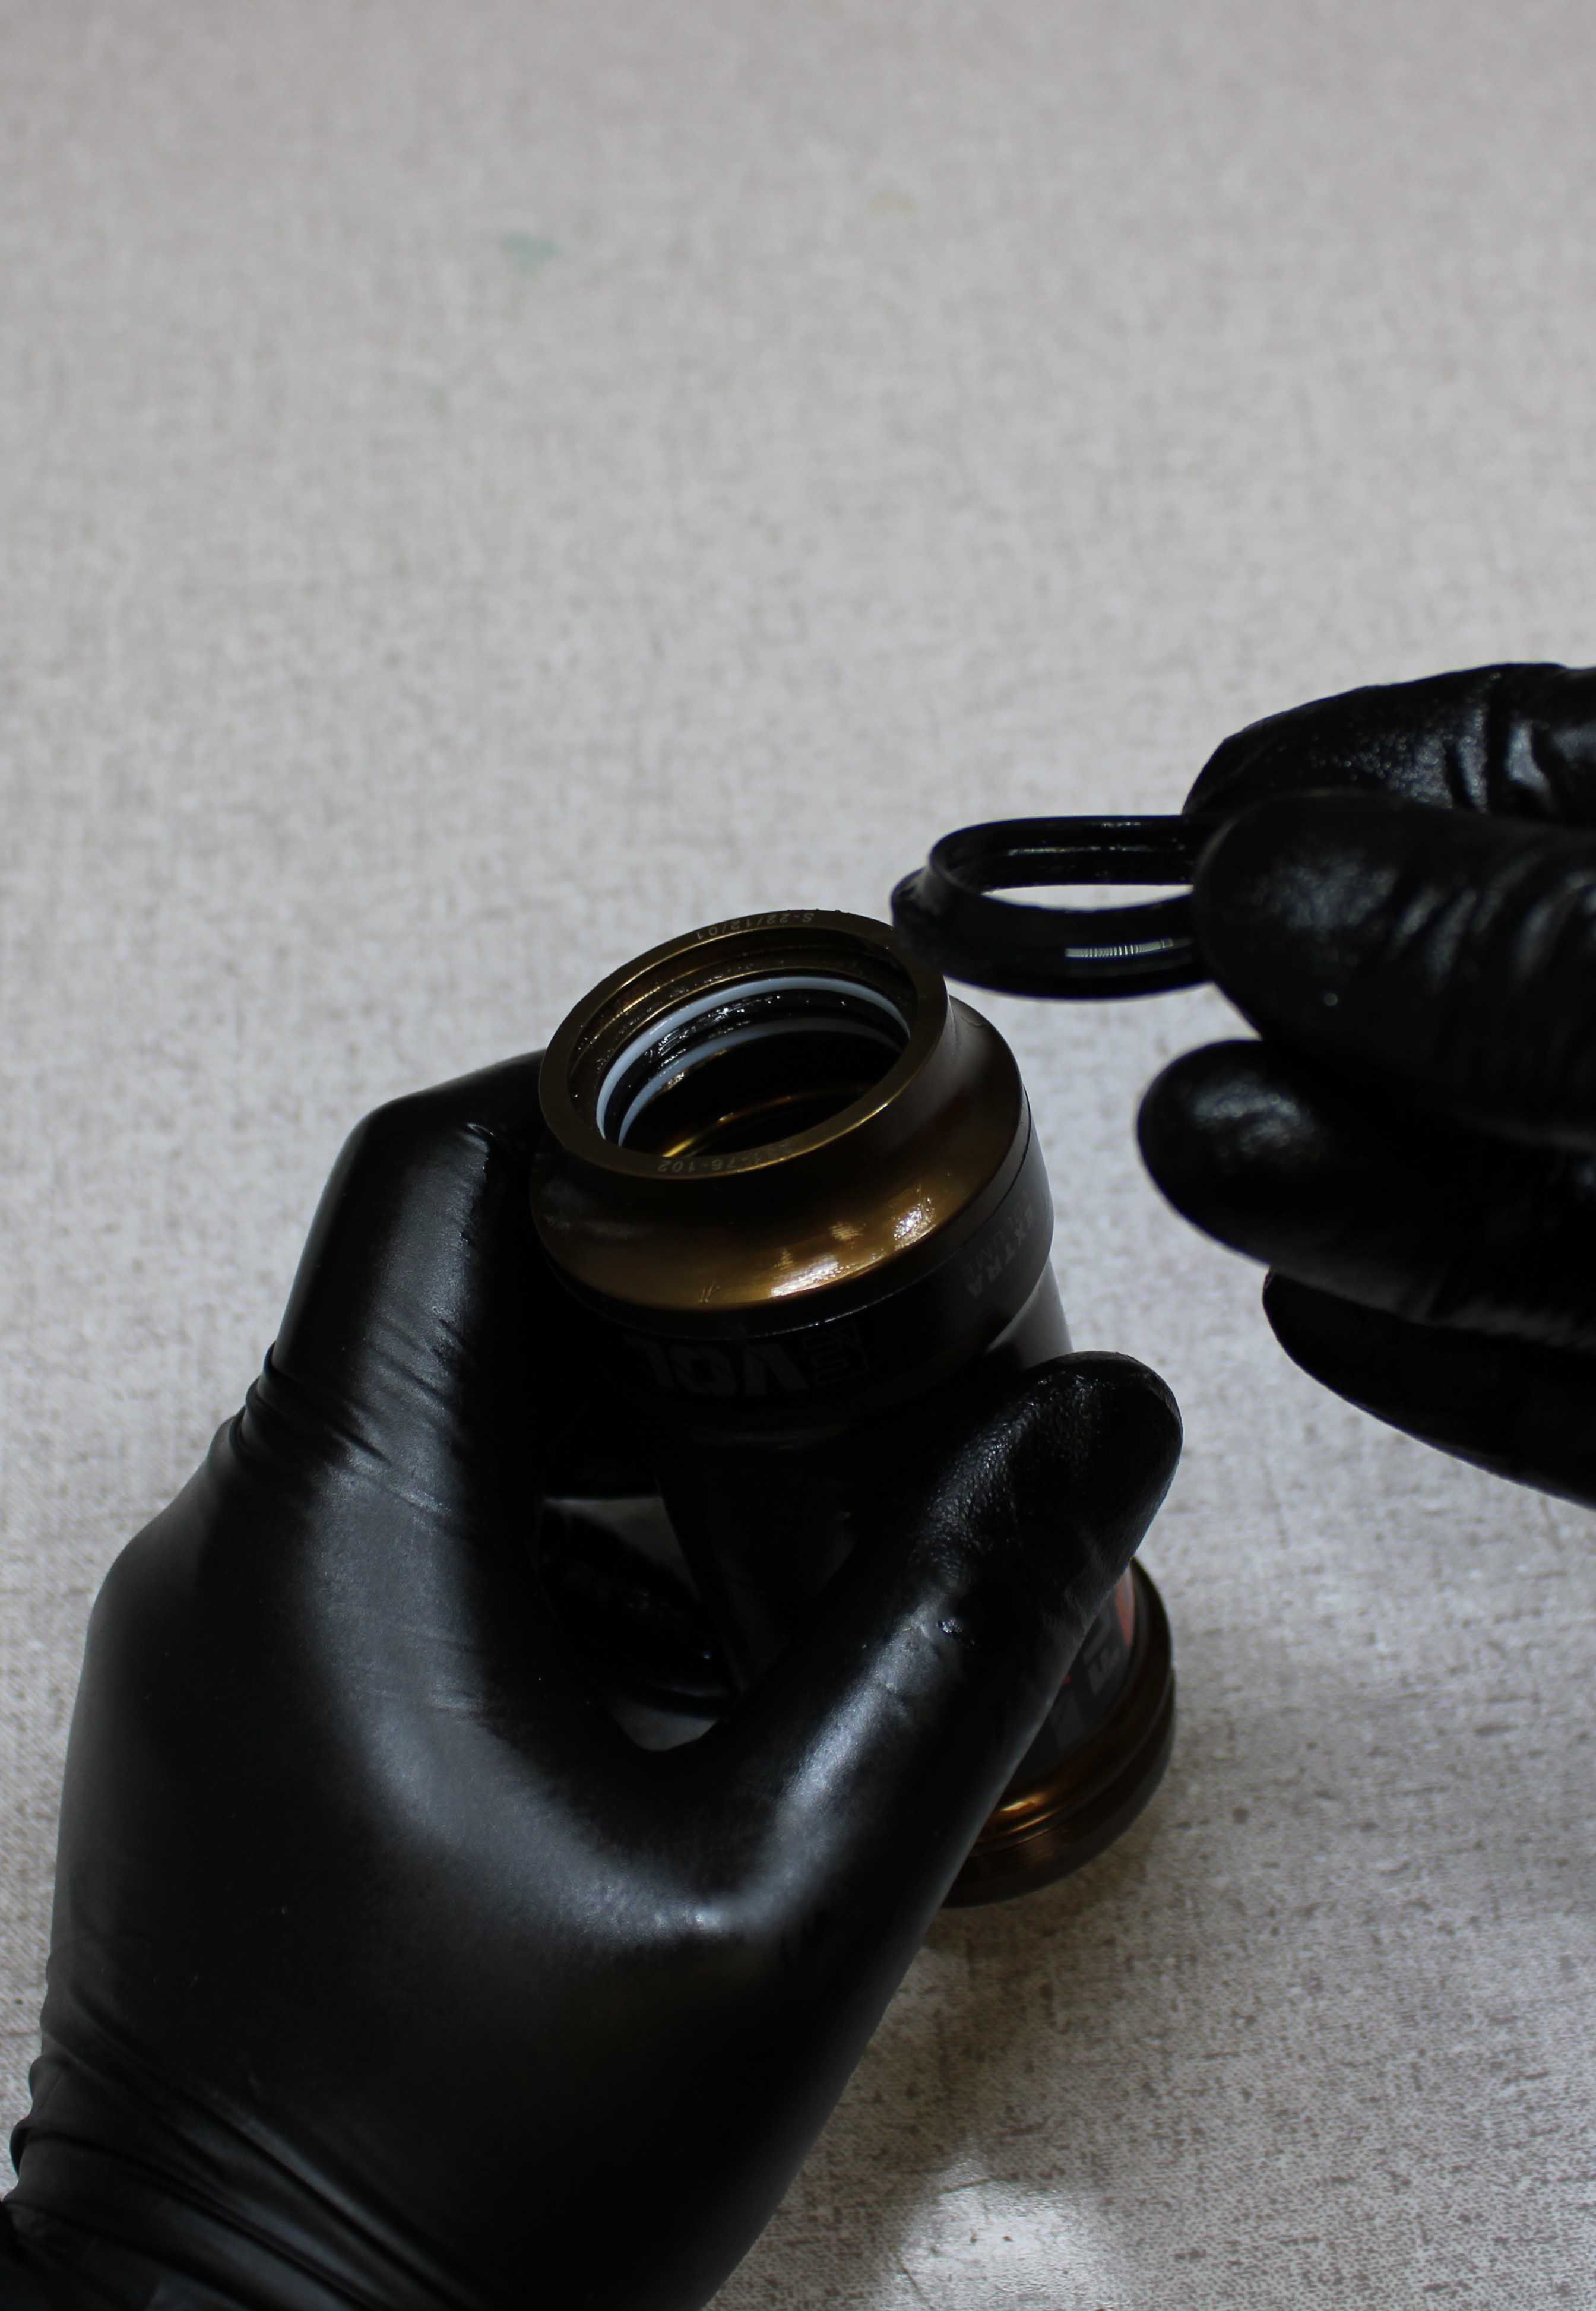
Do not stab the final ring. Use a wooden or plastic pick to pull the final ring out.
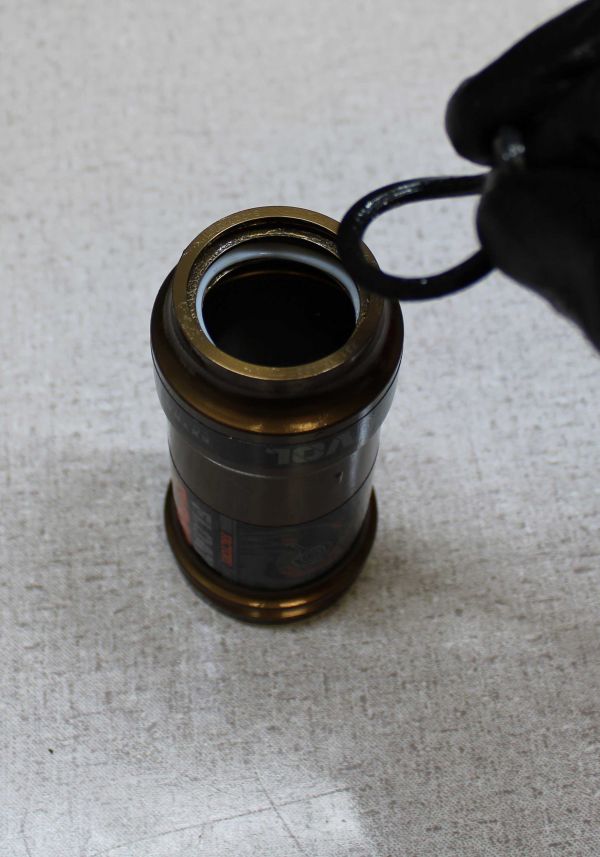
Step 6
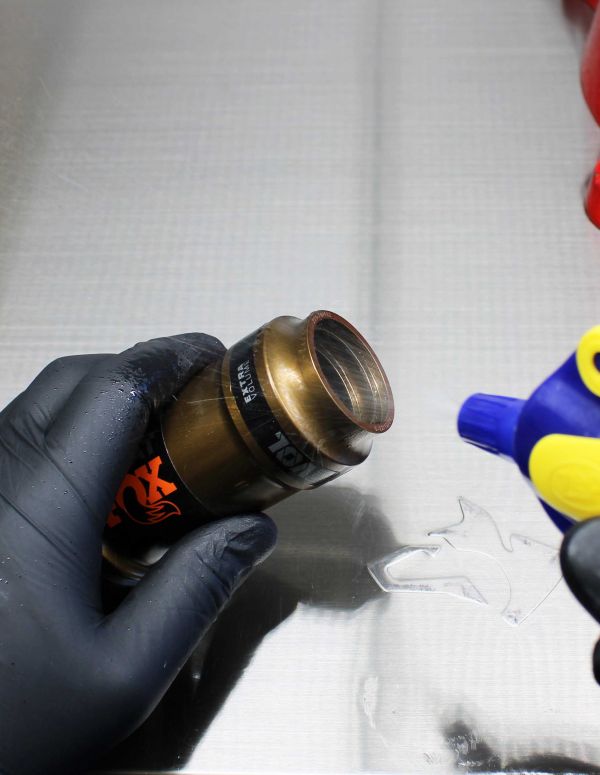
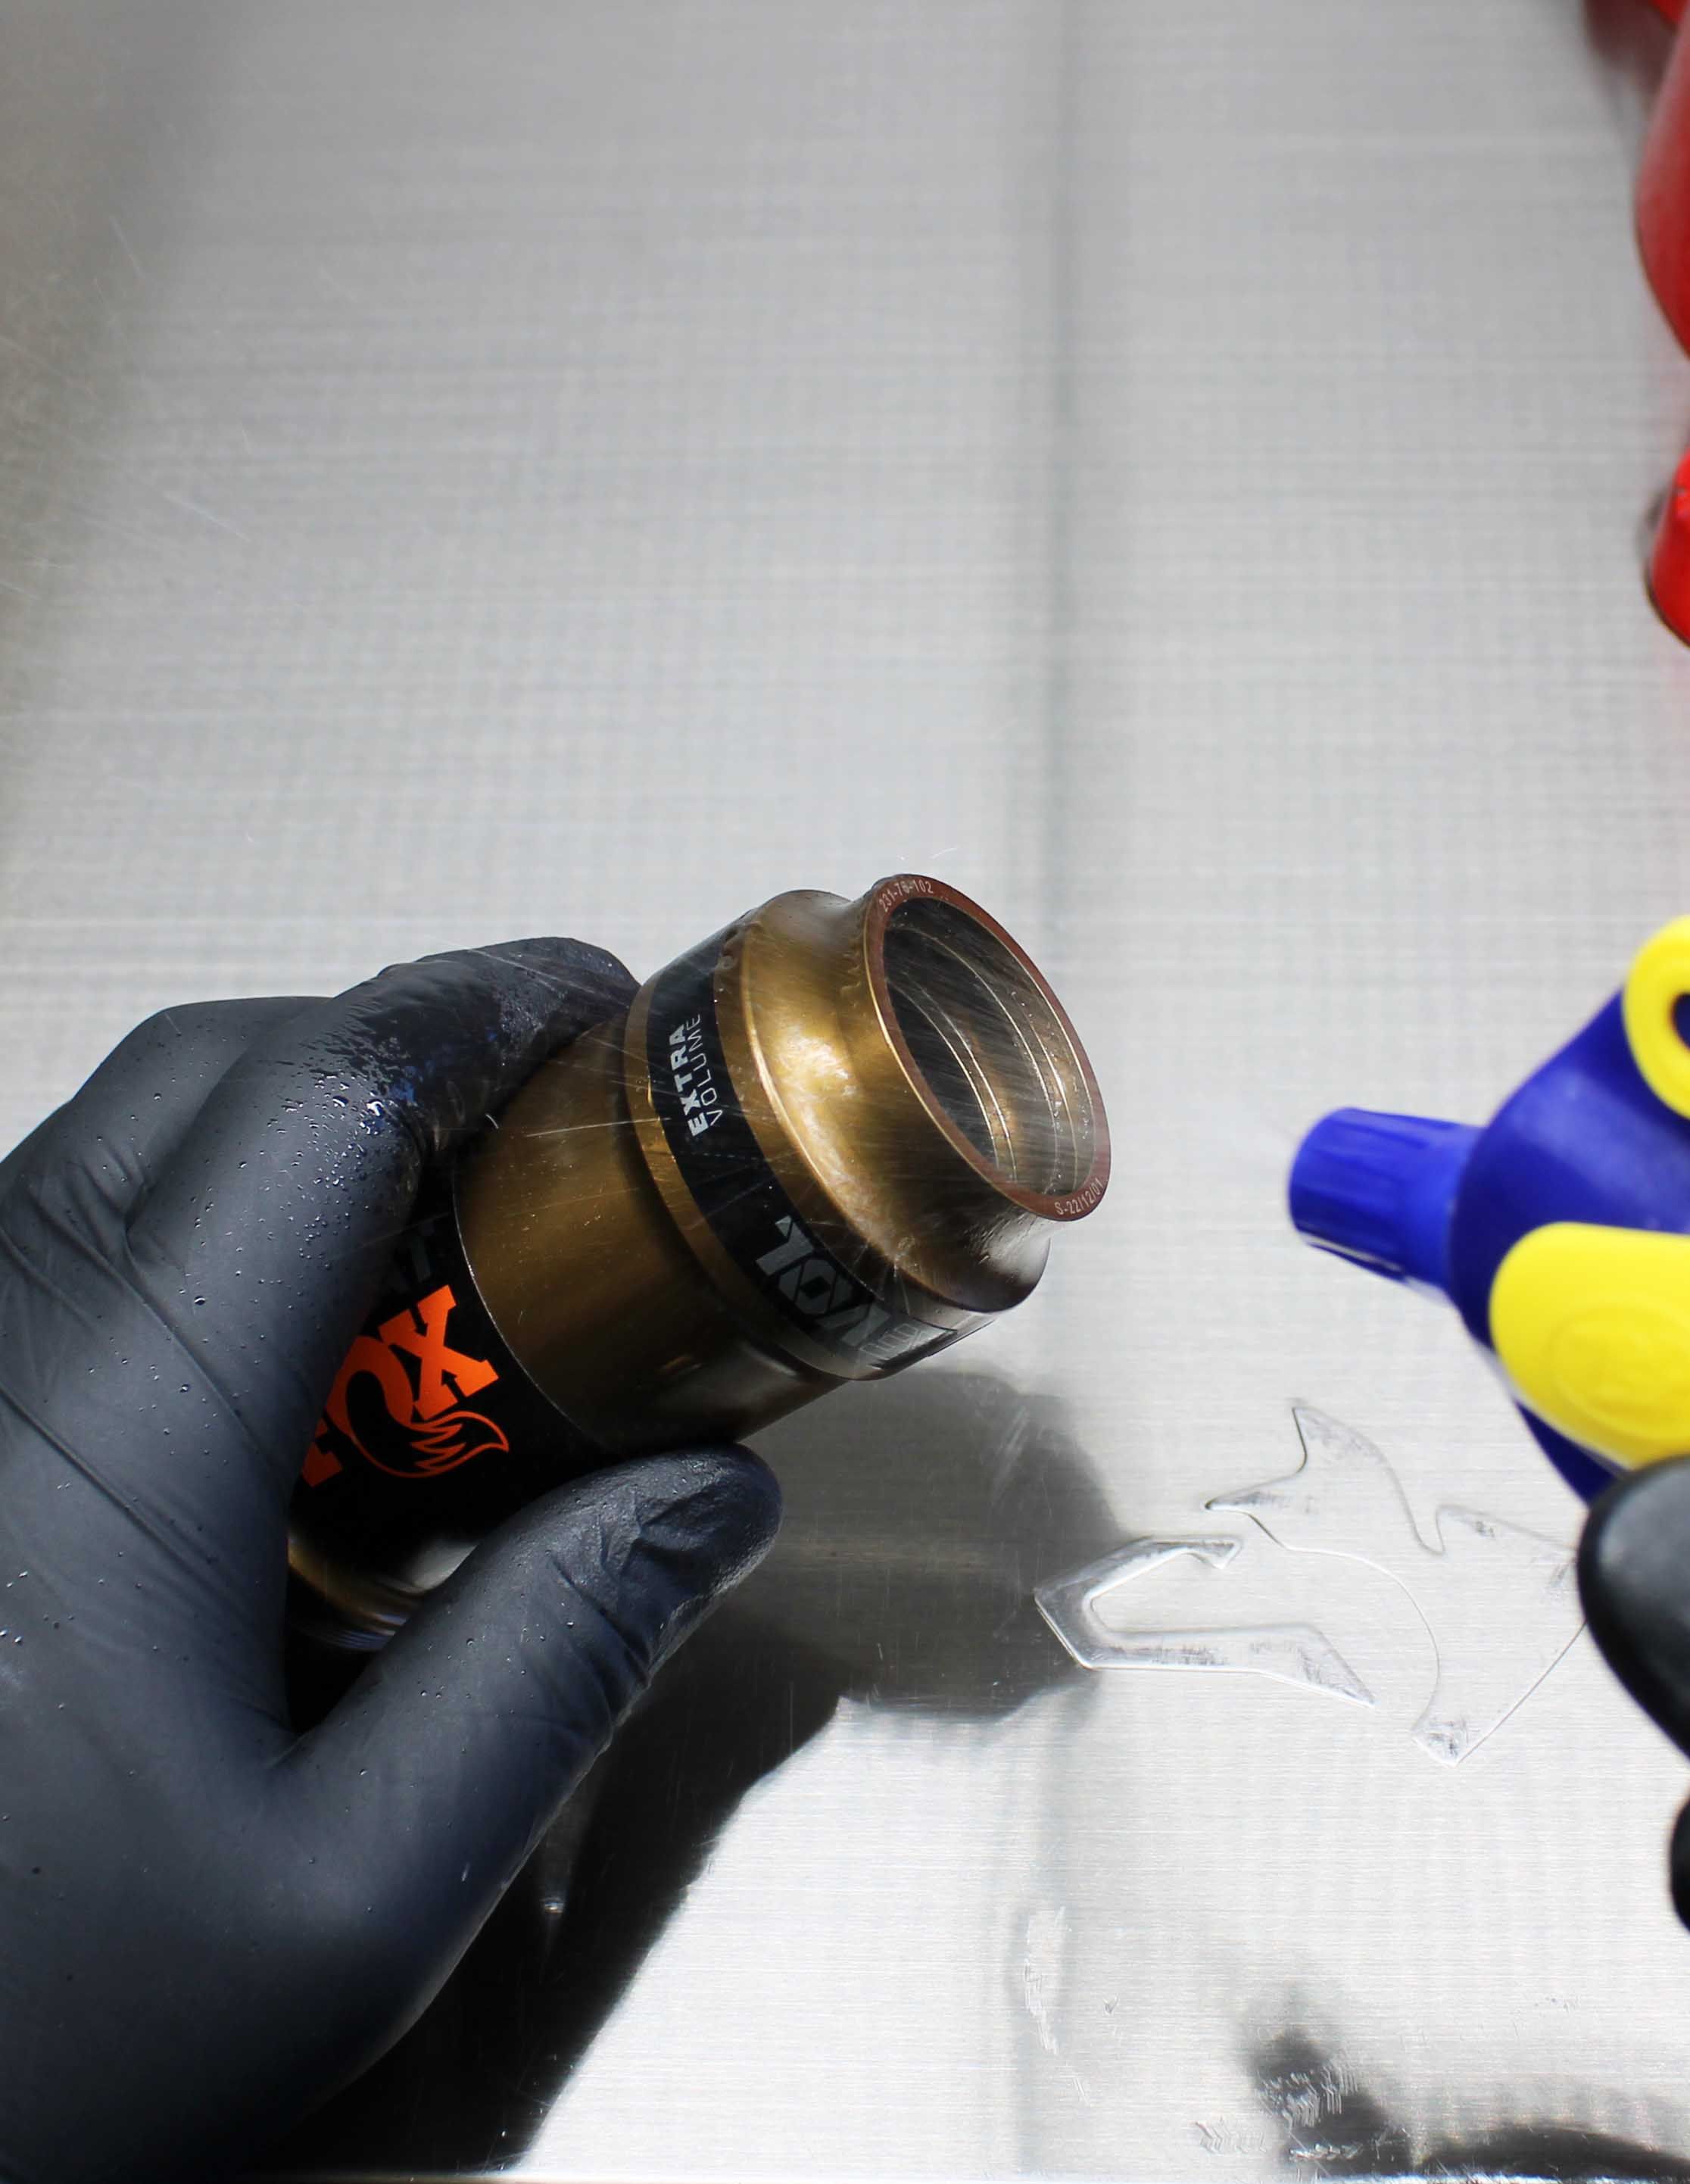
Use isopropyl alcohol and a lint-free paper towel to clean out the air sleeve.
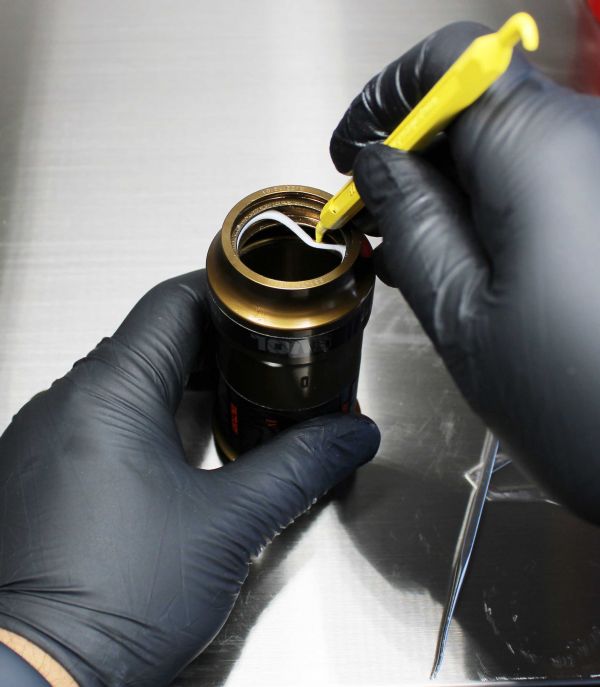
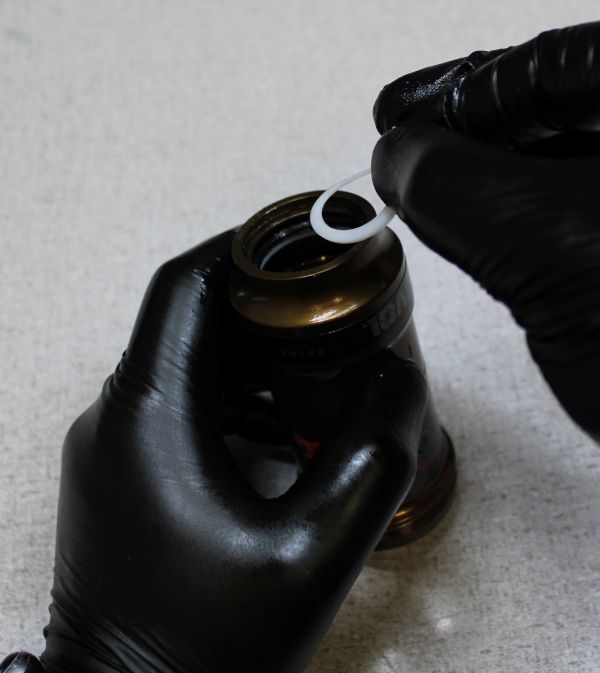
Step 7
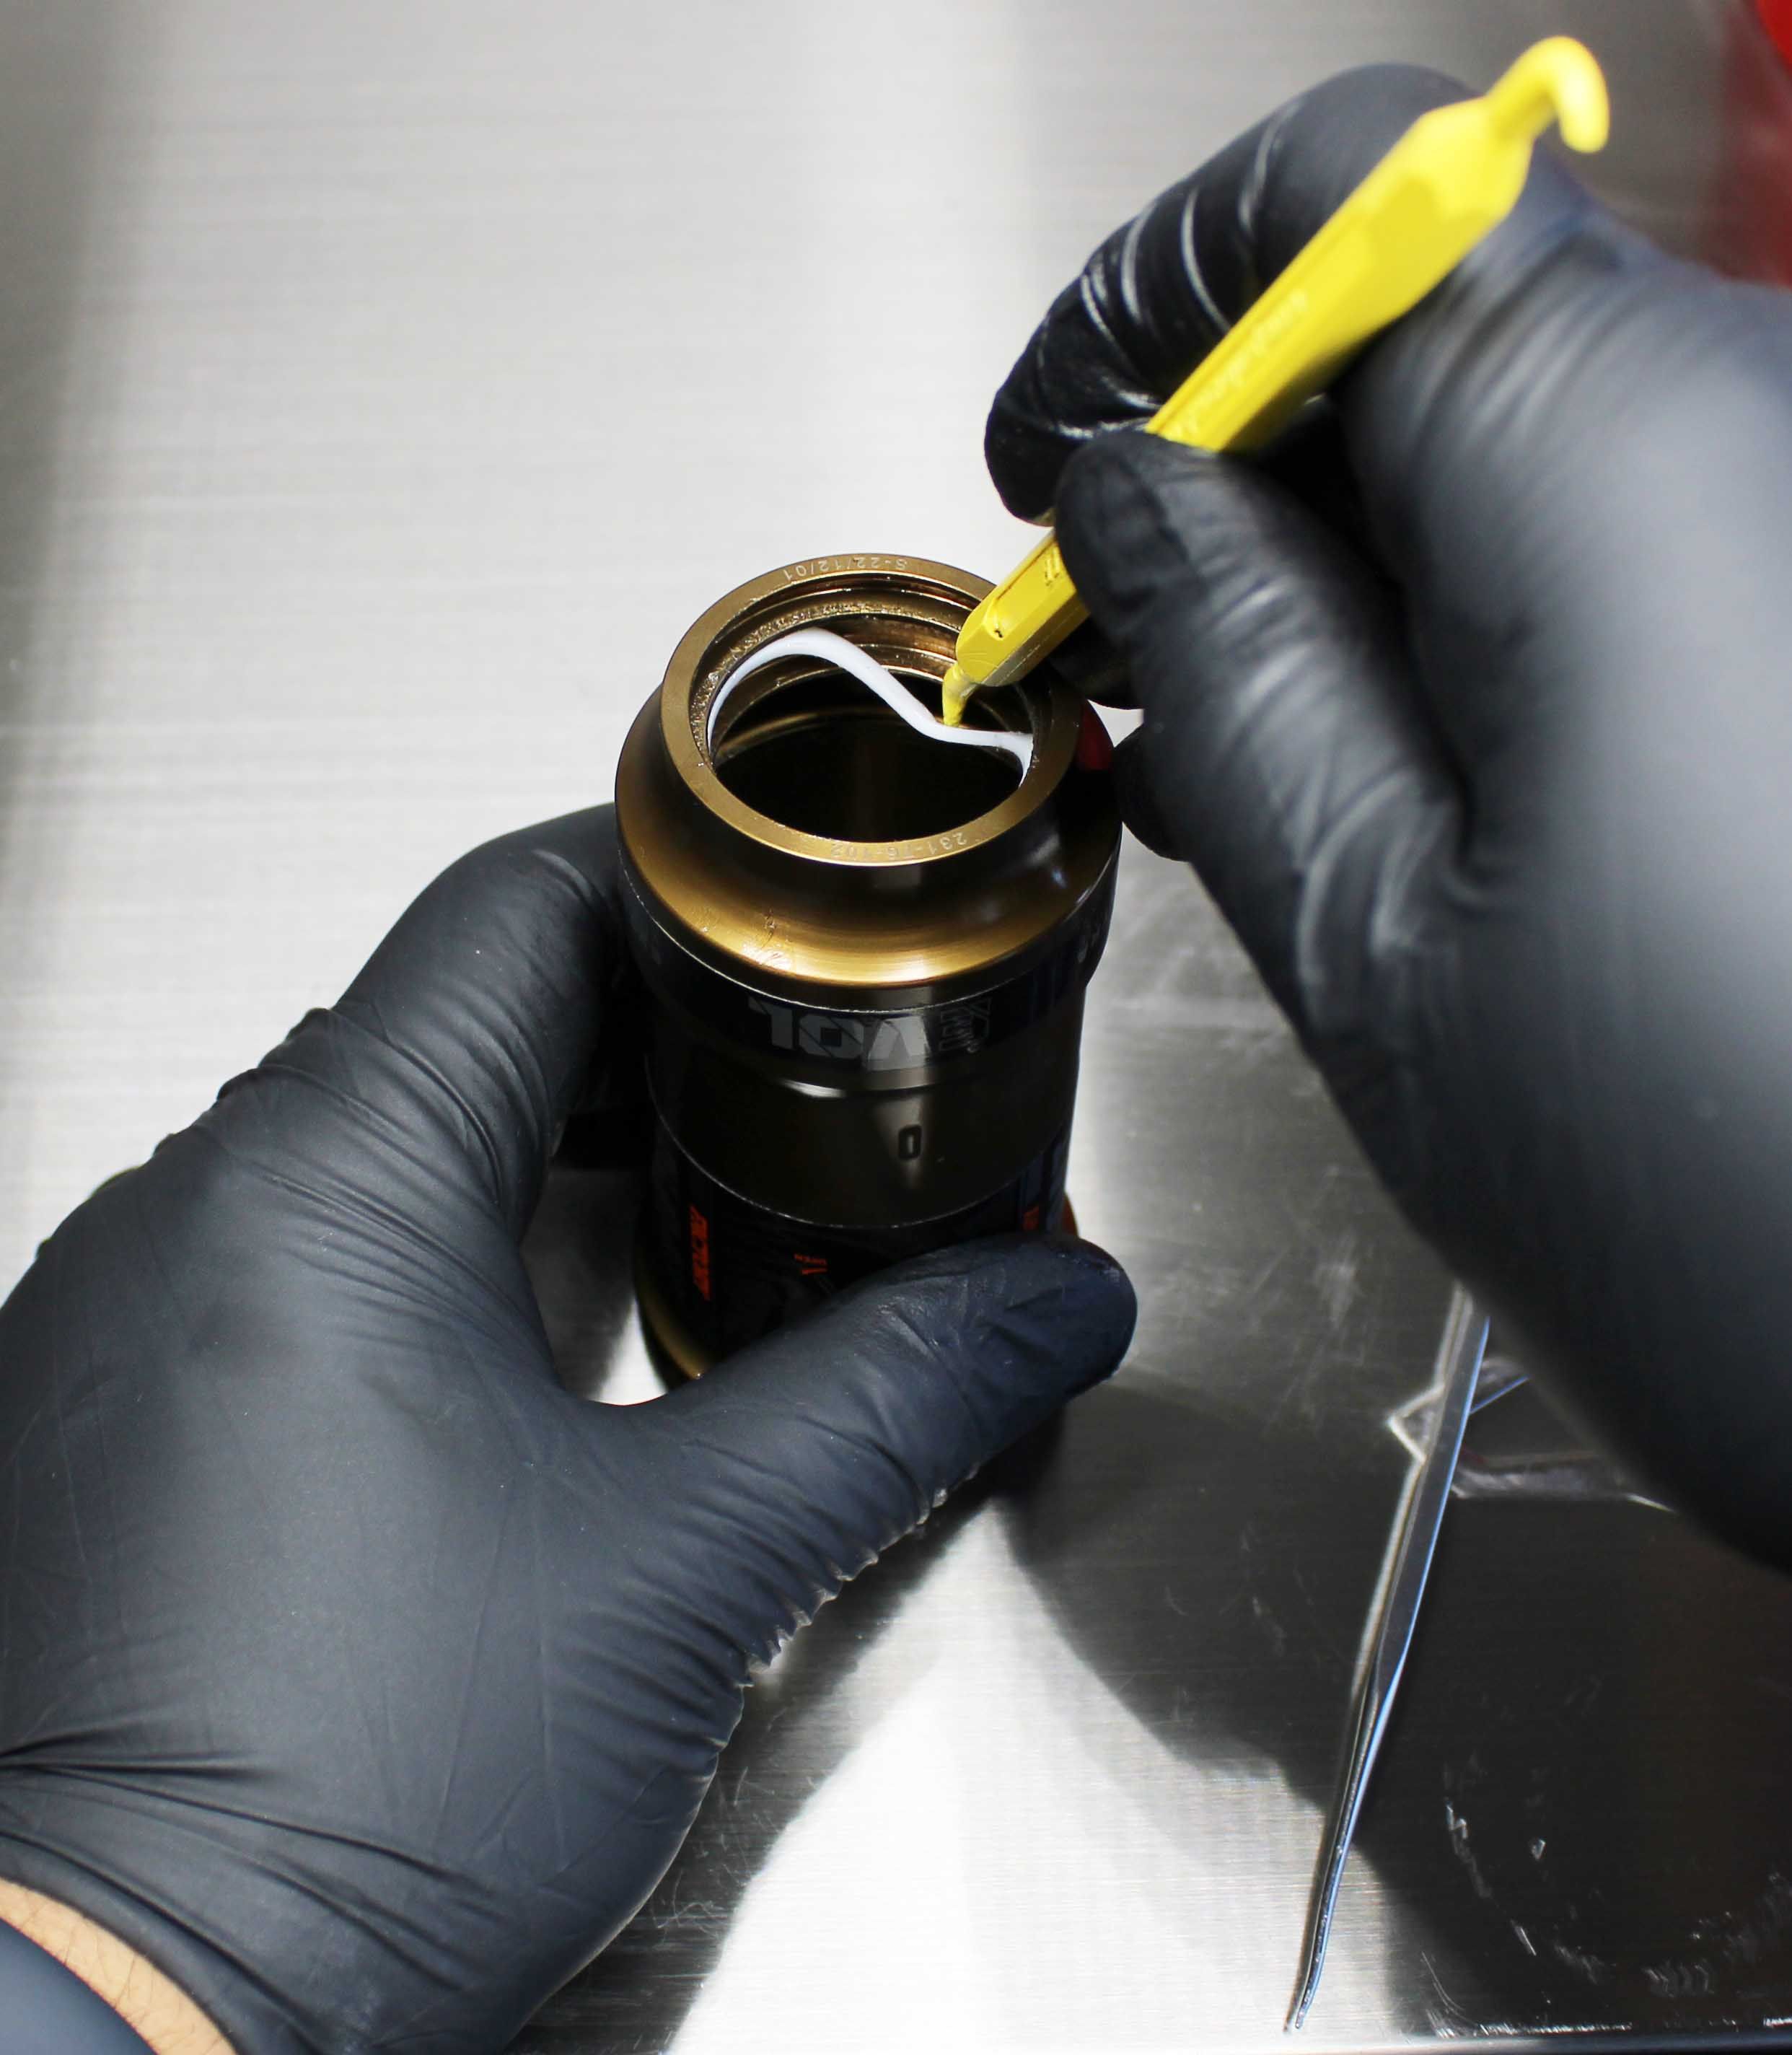
Using new parts from the kit, squeeze the white backup ring forming a " potato chip," to facilitate installation. Slide it into place.

Step 8
Coat the black air sleeve seal with Slick Honey. Using the same technique, install the black air seal above the white backup ring you just installed.

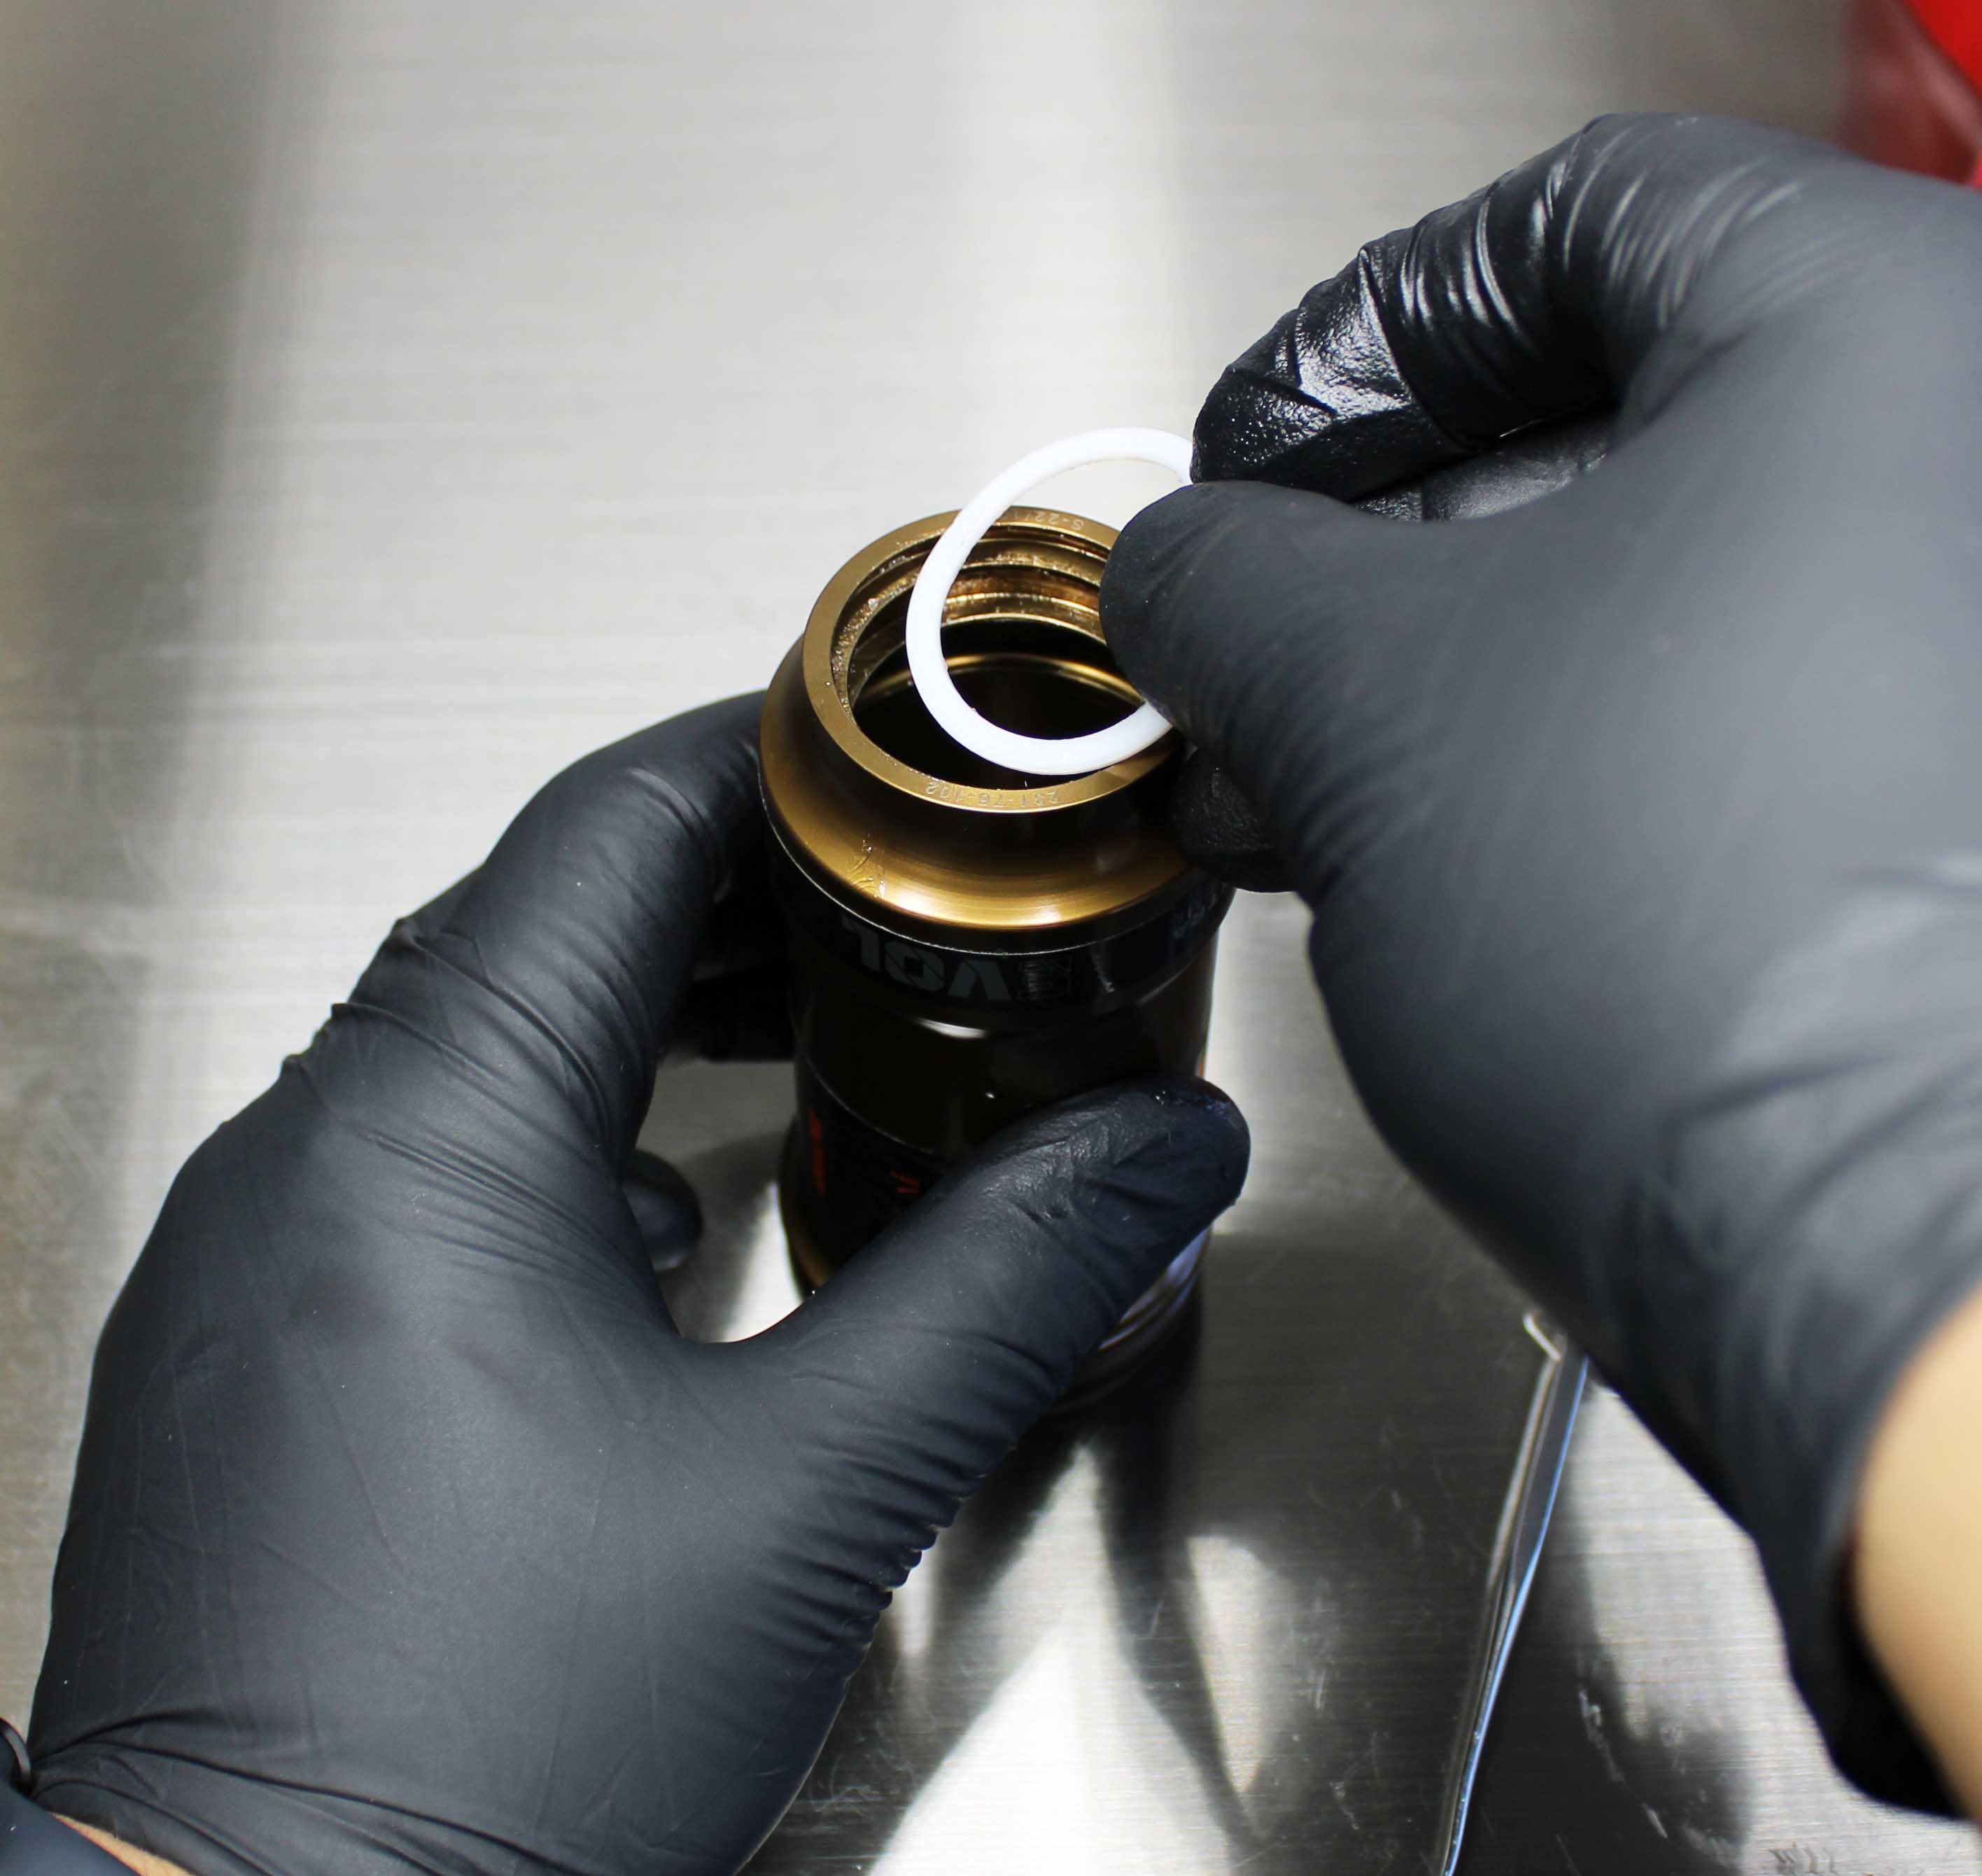
Step 9
Install the last white backup ring above the black air seal using the same technique followed by the dust wiper. Press the rings and seal toward the wall of the air sleeve to ensure that everything is seated.


Step 10
Use a lint-free paper towel ro help roll the main air seal off. Do not use any tools to remove the seal.


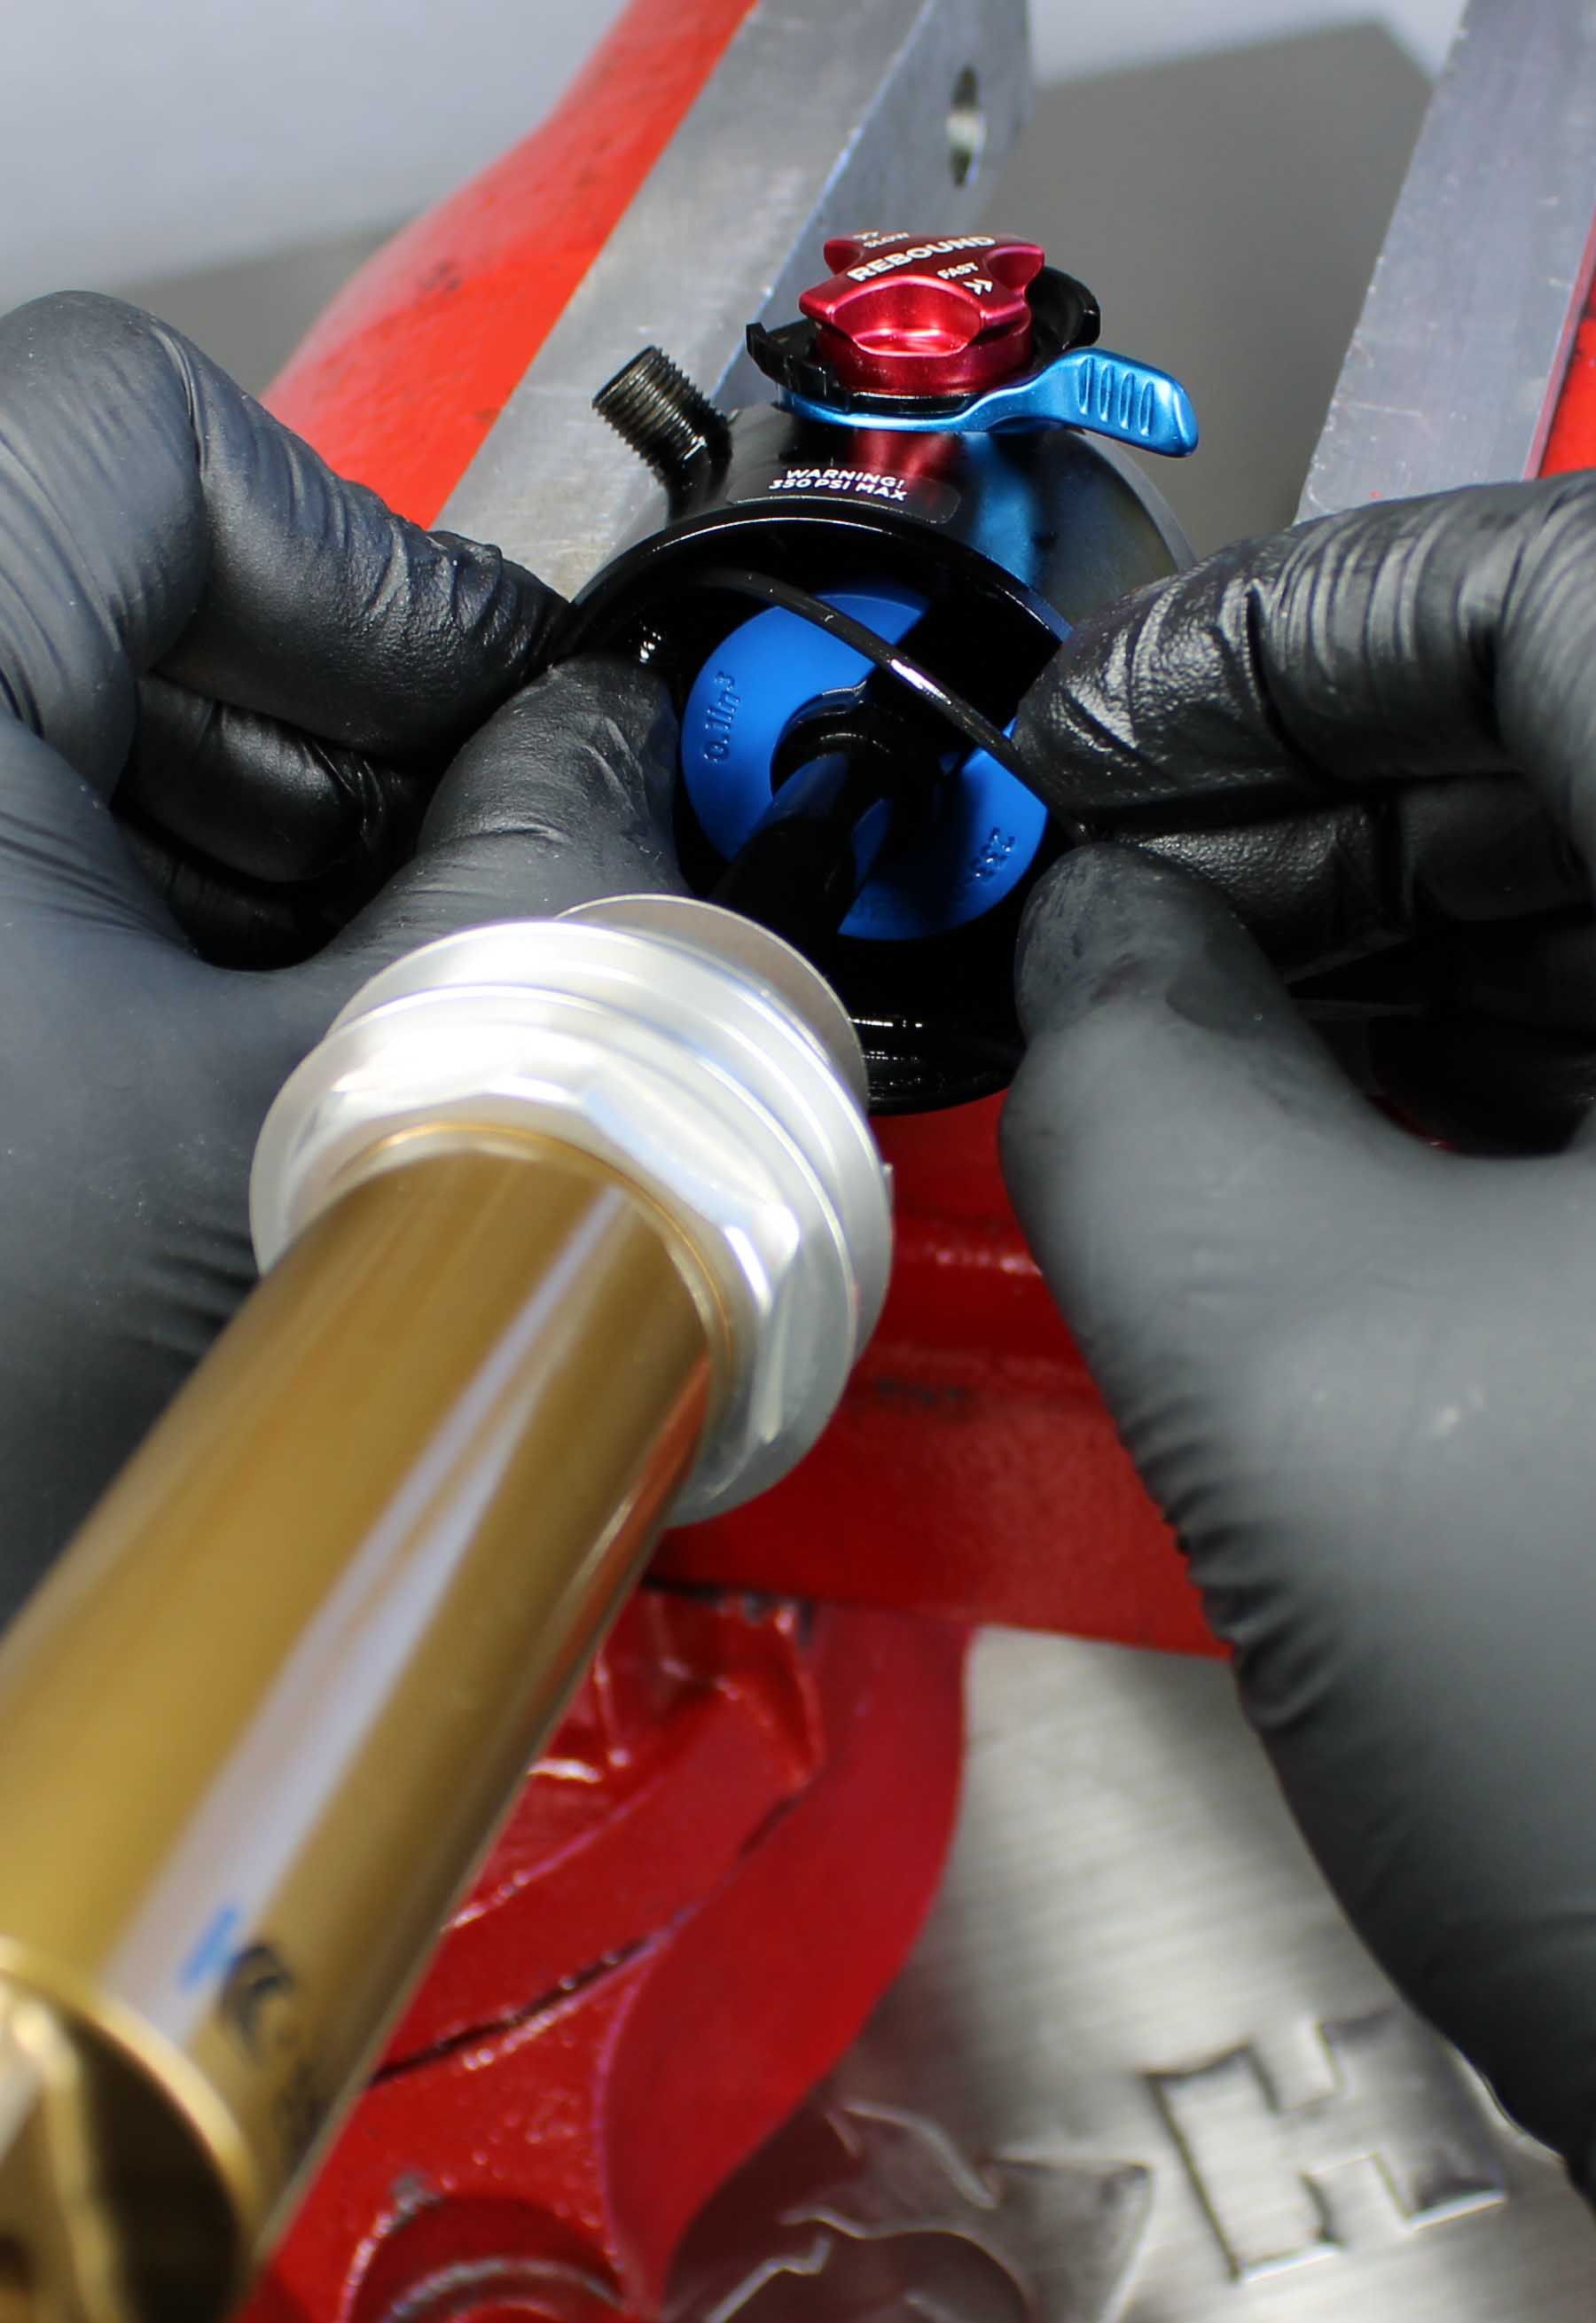
Step 11
Remove the two whiteback-up rings.
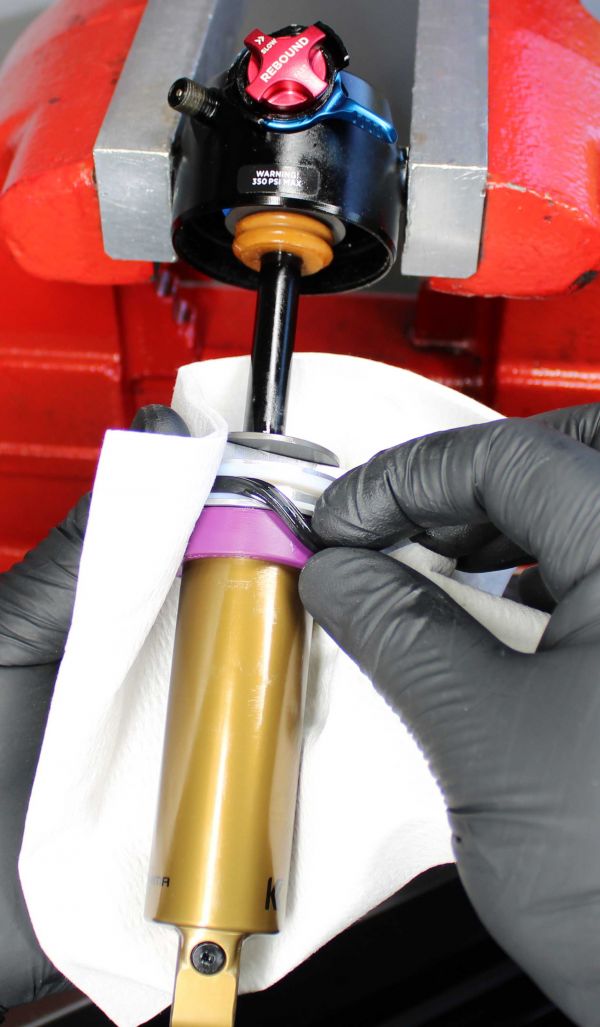
Step 12
Clean the shock damper with isopropyl alcohol and a lint-free paper towel.


Step 13
Using new parts from the kit, coat the main air seal with Slick Honey or Fox 20wt. gold oil. Install the seal, making sure it is not twisted.

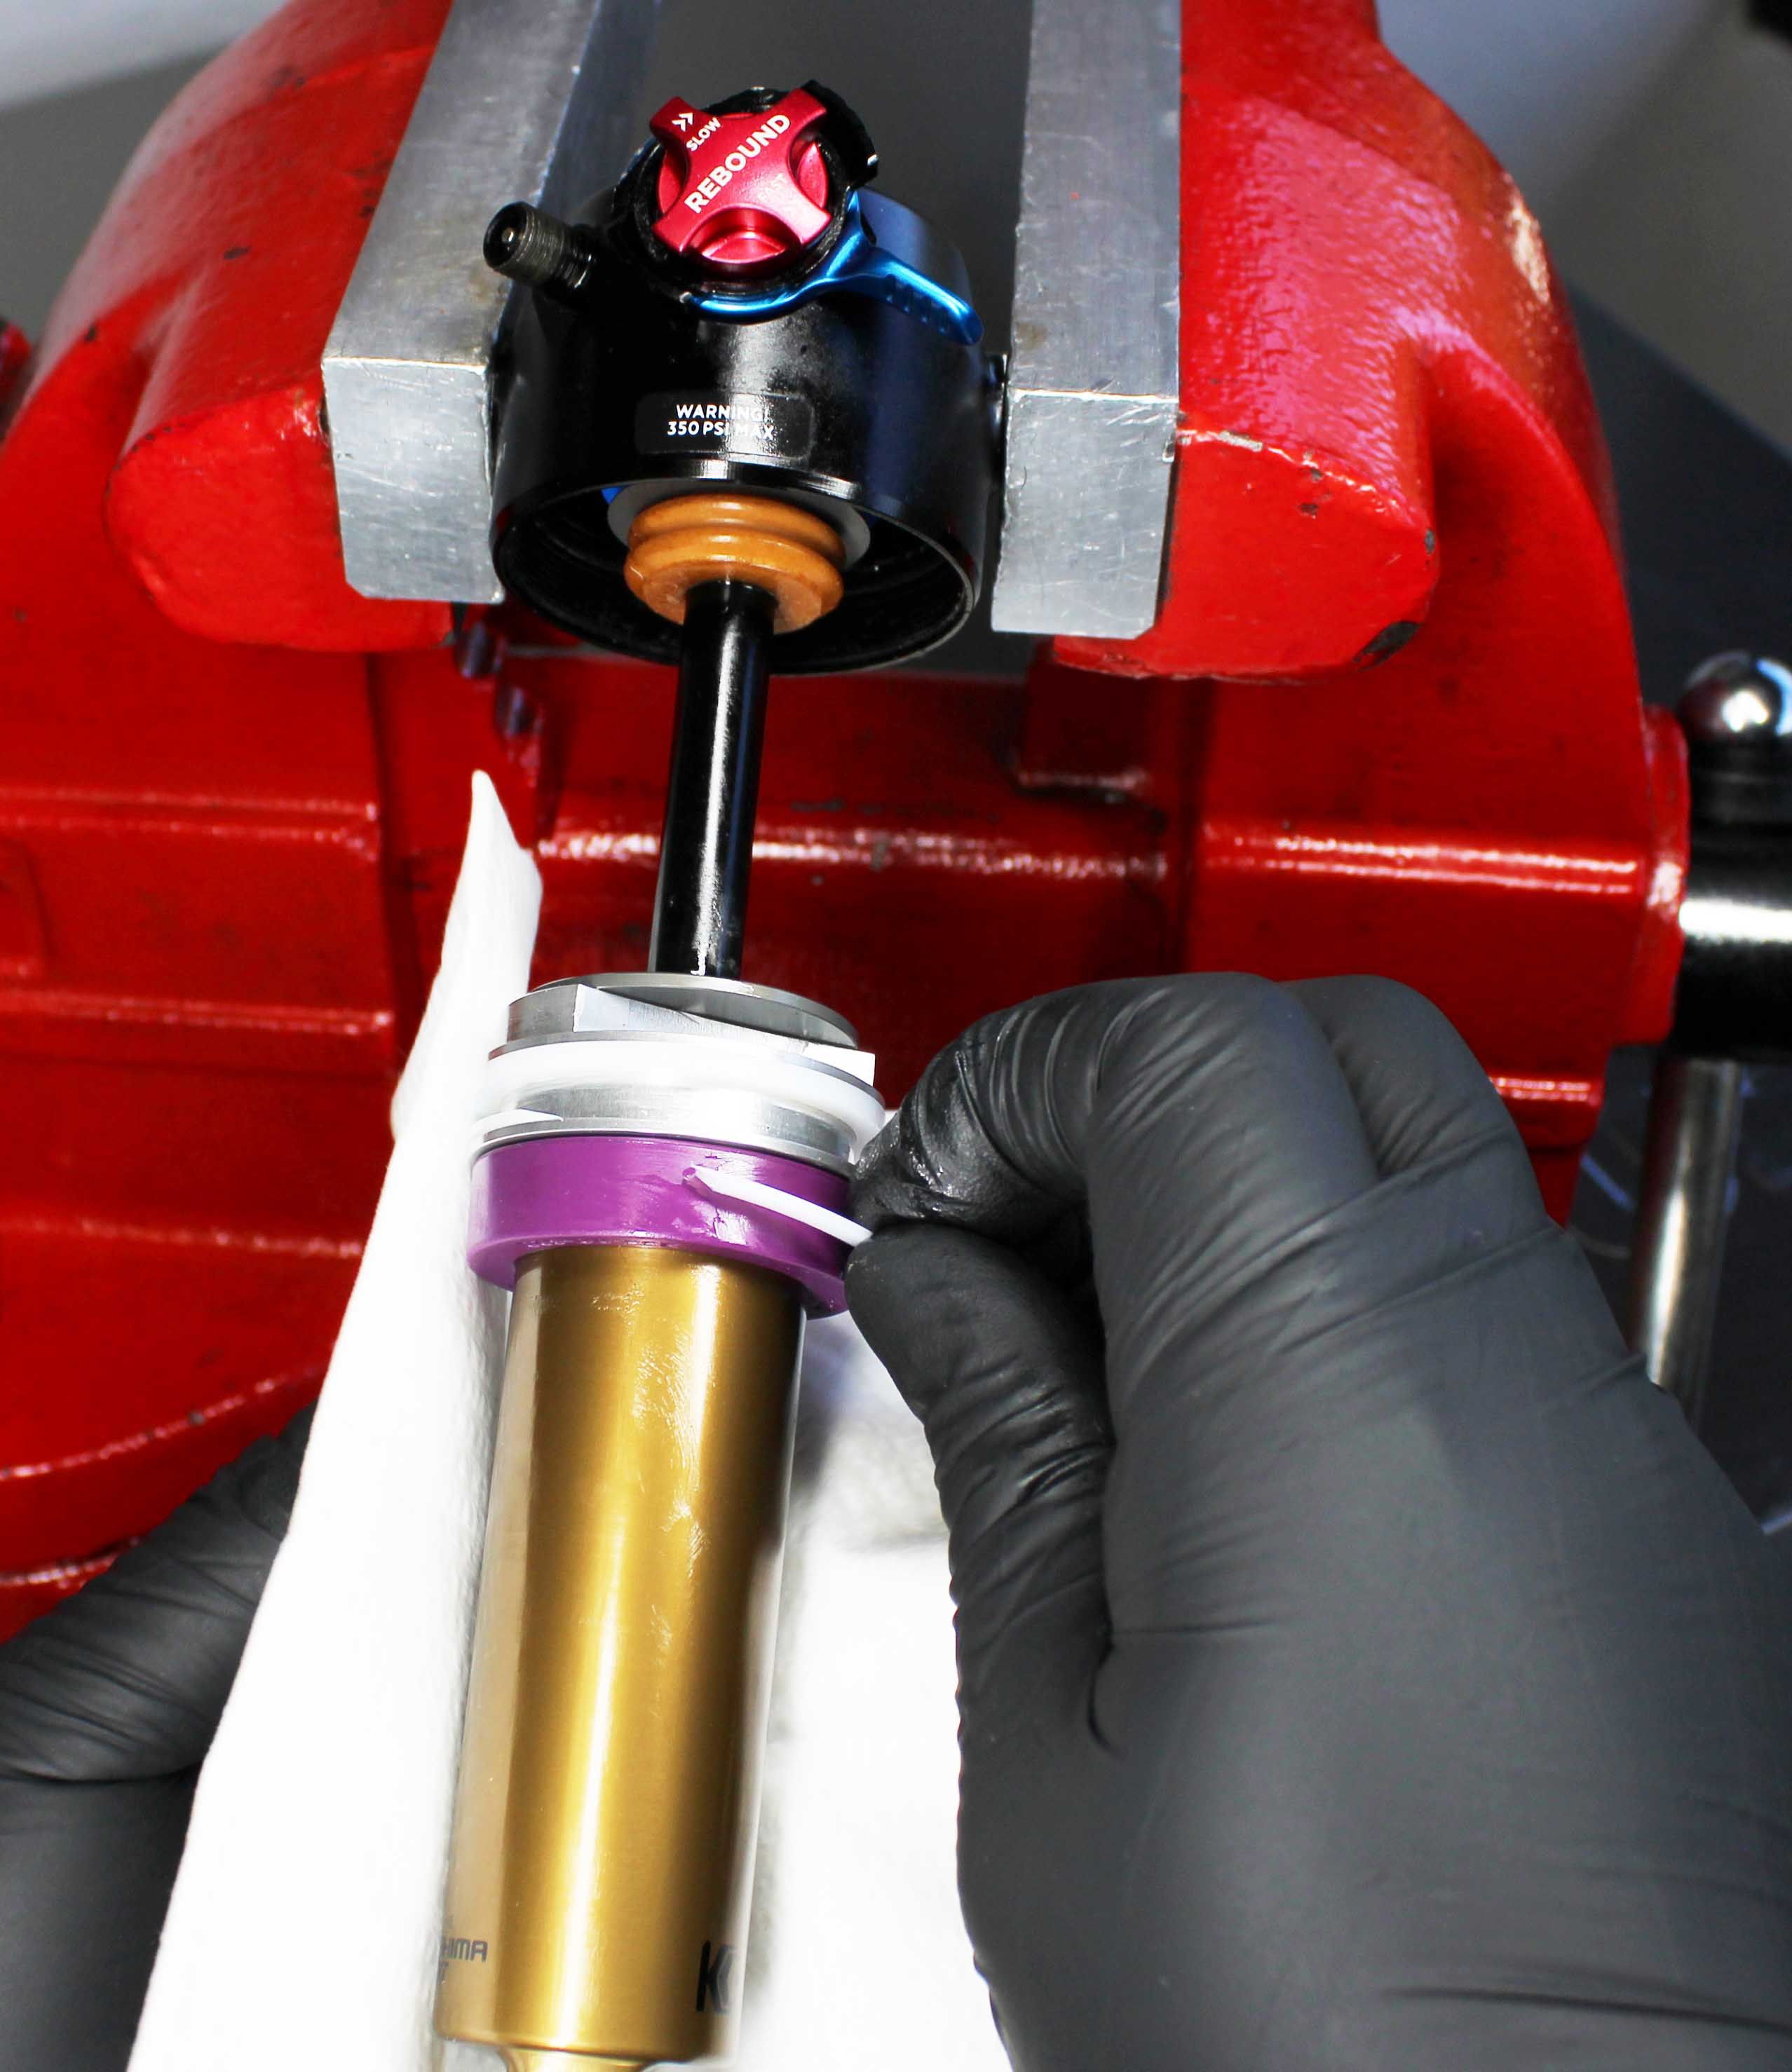
Step 14
Install the backup rings, making sure that the beveled ends overlap. One ring goes on top of the seal, and the other goes on the bottom.

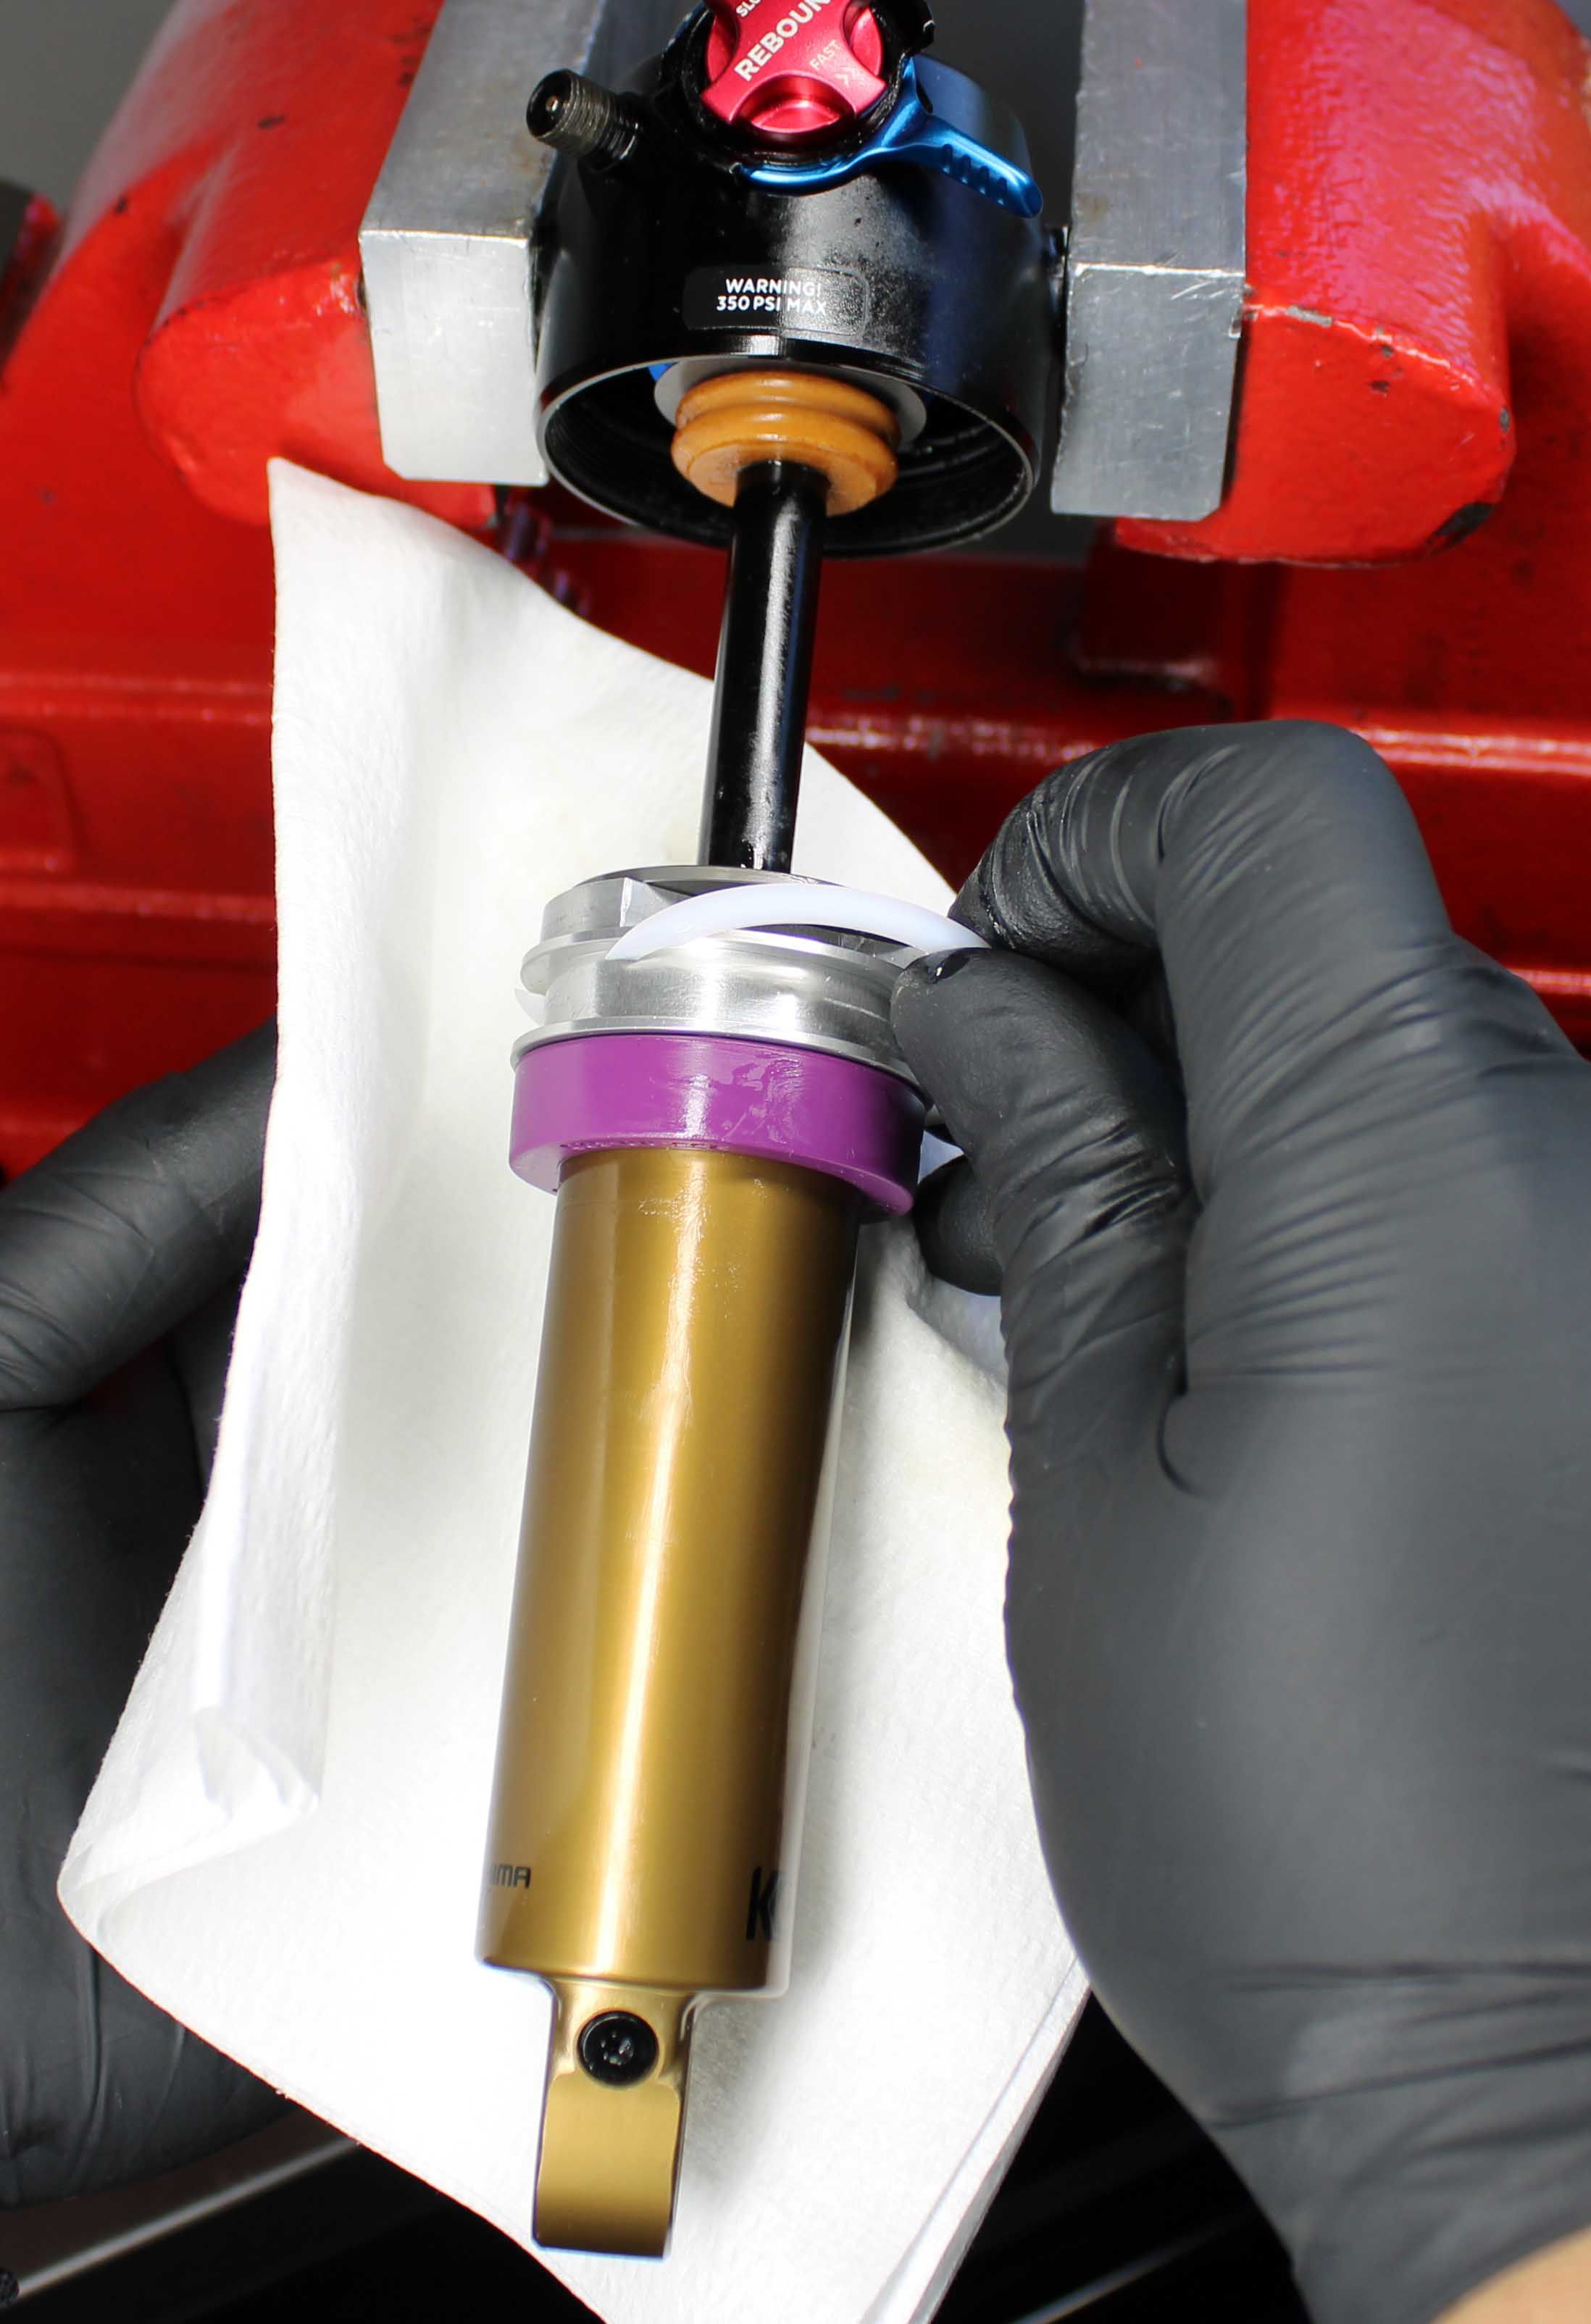
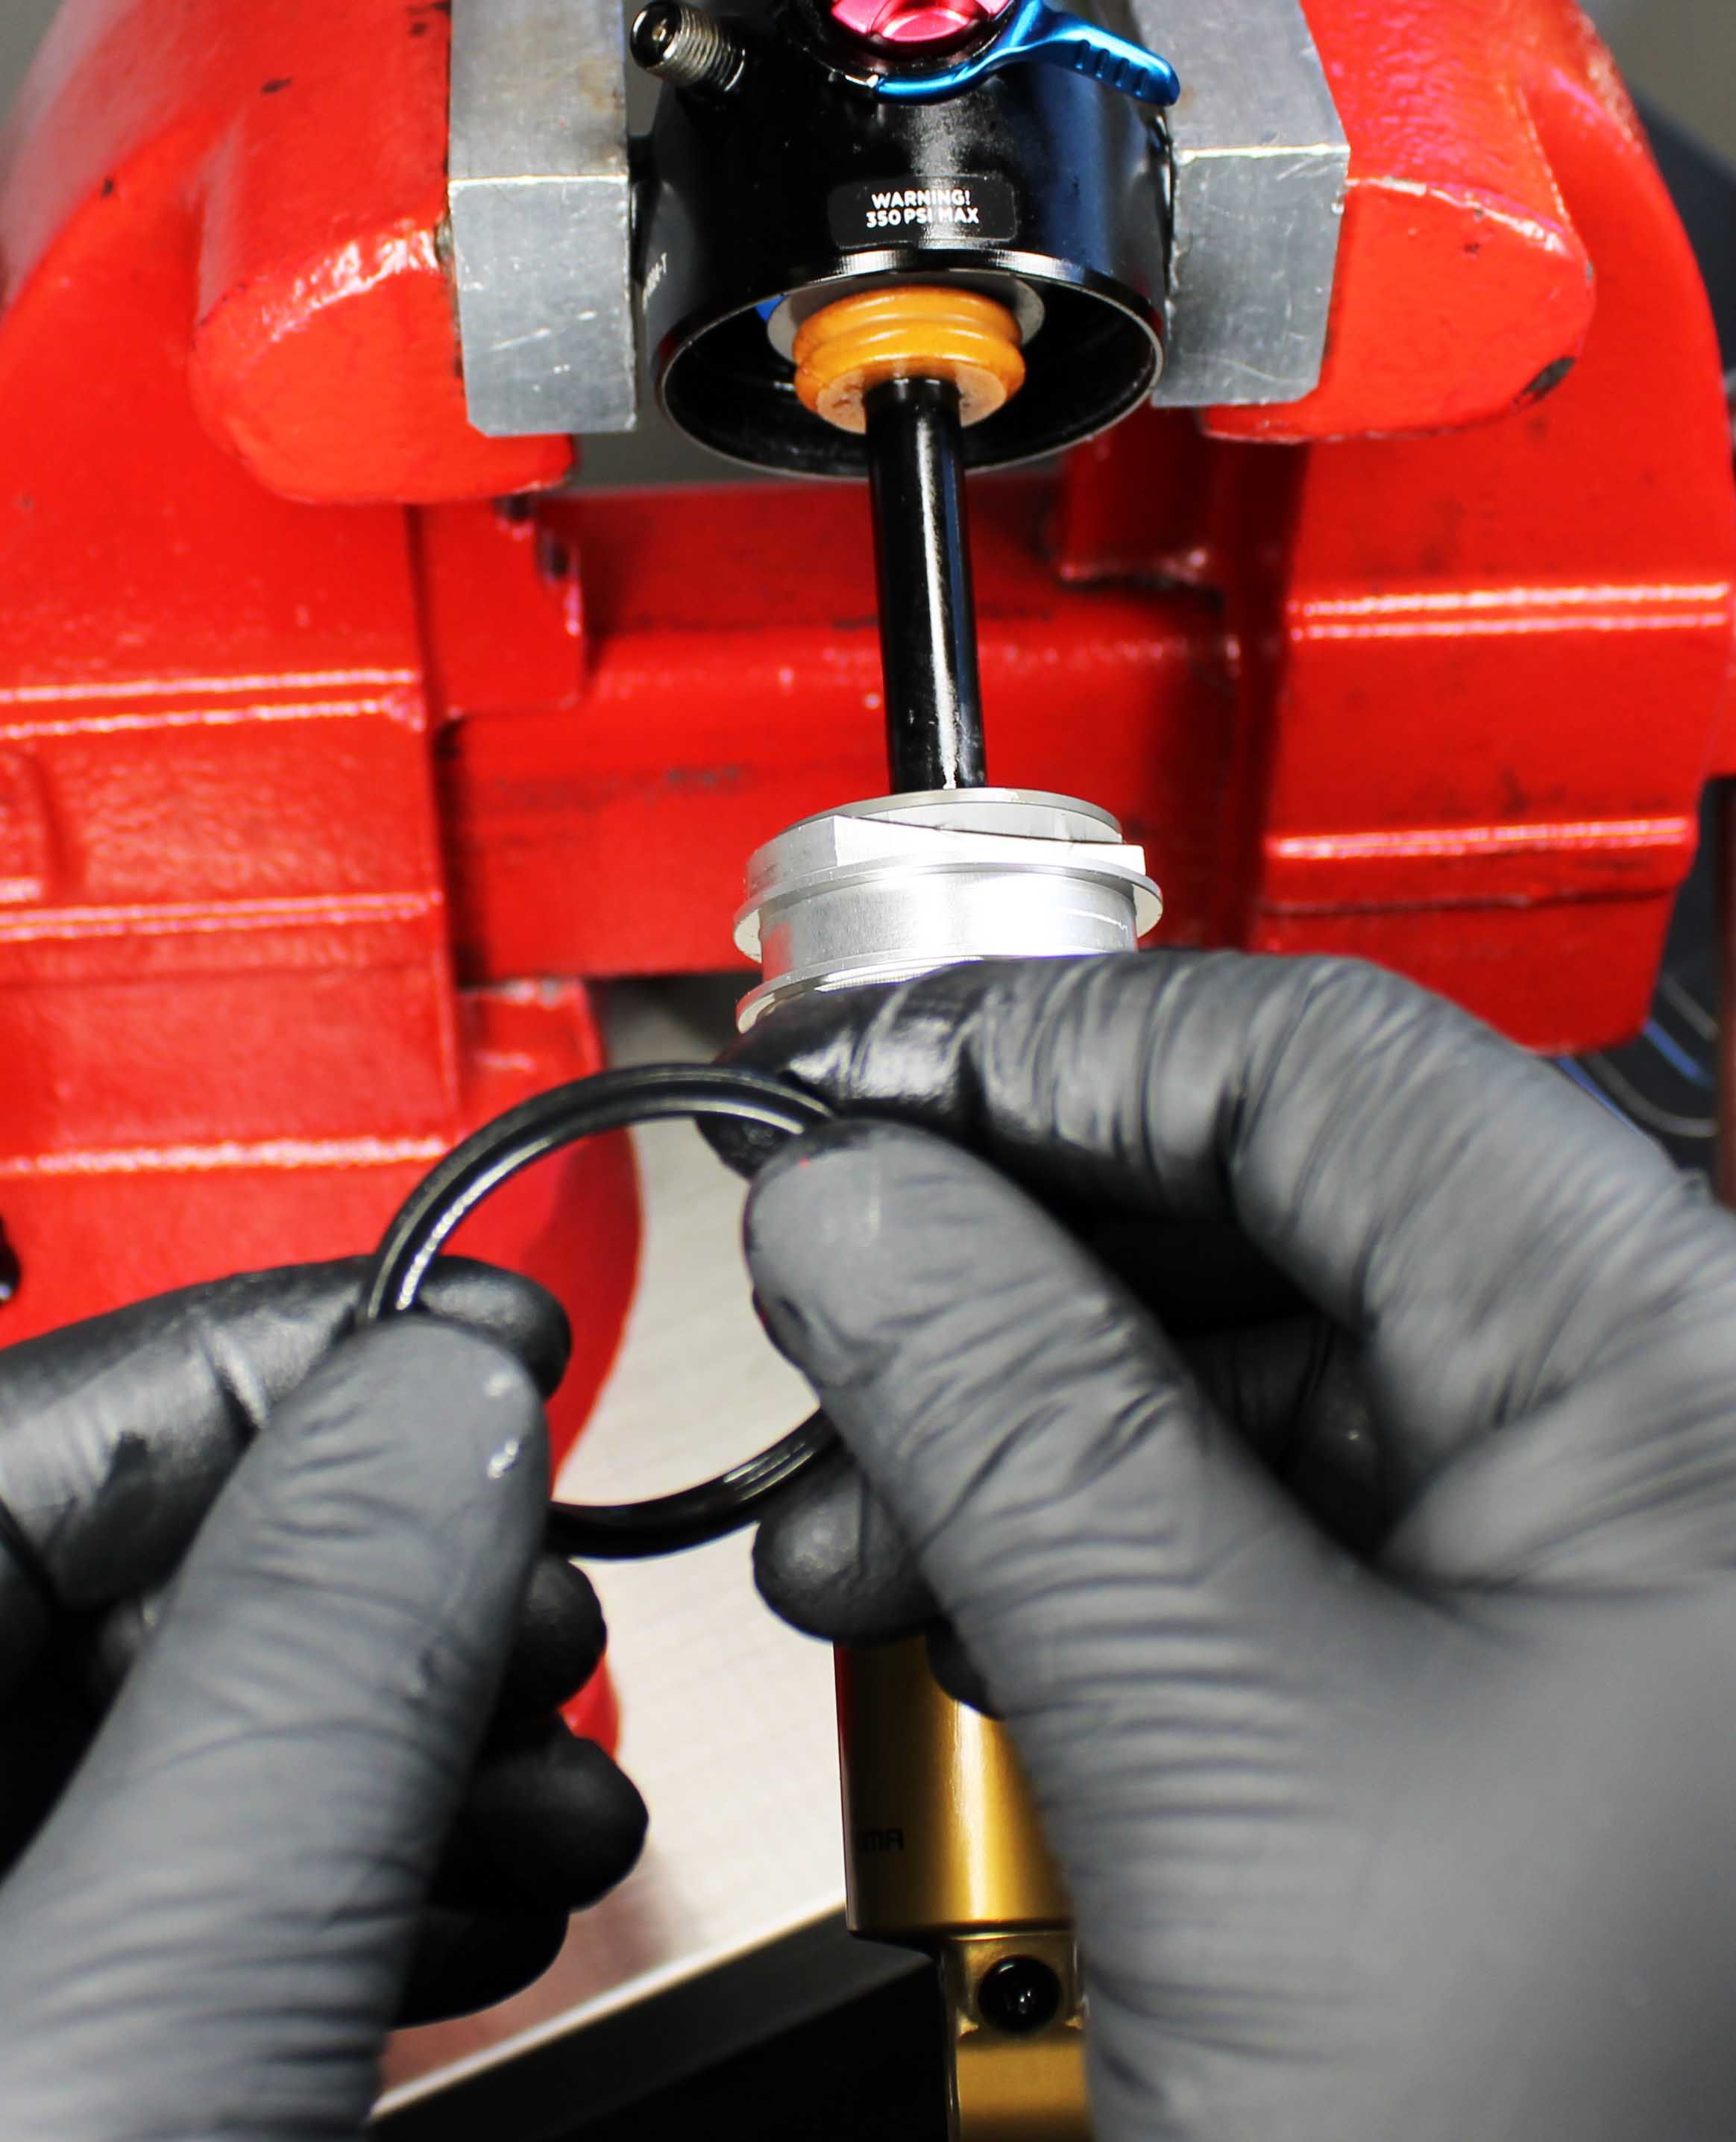
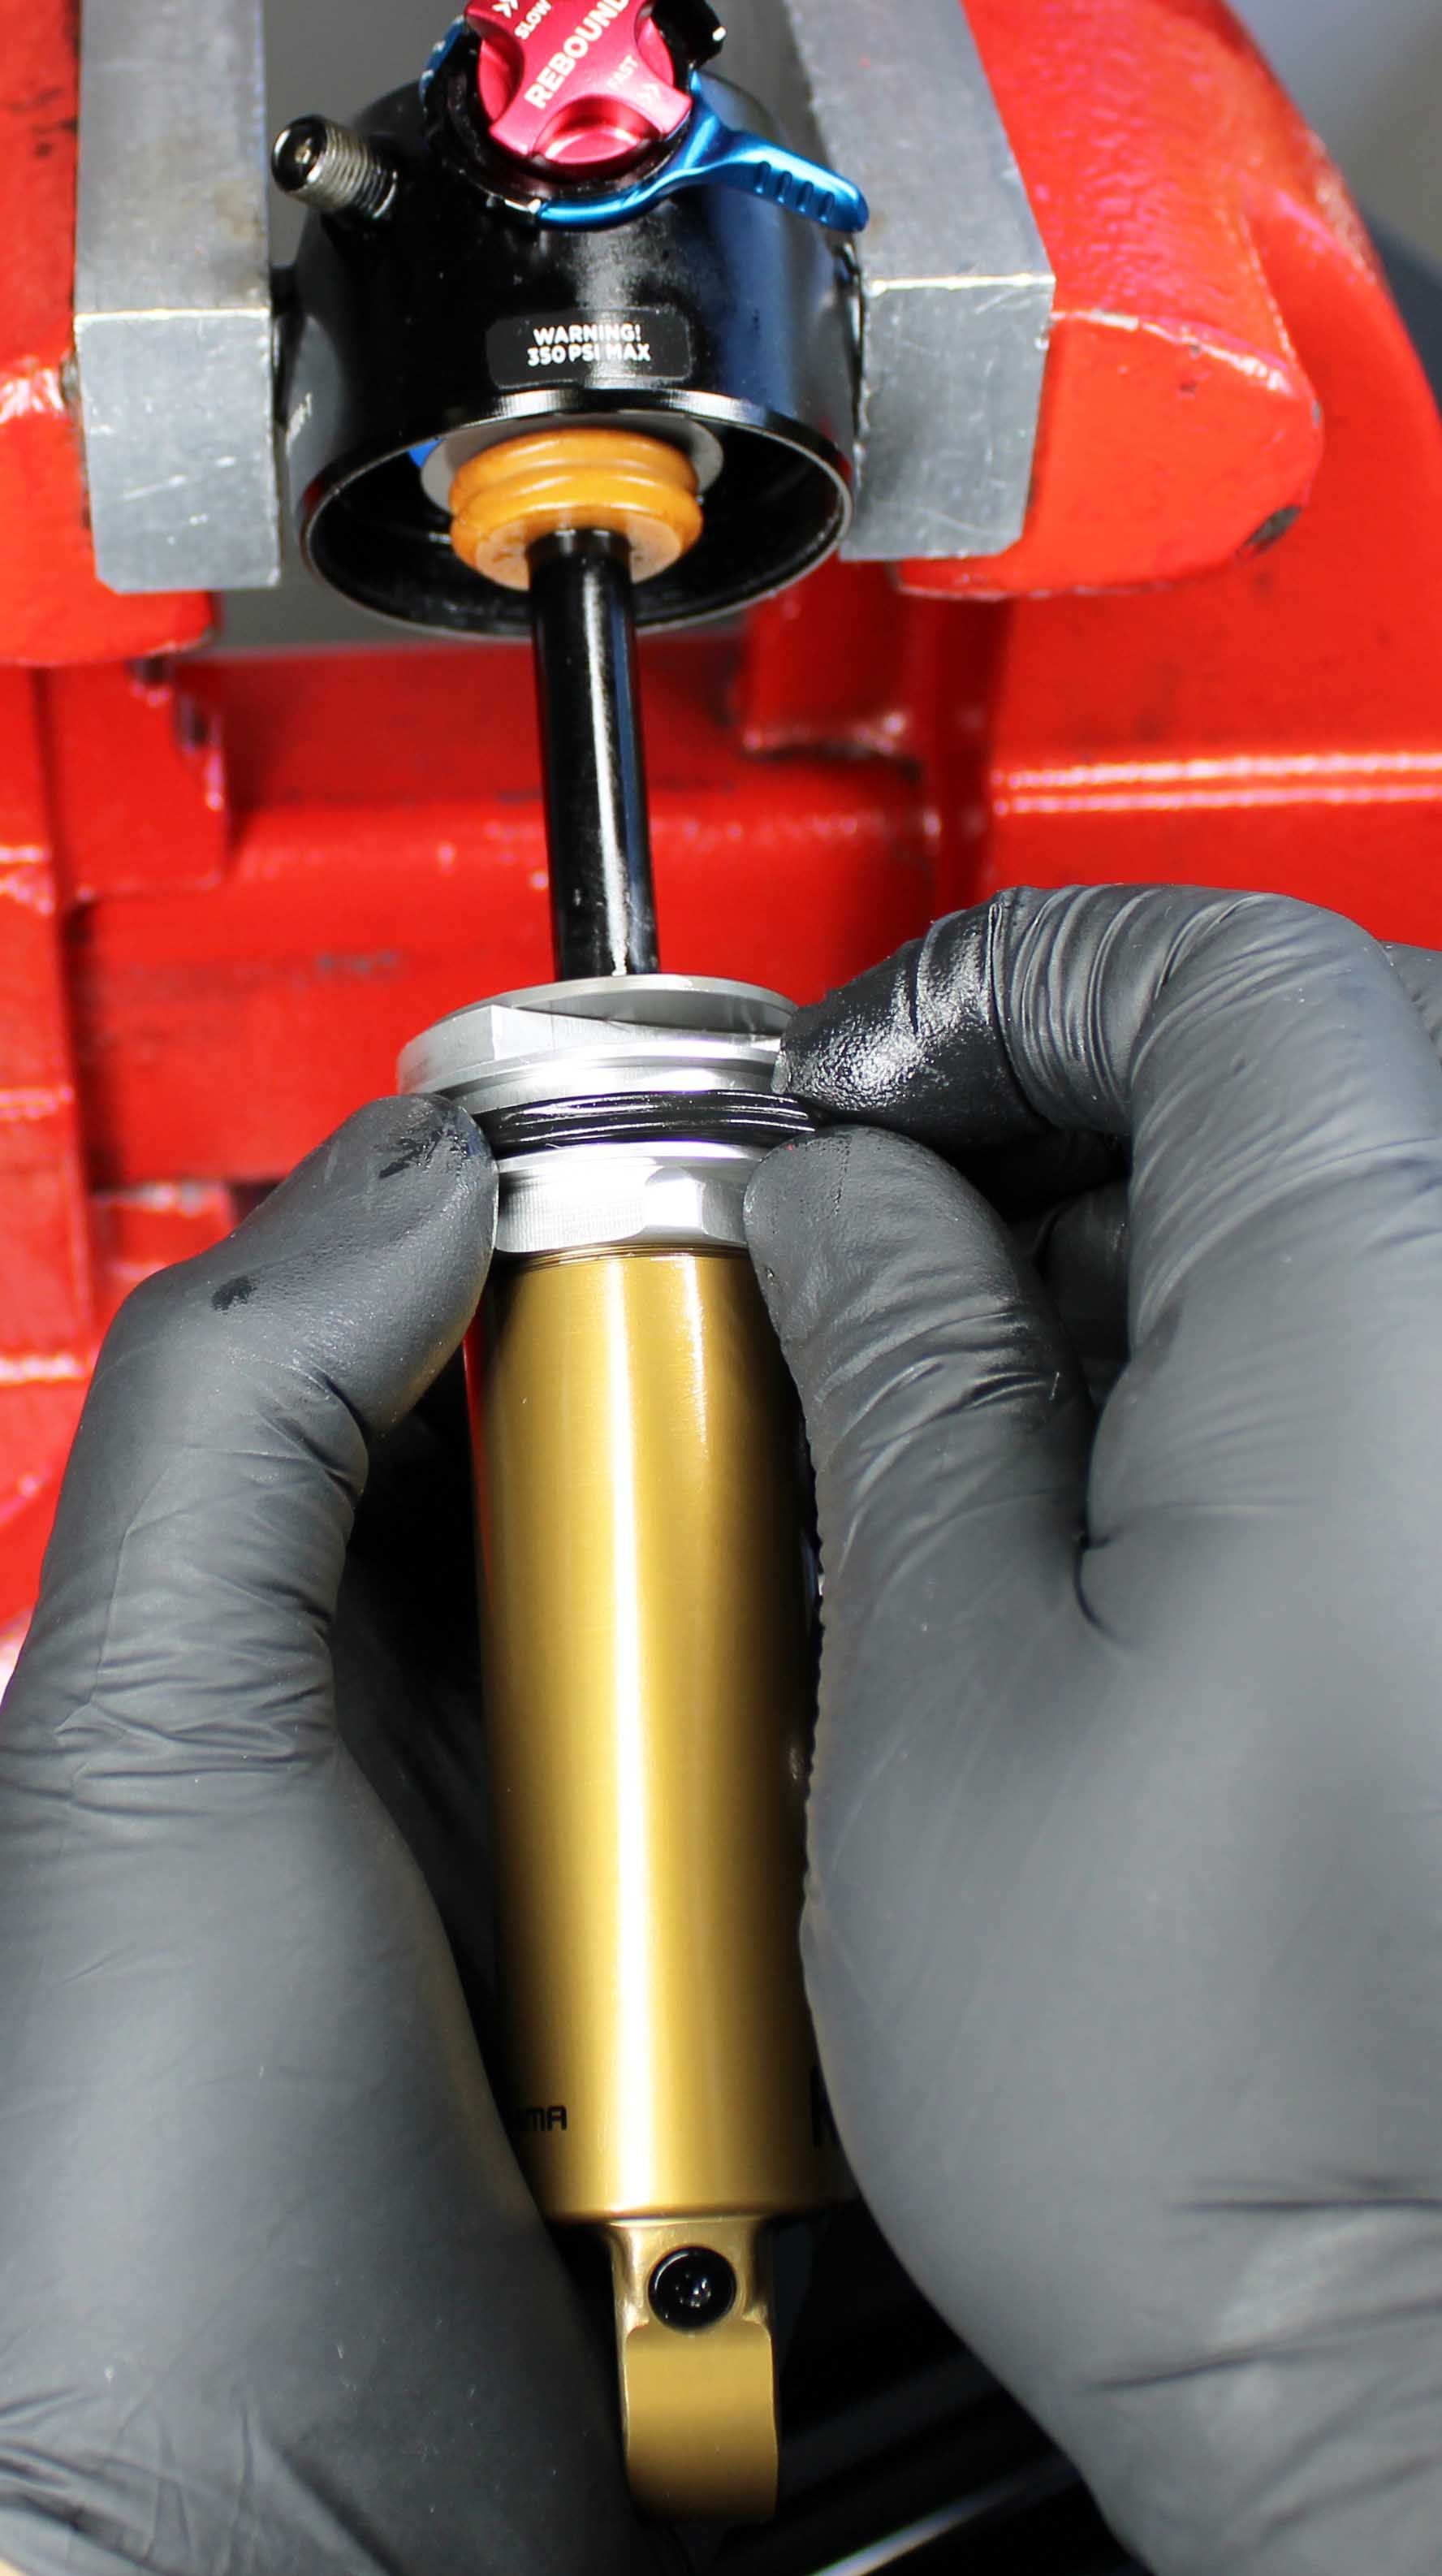
Step 15
Use a pick to remove the o-ring from inside the eyelet. Coat a new eyelet o-ring from the kit with slick honey. Use a small tool to carefully install the eyelet o-ring.

Step 16
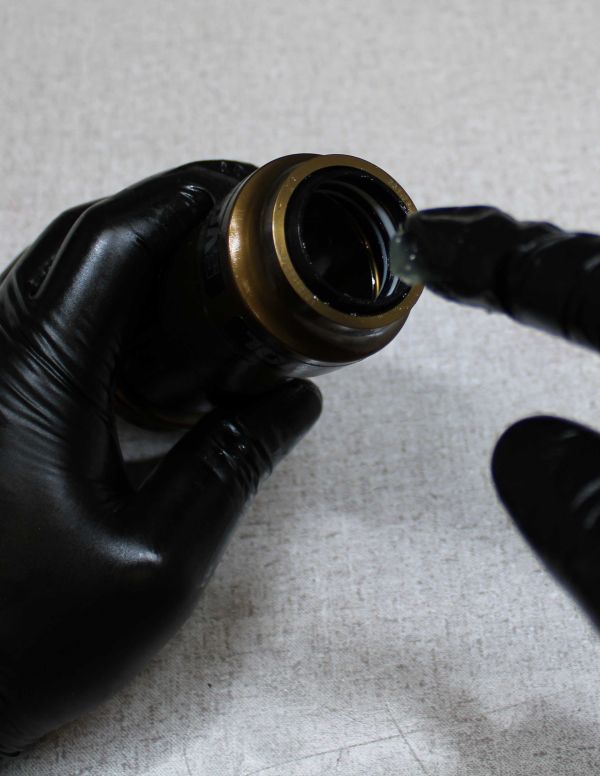
Coat the air sleeve seals and the main air seal with a thin film of Fox 20wt. gold oil


Step 17
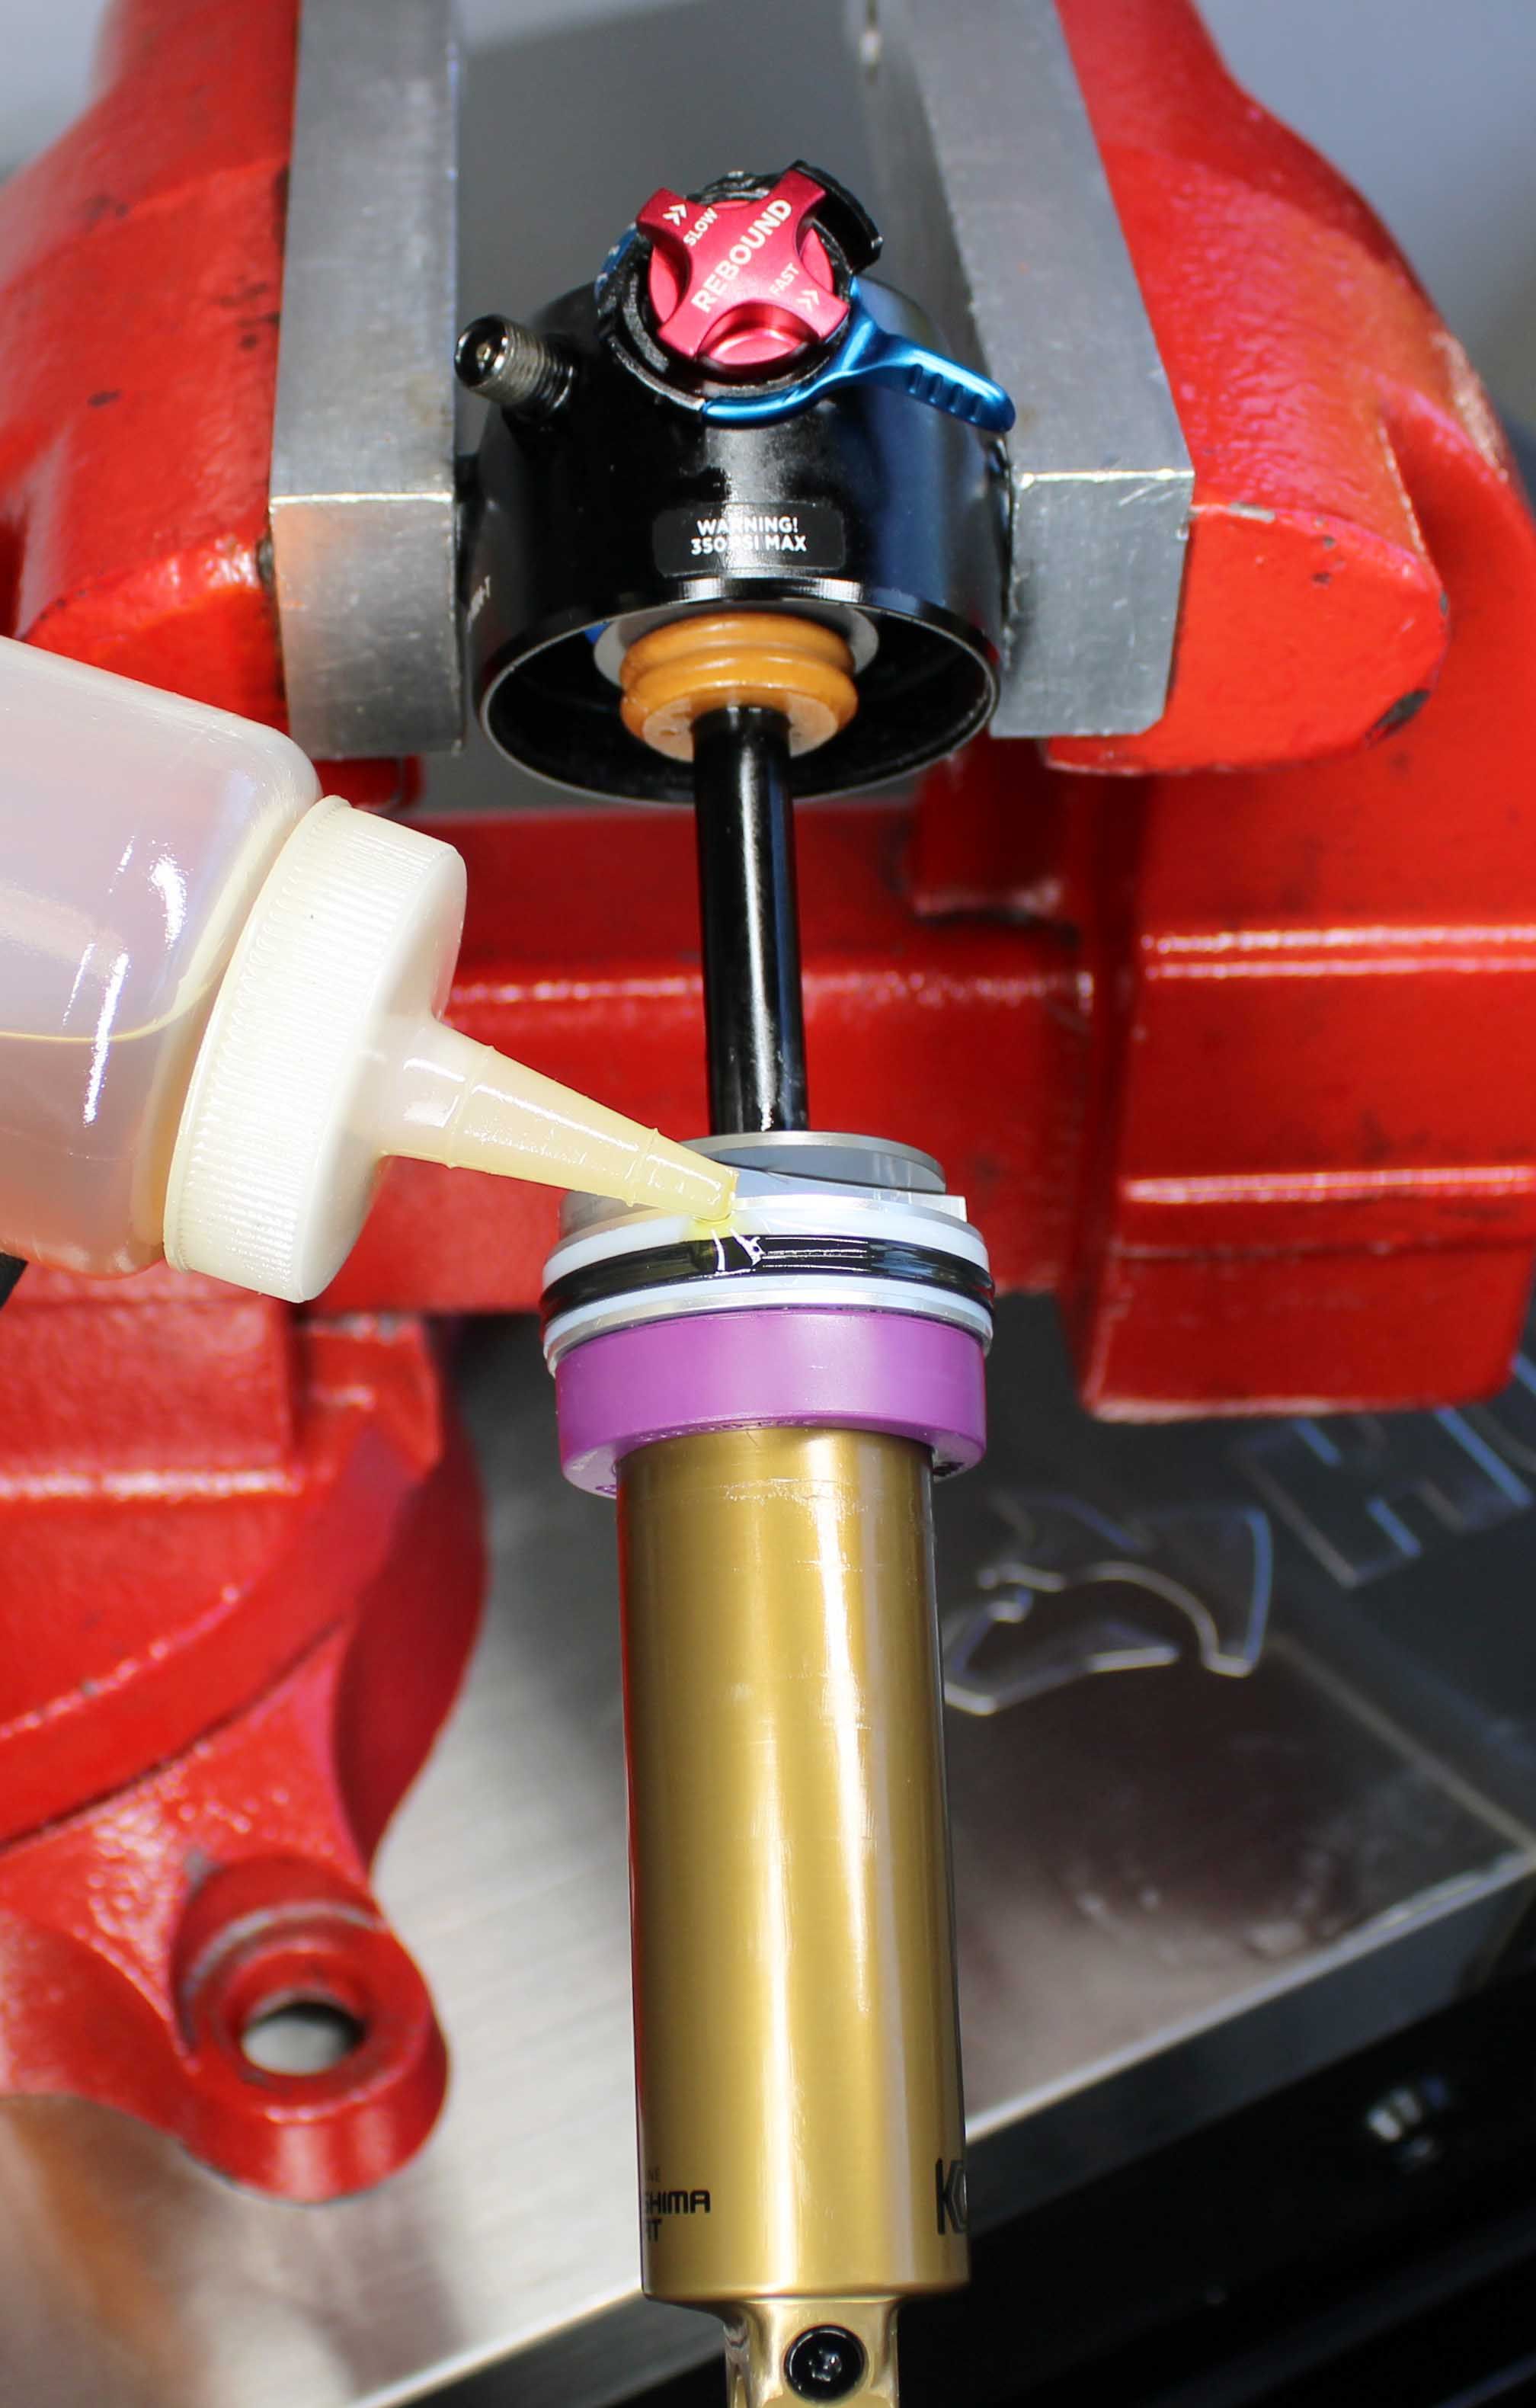
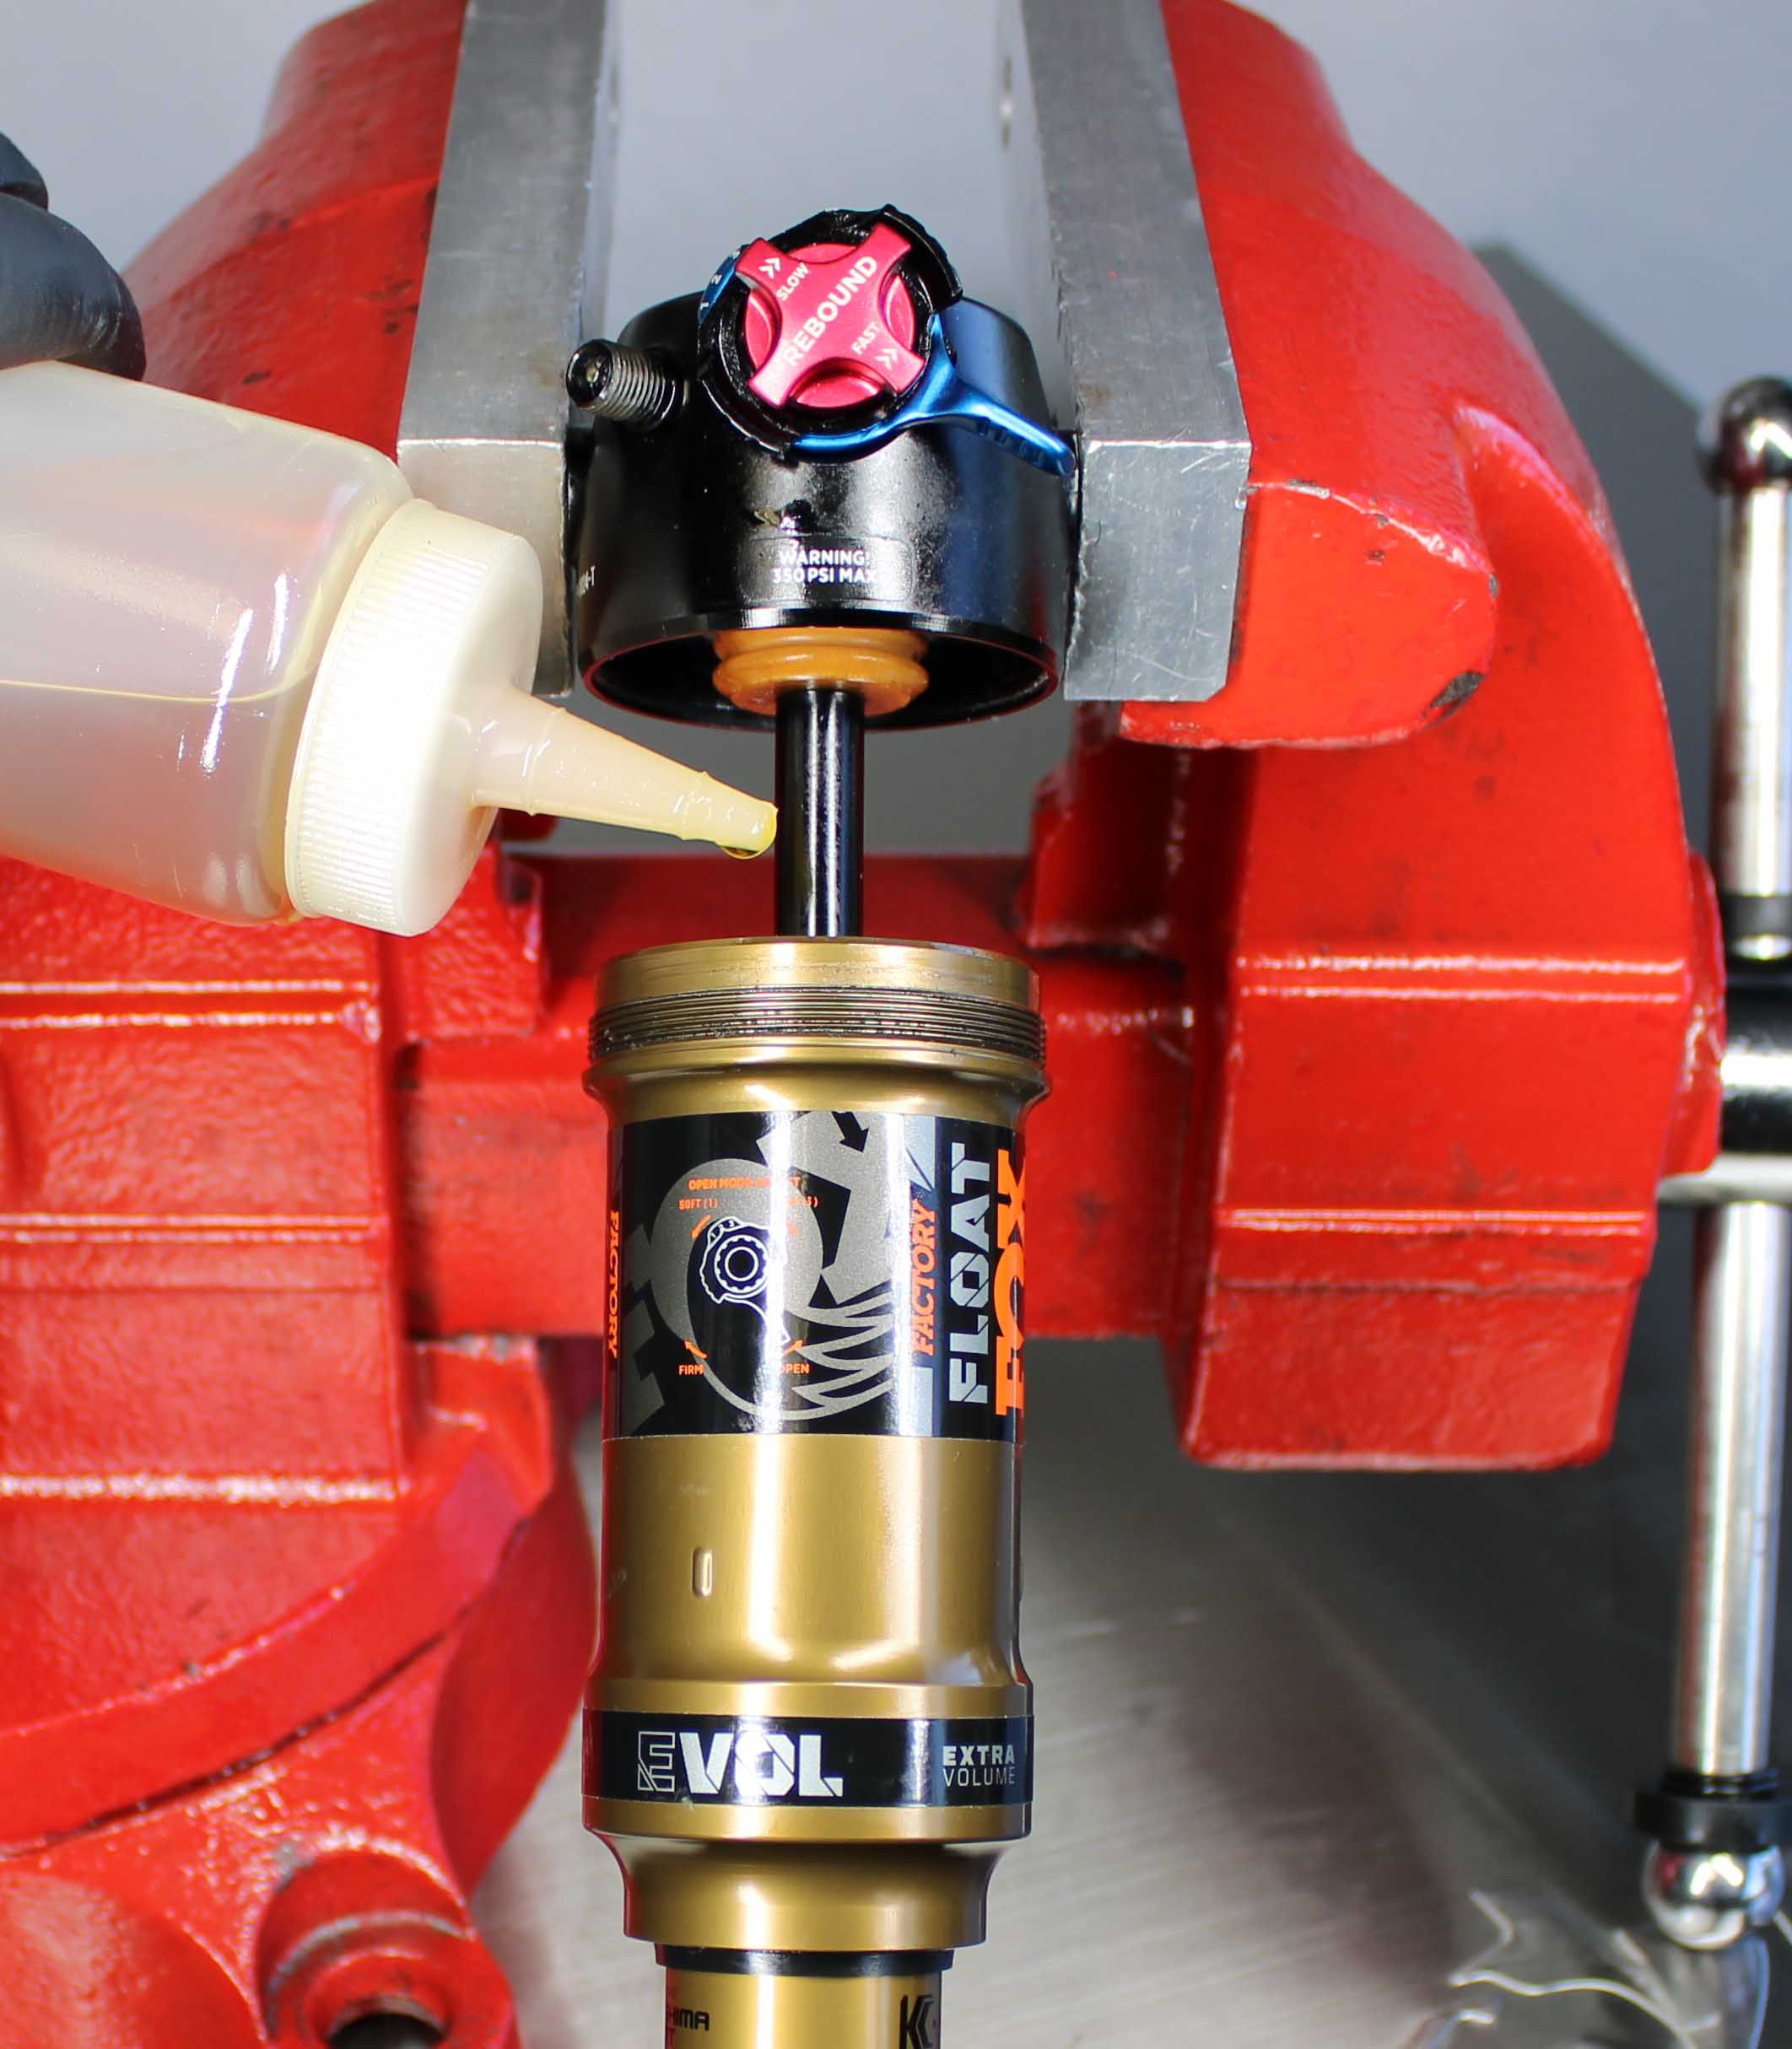
Start the air sleeve onto the damper. Add 2cc of Fox 20wt. gold oil to the main air chamber.
Step 18
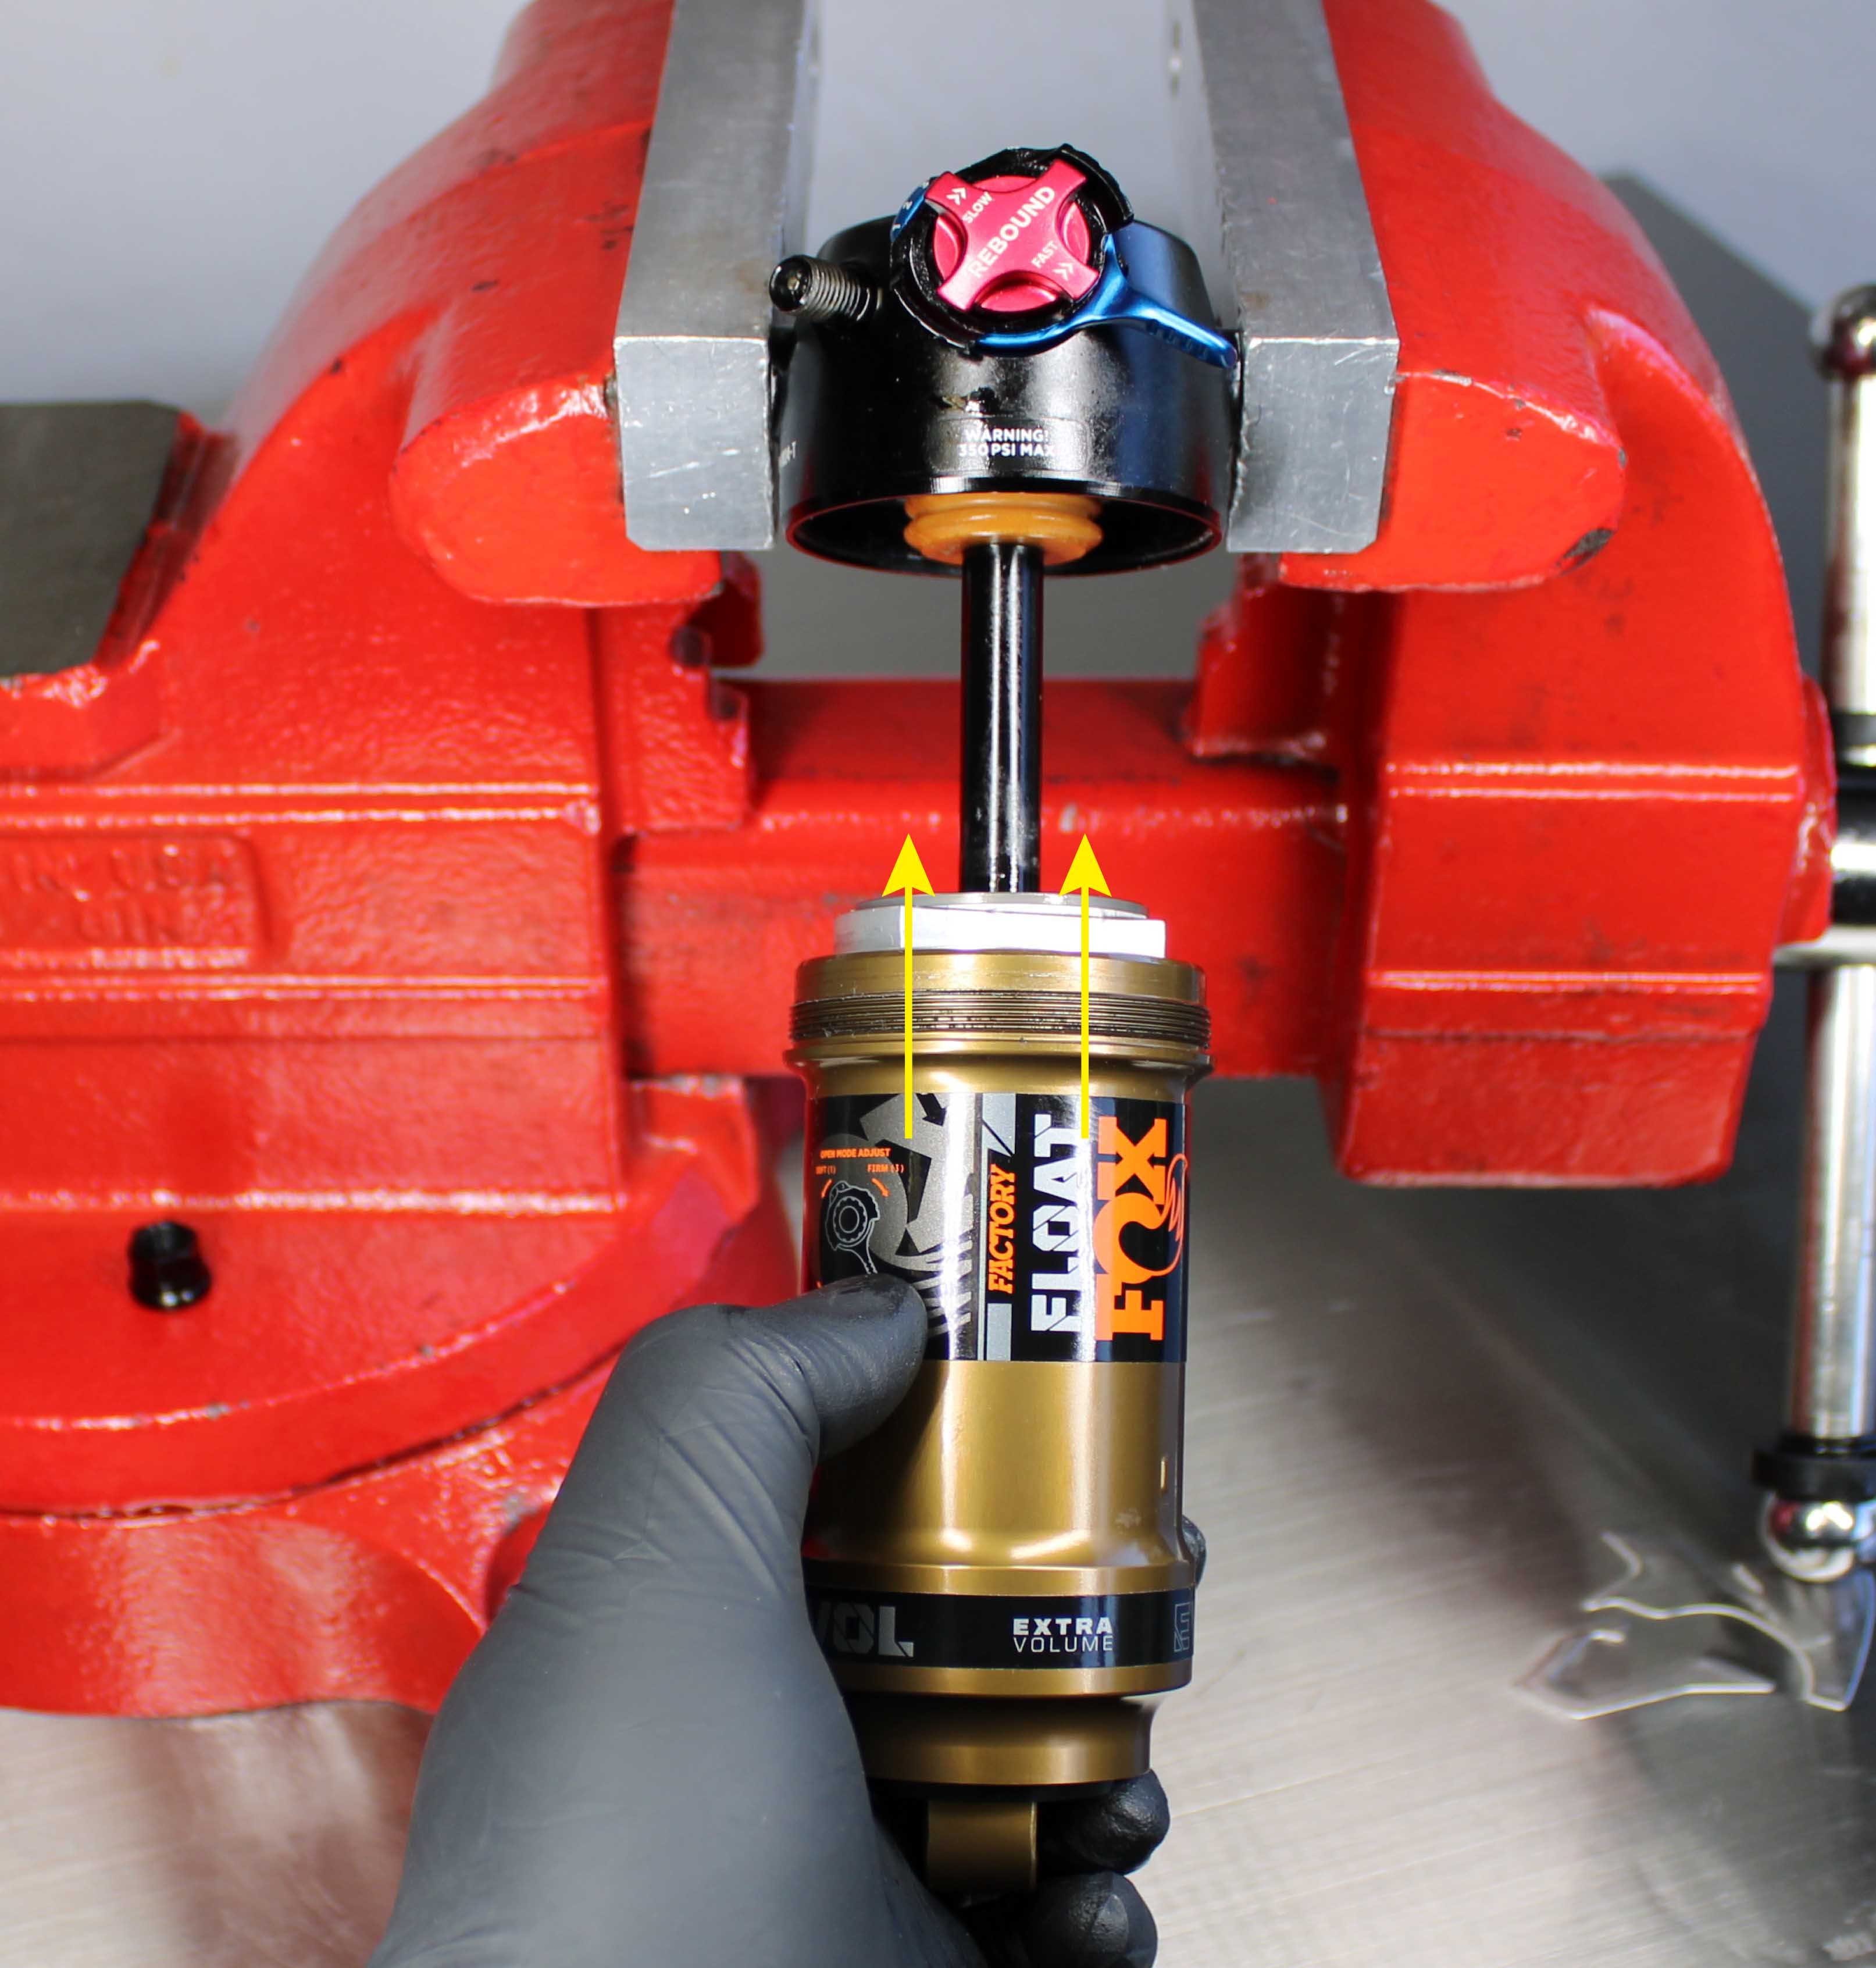
Press the air sleeve onto the shock, then thread on the air sleeve until hand-tight.( Certain shocks may be more difficult to compress. You can temprarily reinstall the chock on the bike frame, and usee the frame's leverage to help you compress the shock.)


Step 19
Pressurize the shock to your desired pressure then reinstall the black air cap and new sag indicator o-ring from the kit.
When adding air to the air chamber, it is important to equalize the positive and negative air chambers by slowly compressing the shock through 25% of its travel 10-20 times after every 50psi addition.
- Adding air to the shock without periodically equalizing the air chambers can lead to a condition in which the shock has more pressure in the positive chamber than the negative. In this condition the shock will be very stiff and can top-out. You can equalize the air chambers by slowly compressing the shock until you feel and hear a transfer of air. Hold the shock at this point for a few seconds to allow the air to transfer from the positive to the negative chamber.